My Journey into Model Making: Lighting Up the Star Trek Enterprise
In 2014, I started my first model-making project: adding LEDs and fiber optics to Star Trek starships. I've always loved The Next Generation, and those ships are perfect for lighting up with their iconic details.
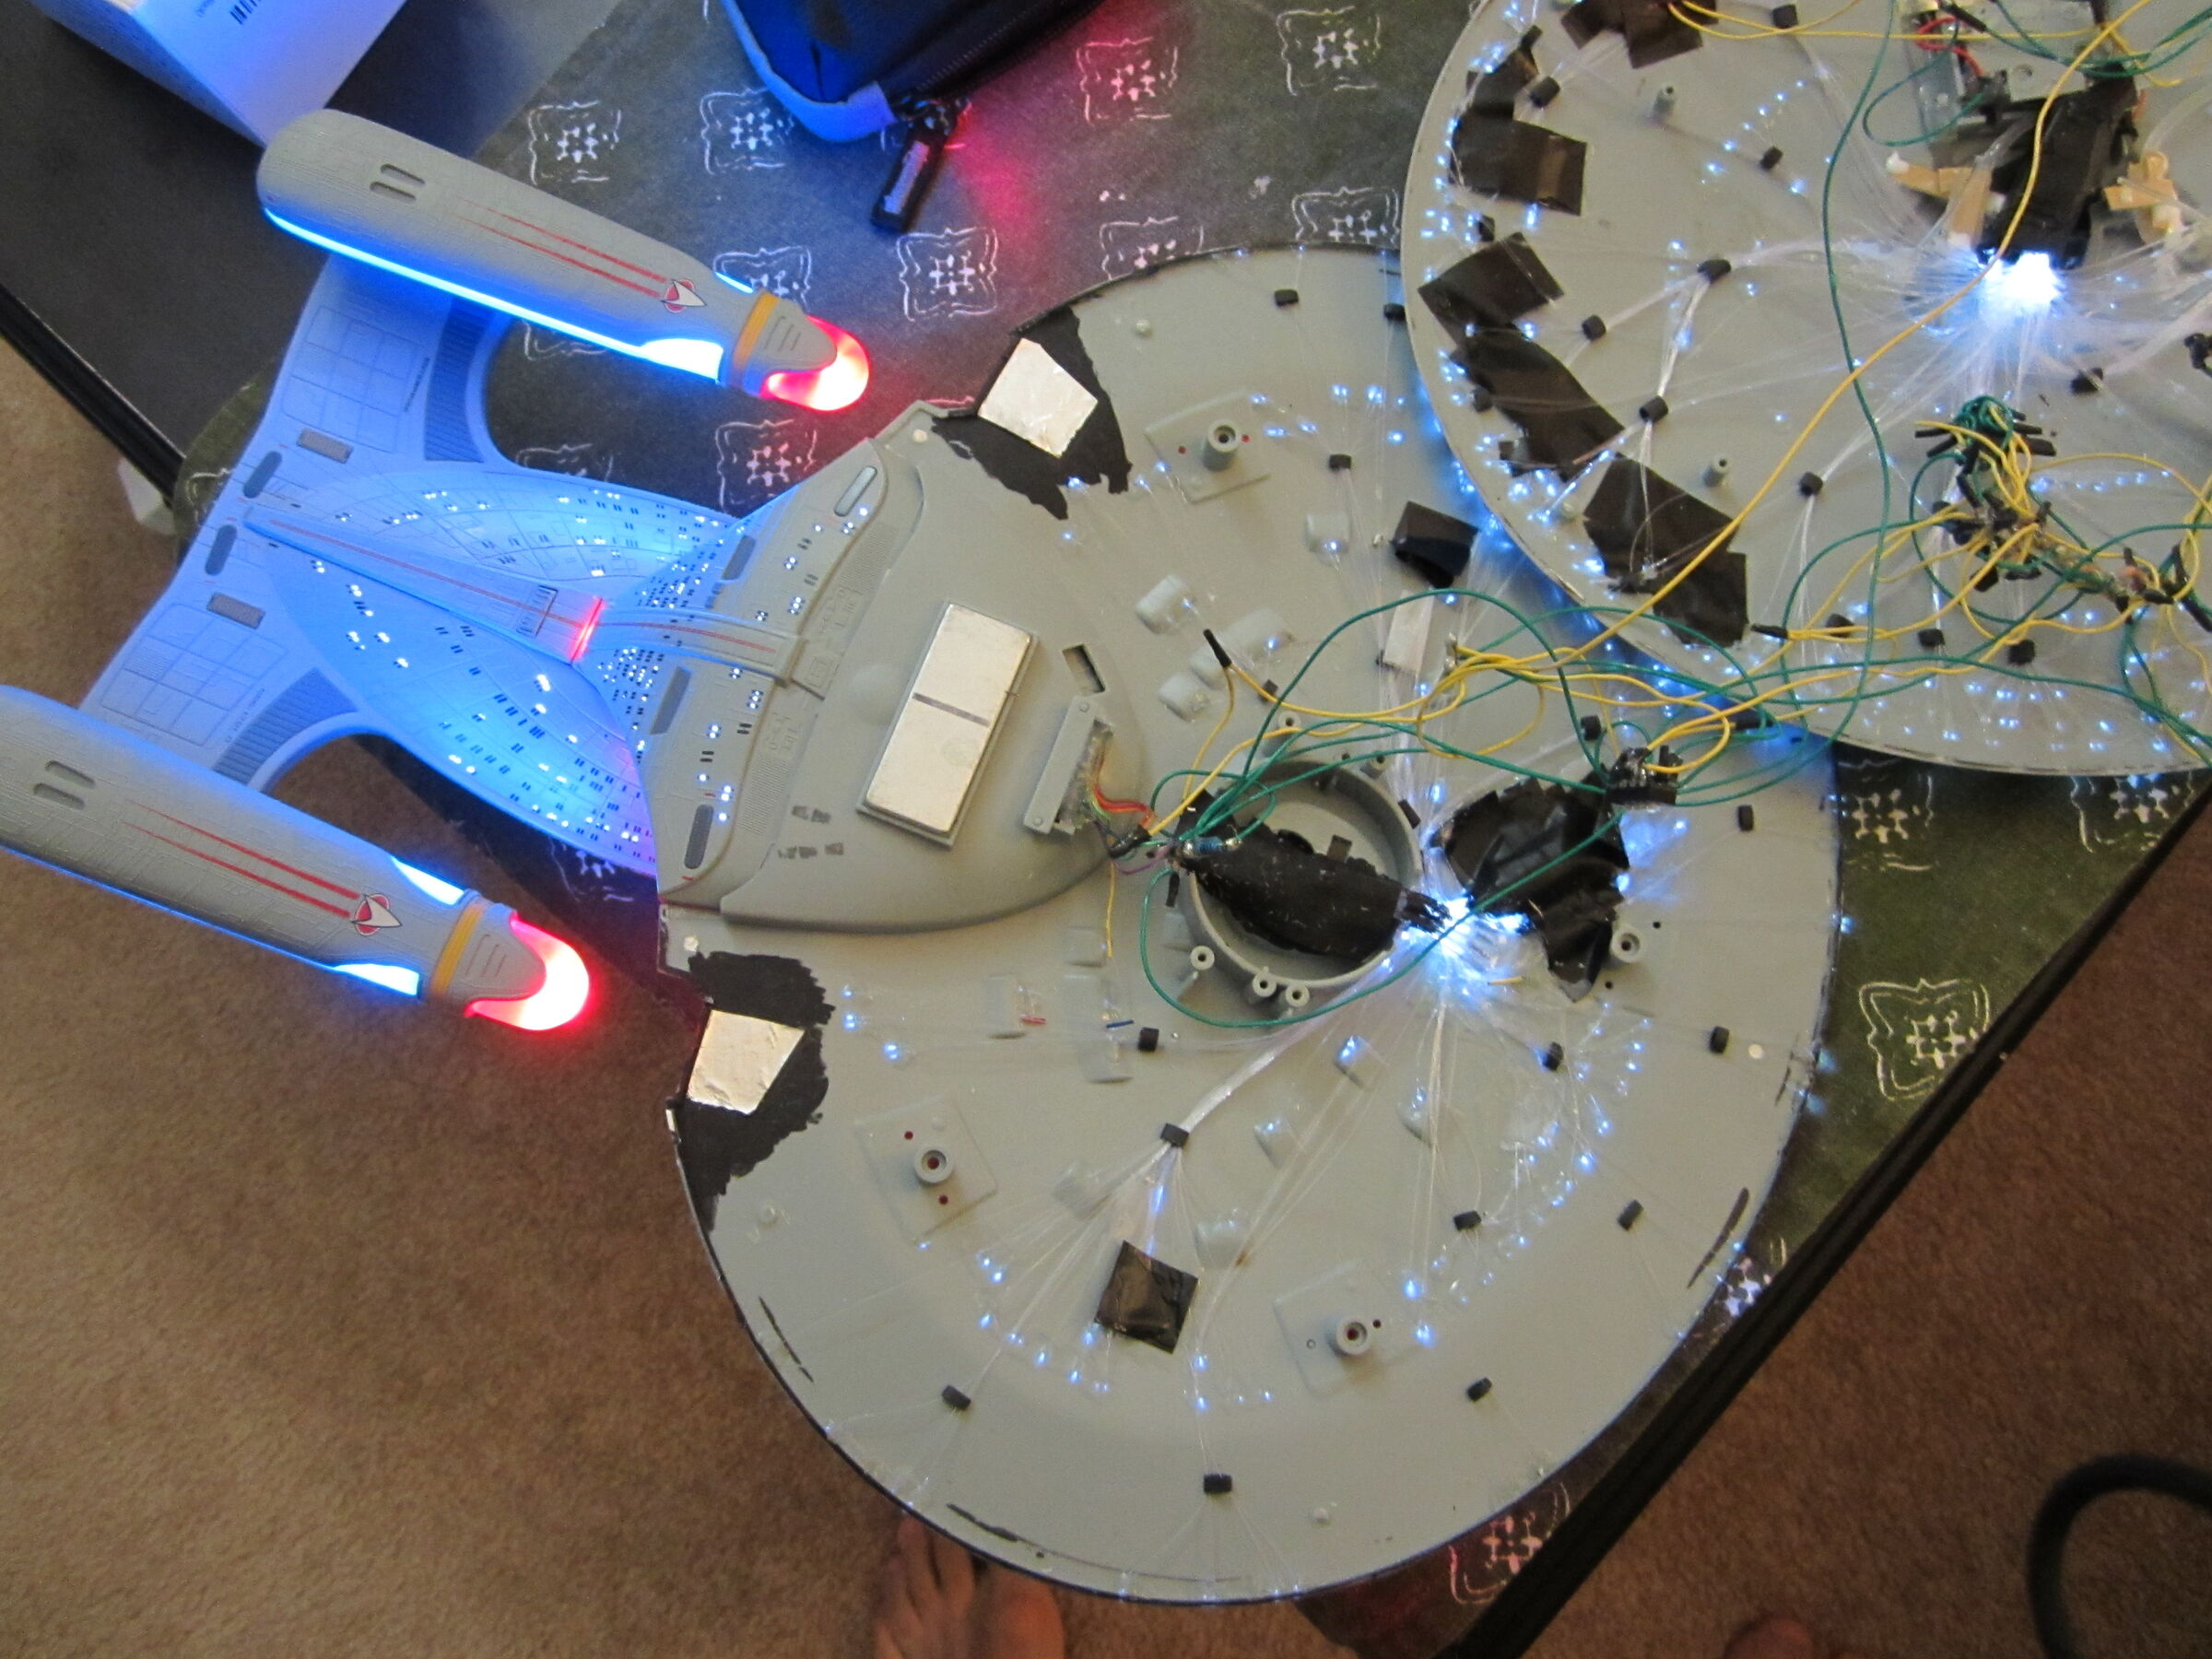
My first build (Enterprise E) was rough - lots of learning on the fly. The second (Enterprise D) was bigger and better with 3x more lights.
⚠️ Warning: Some of these pictures were taken in 2014 with an old camera.
Finished models:

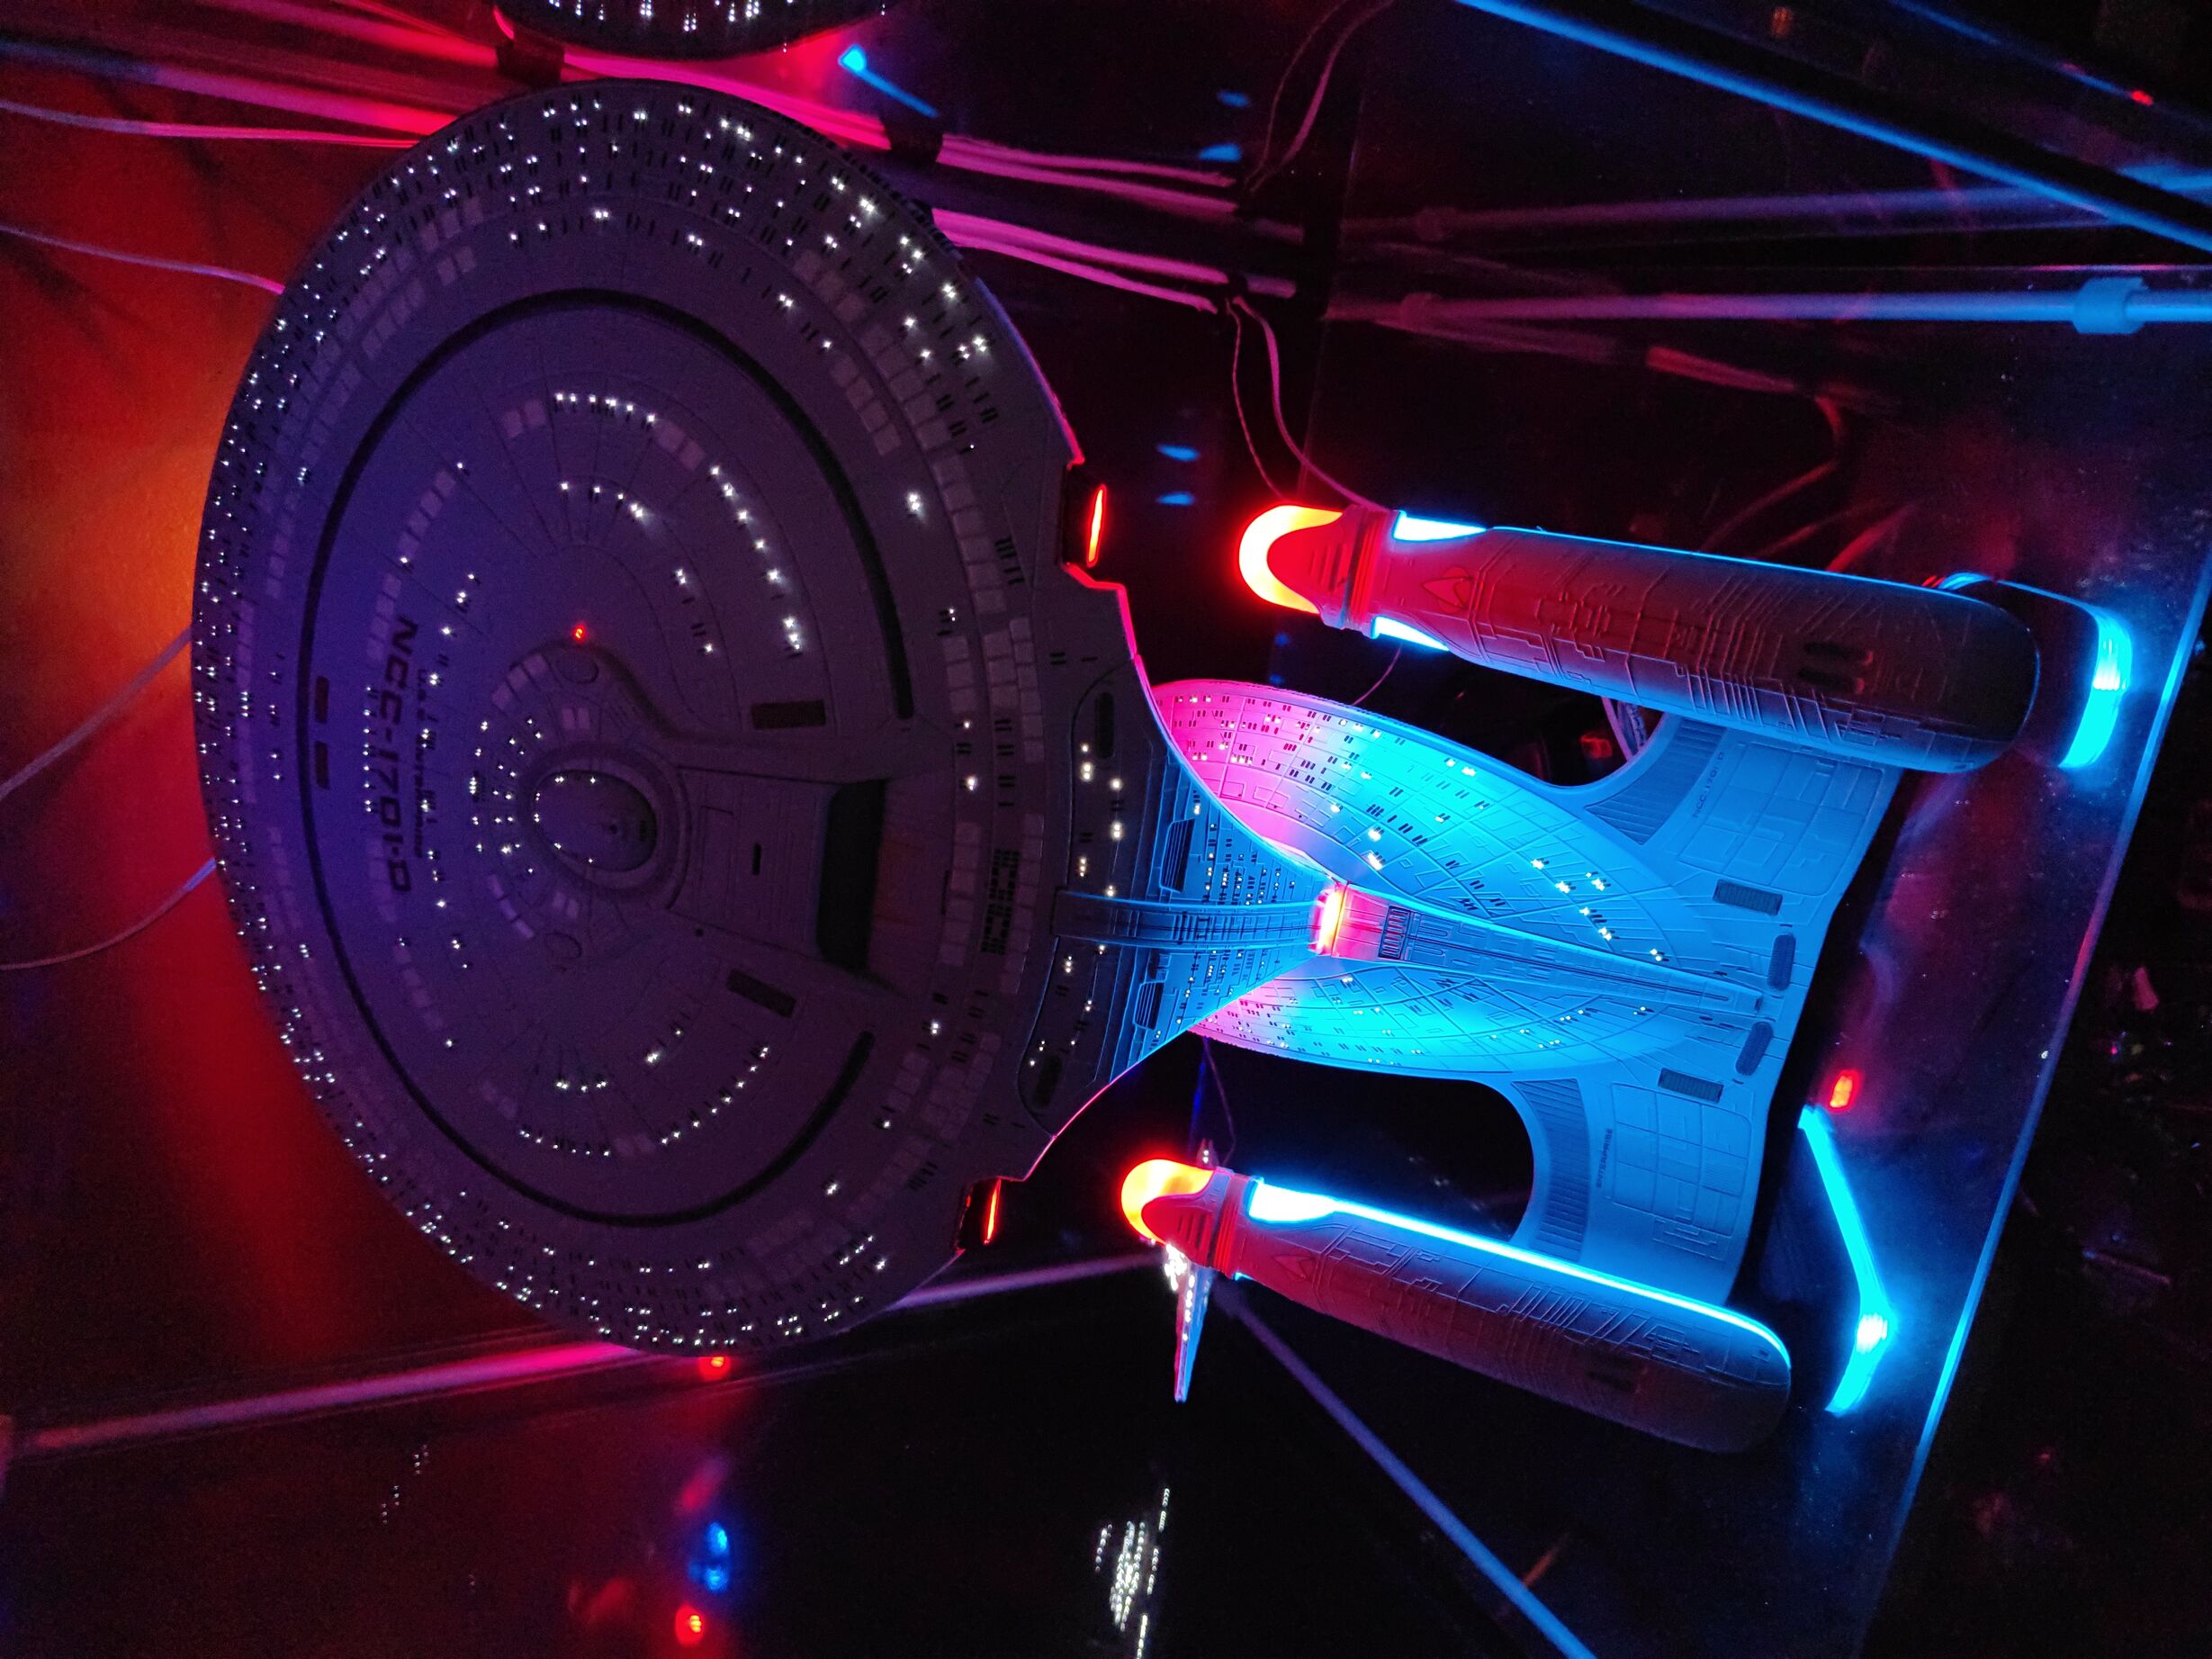
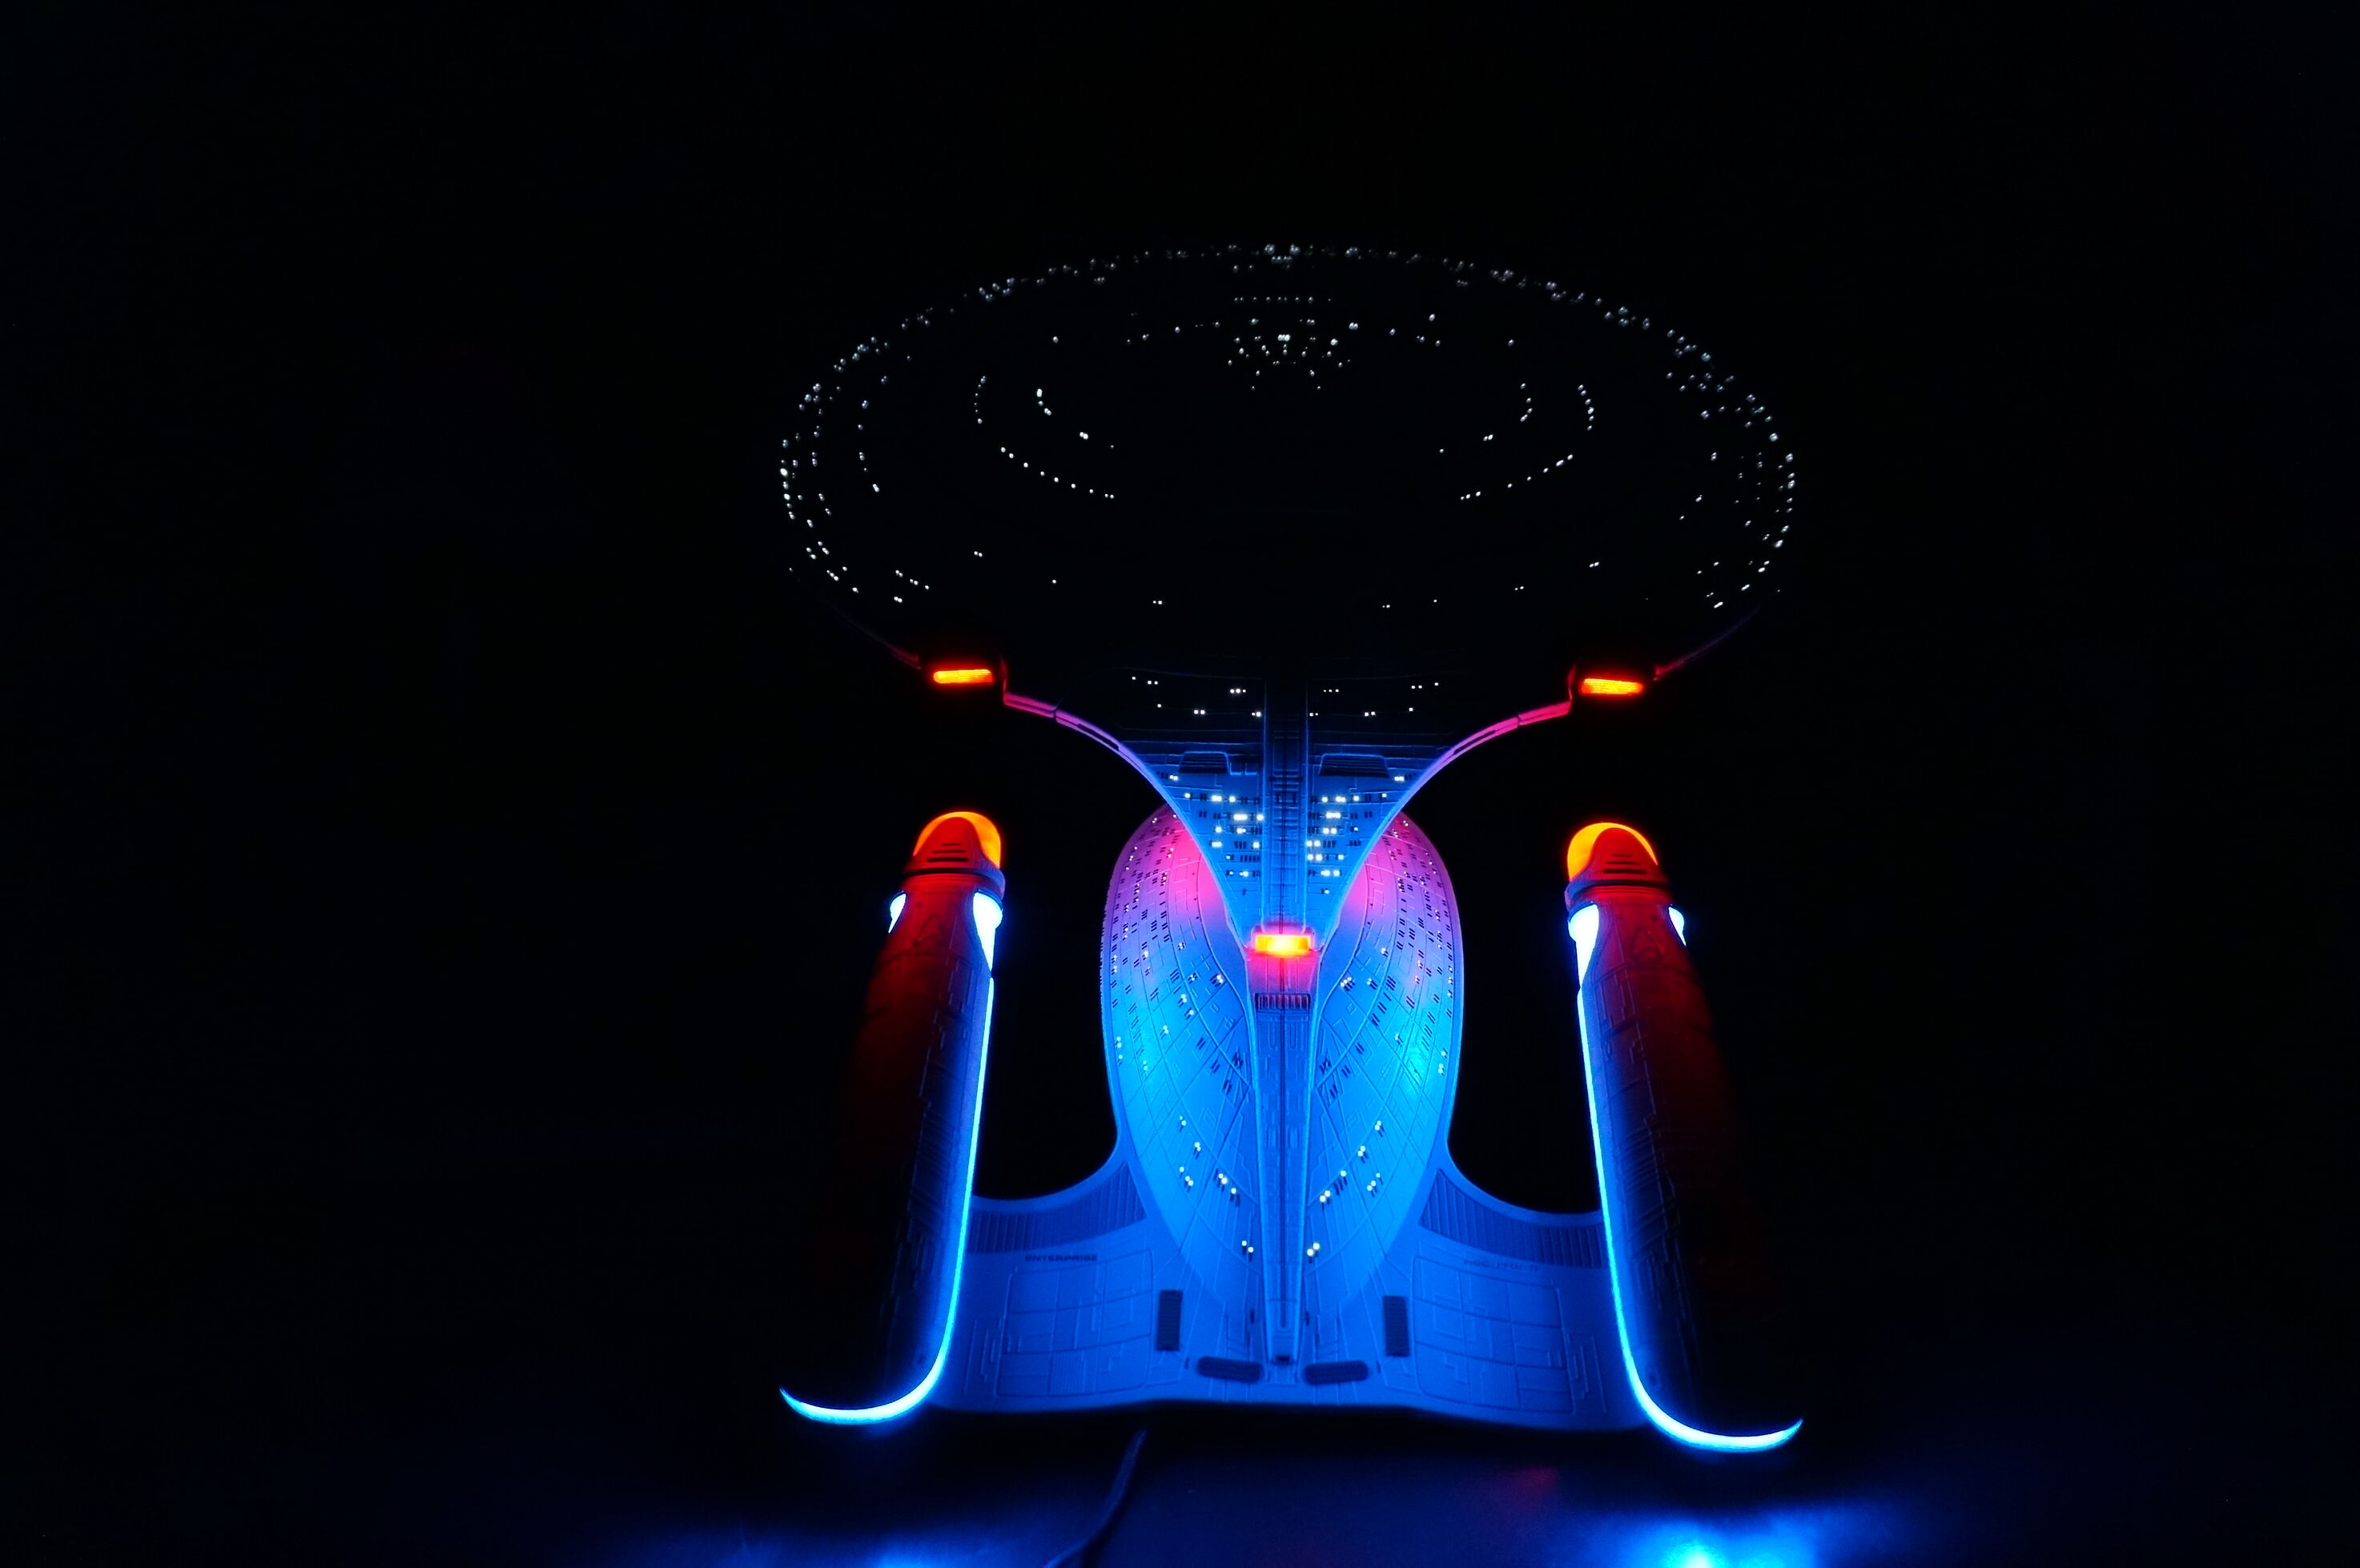
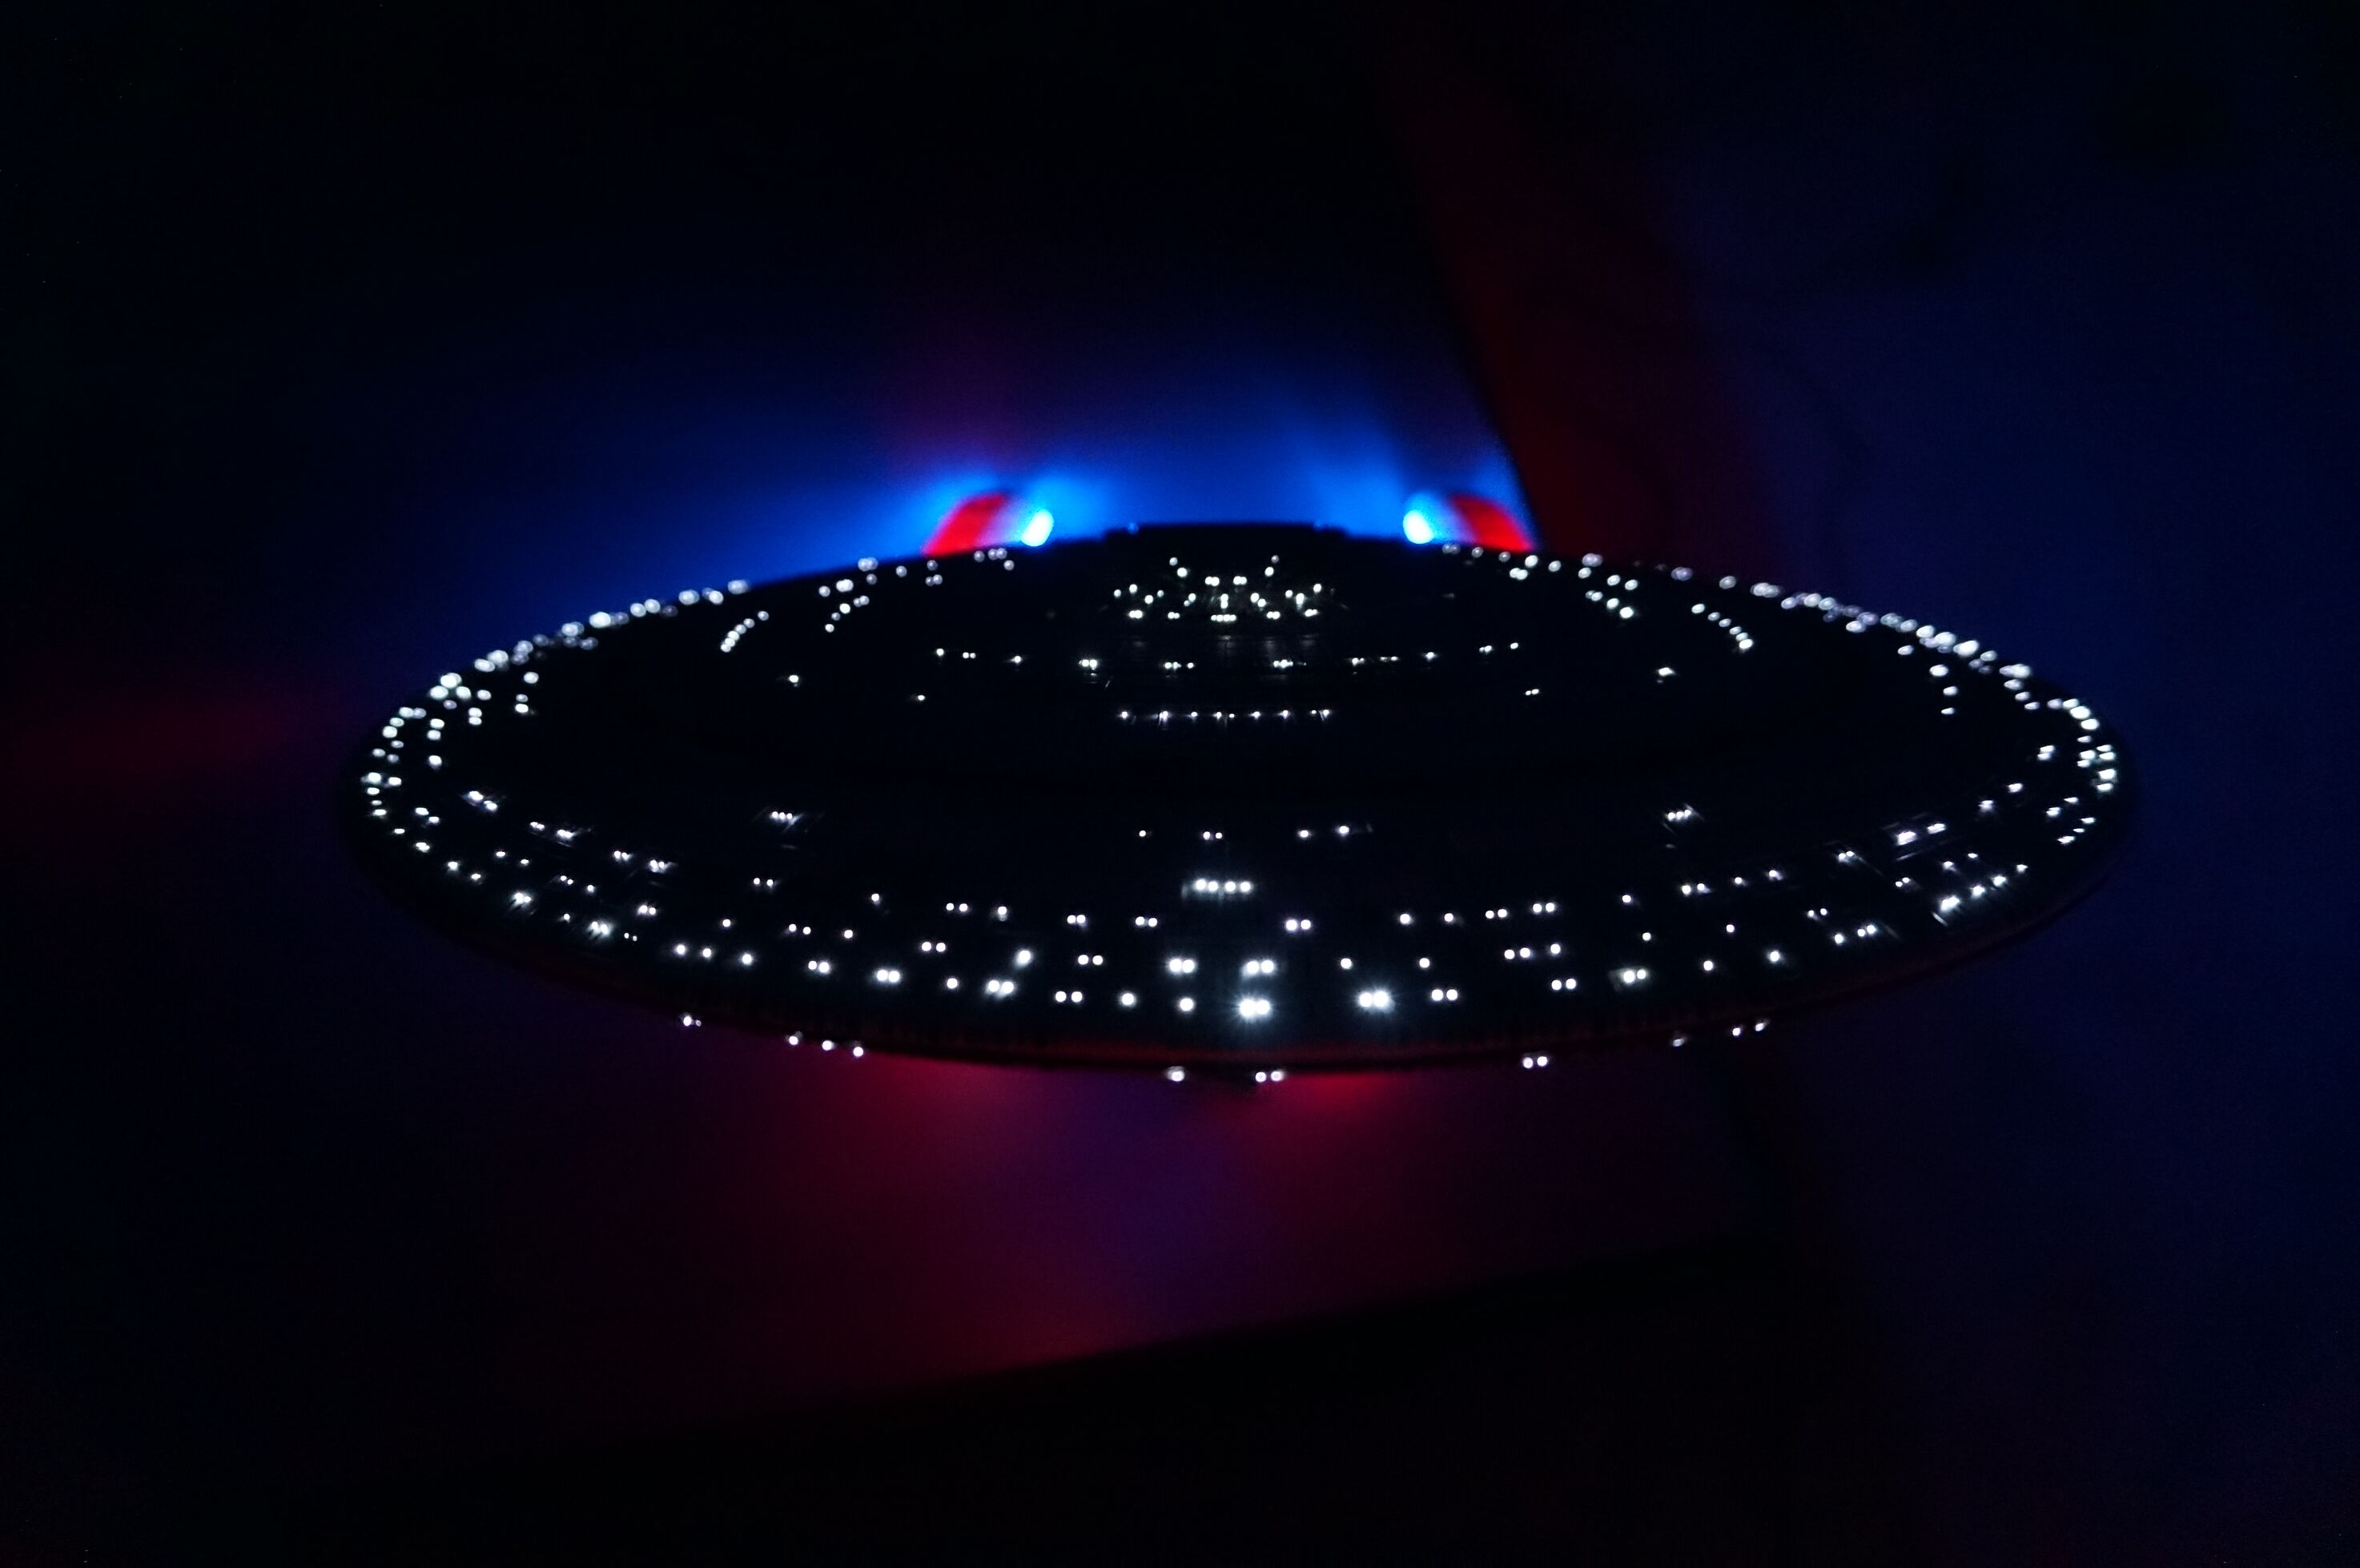
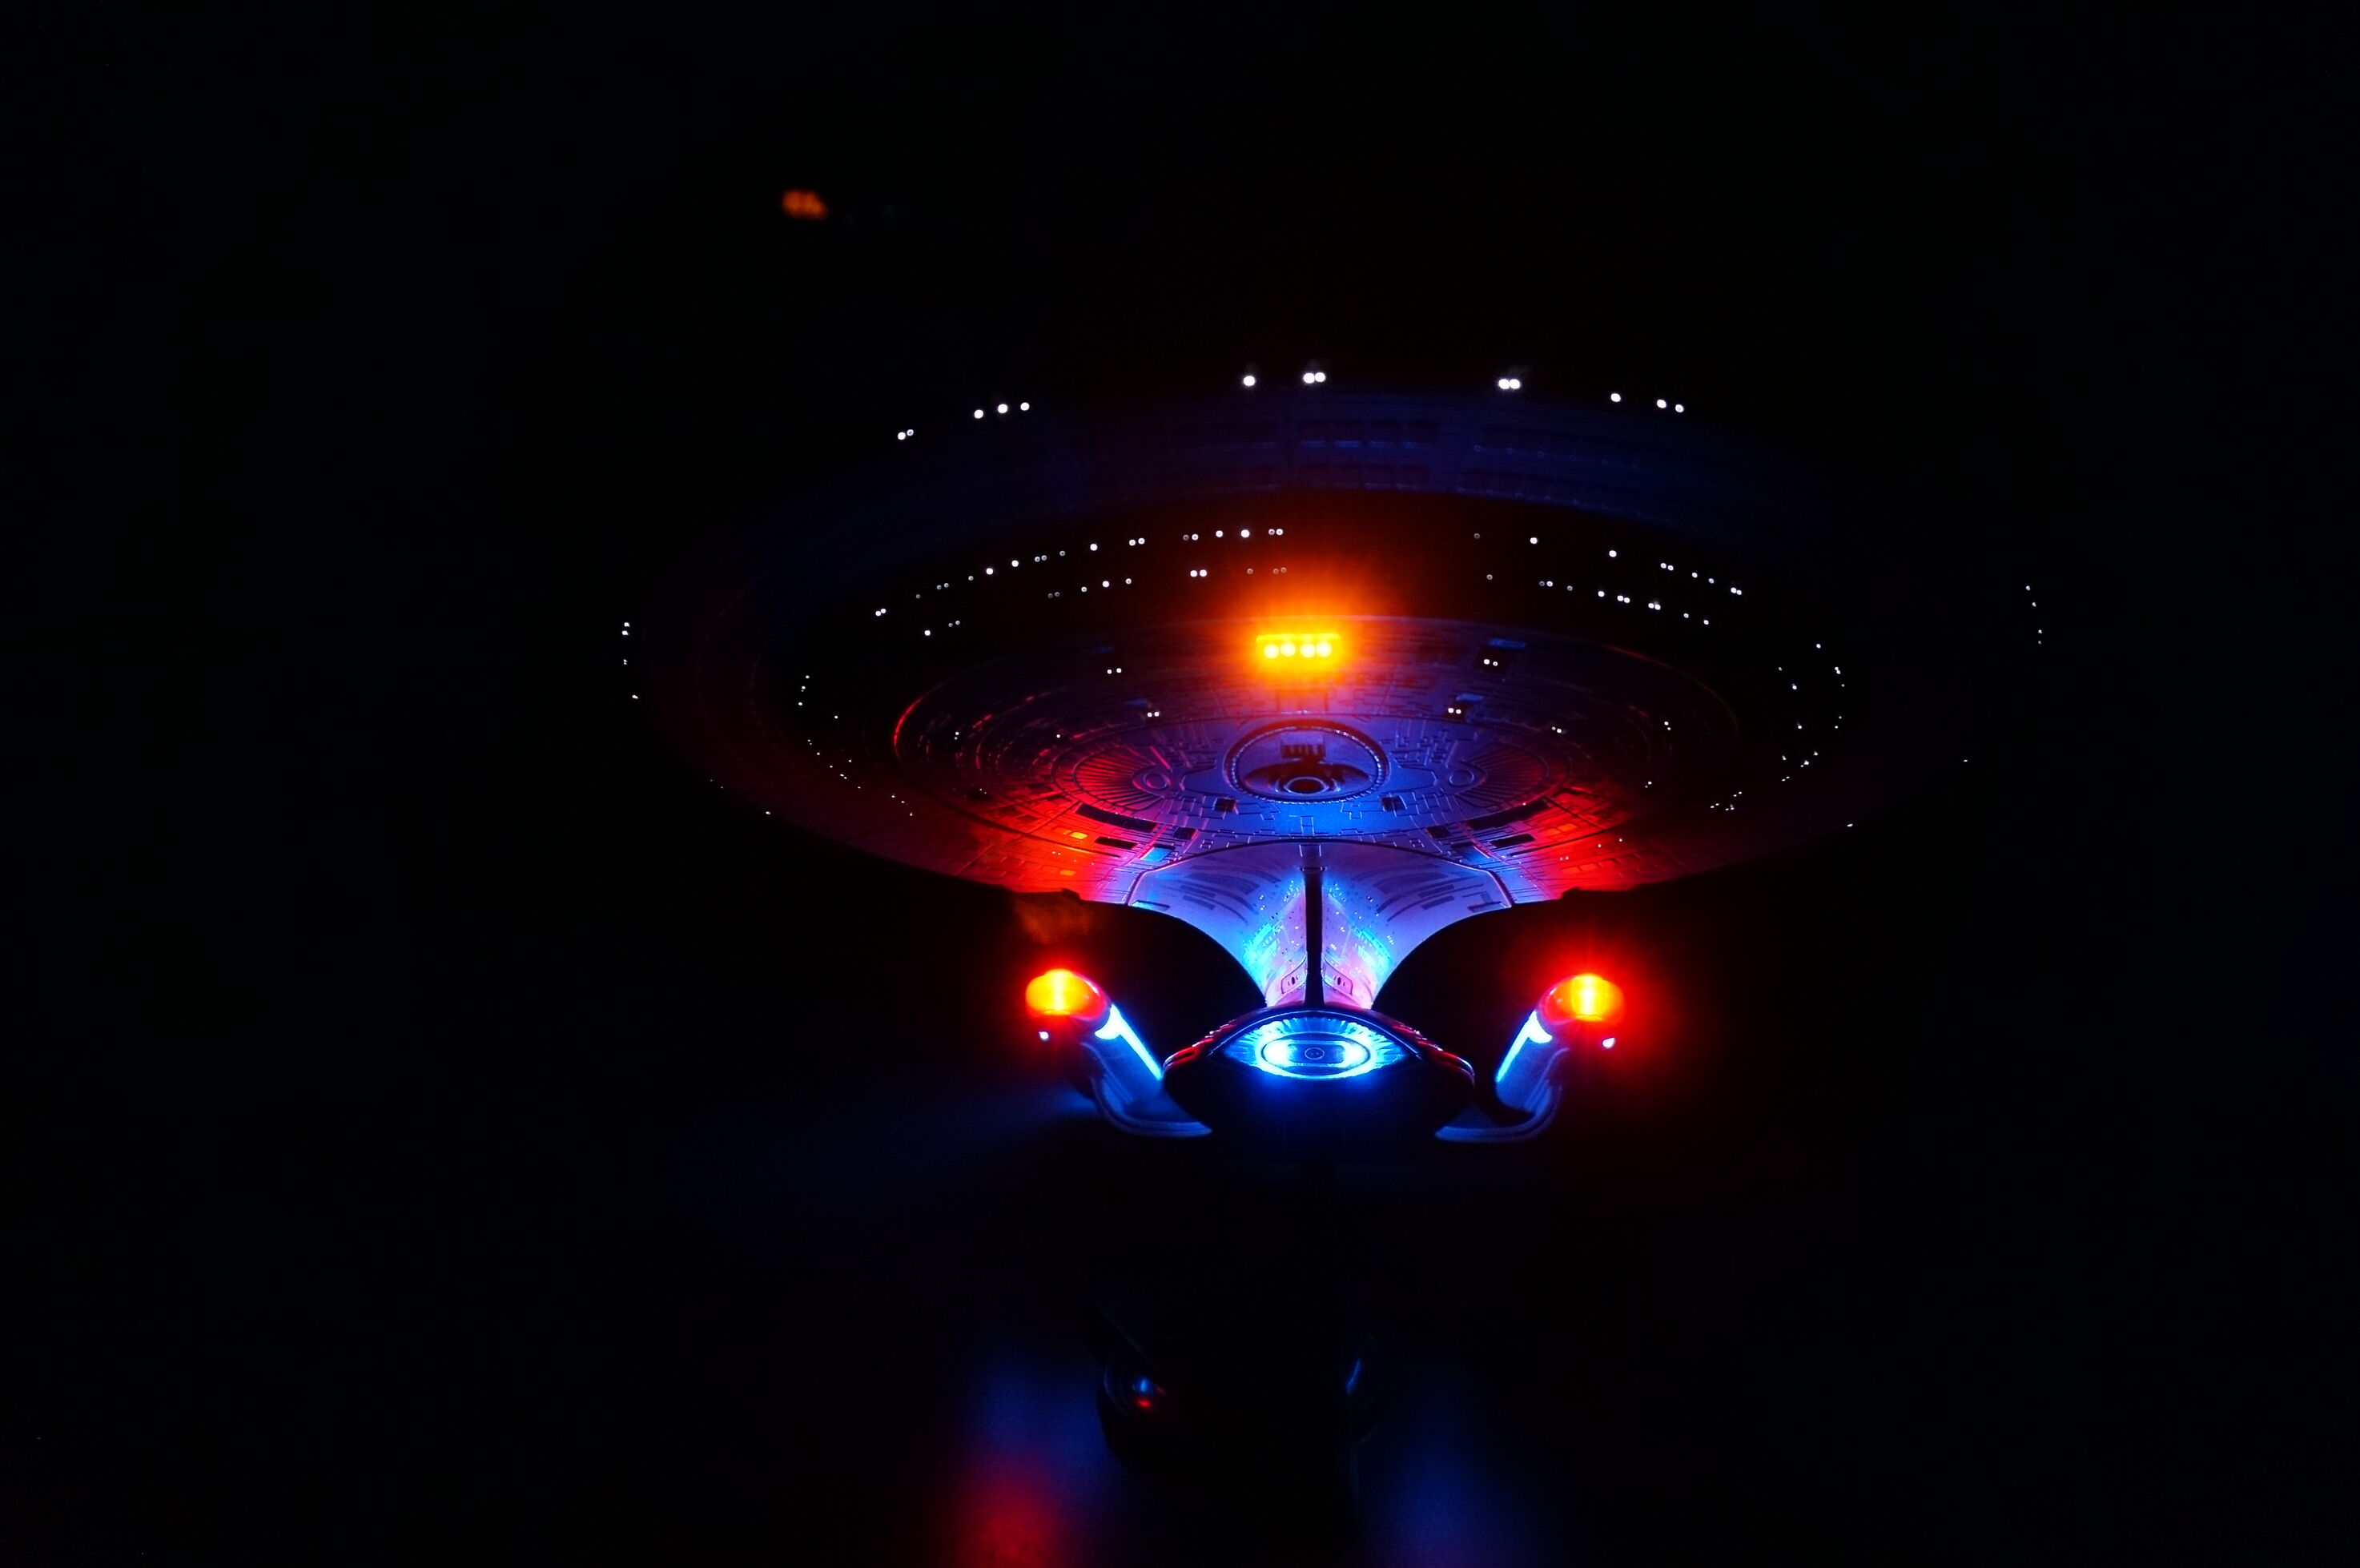
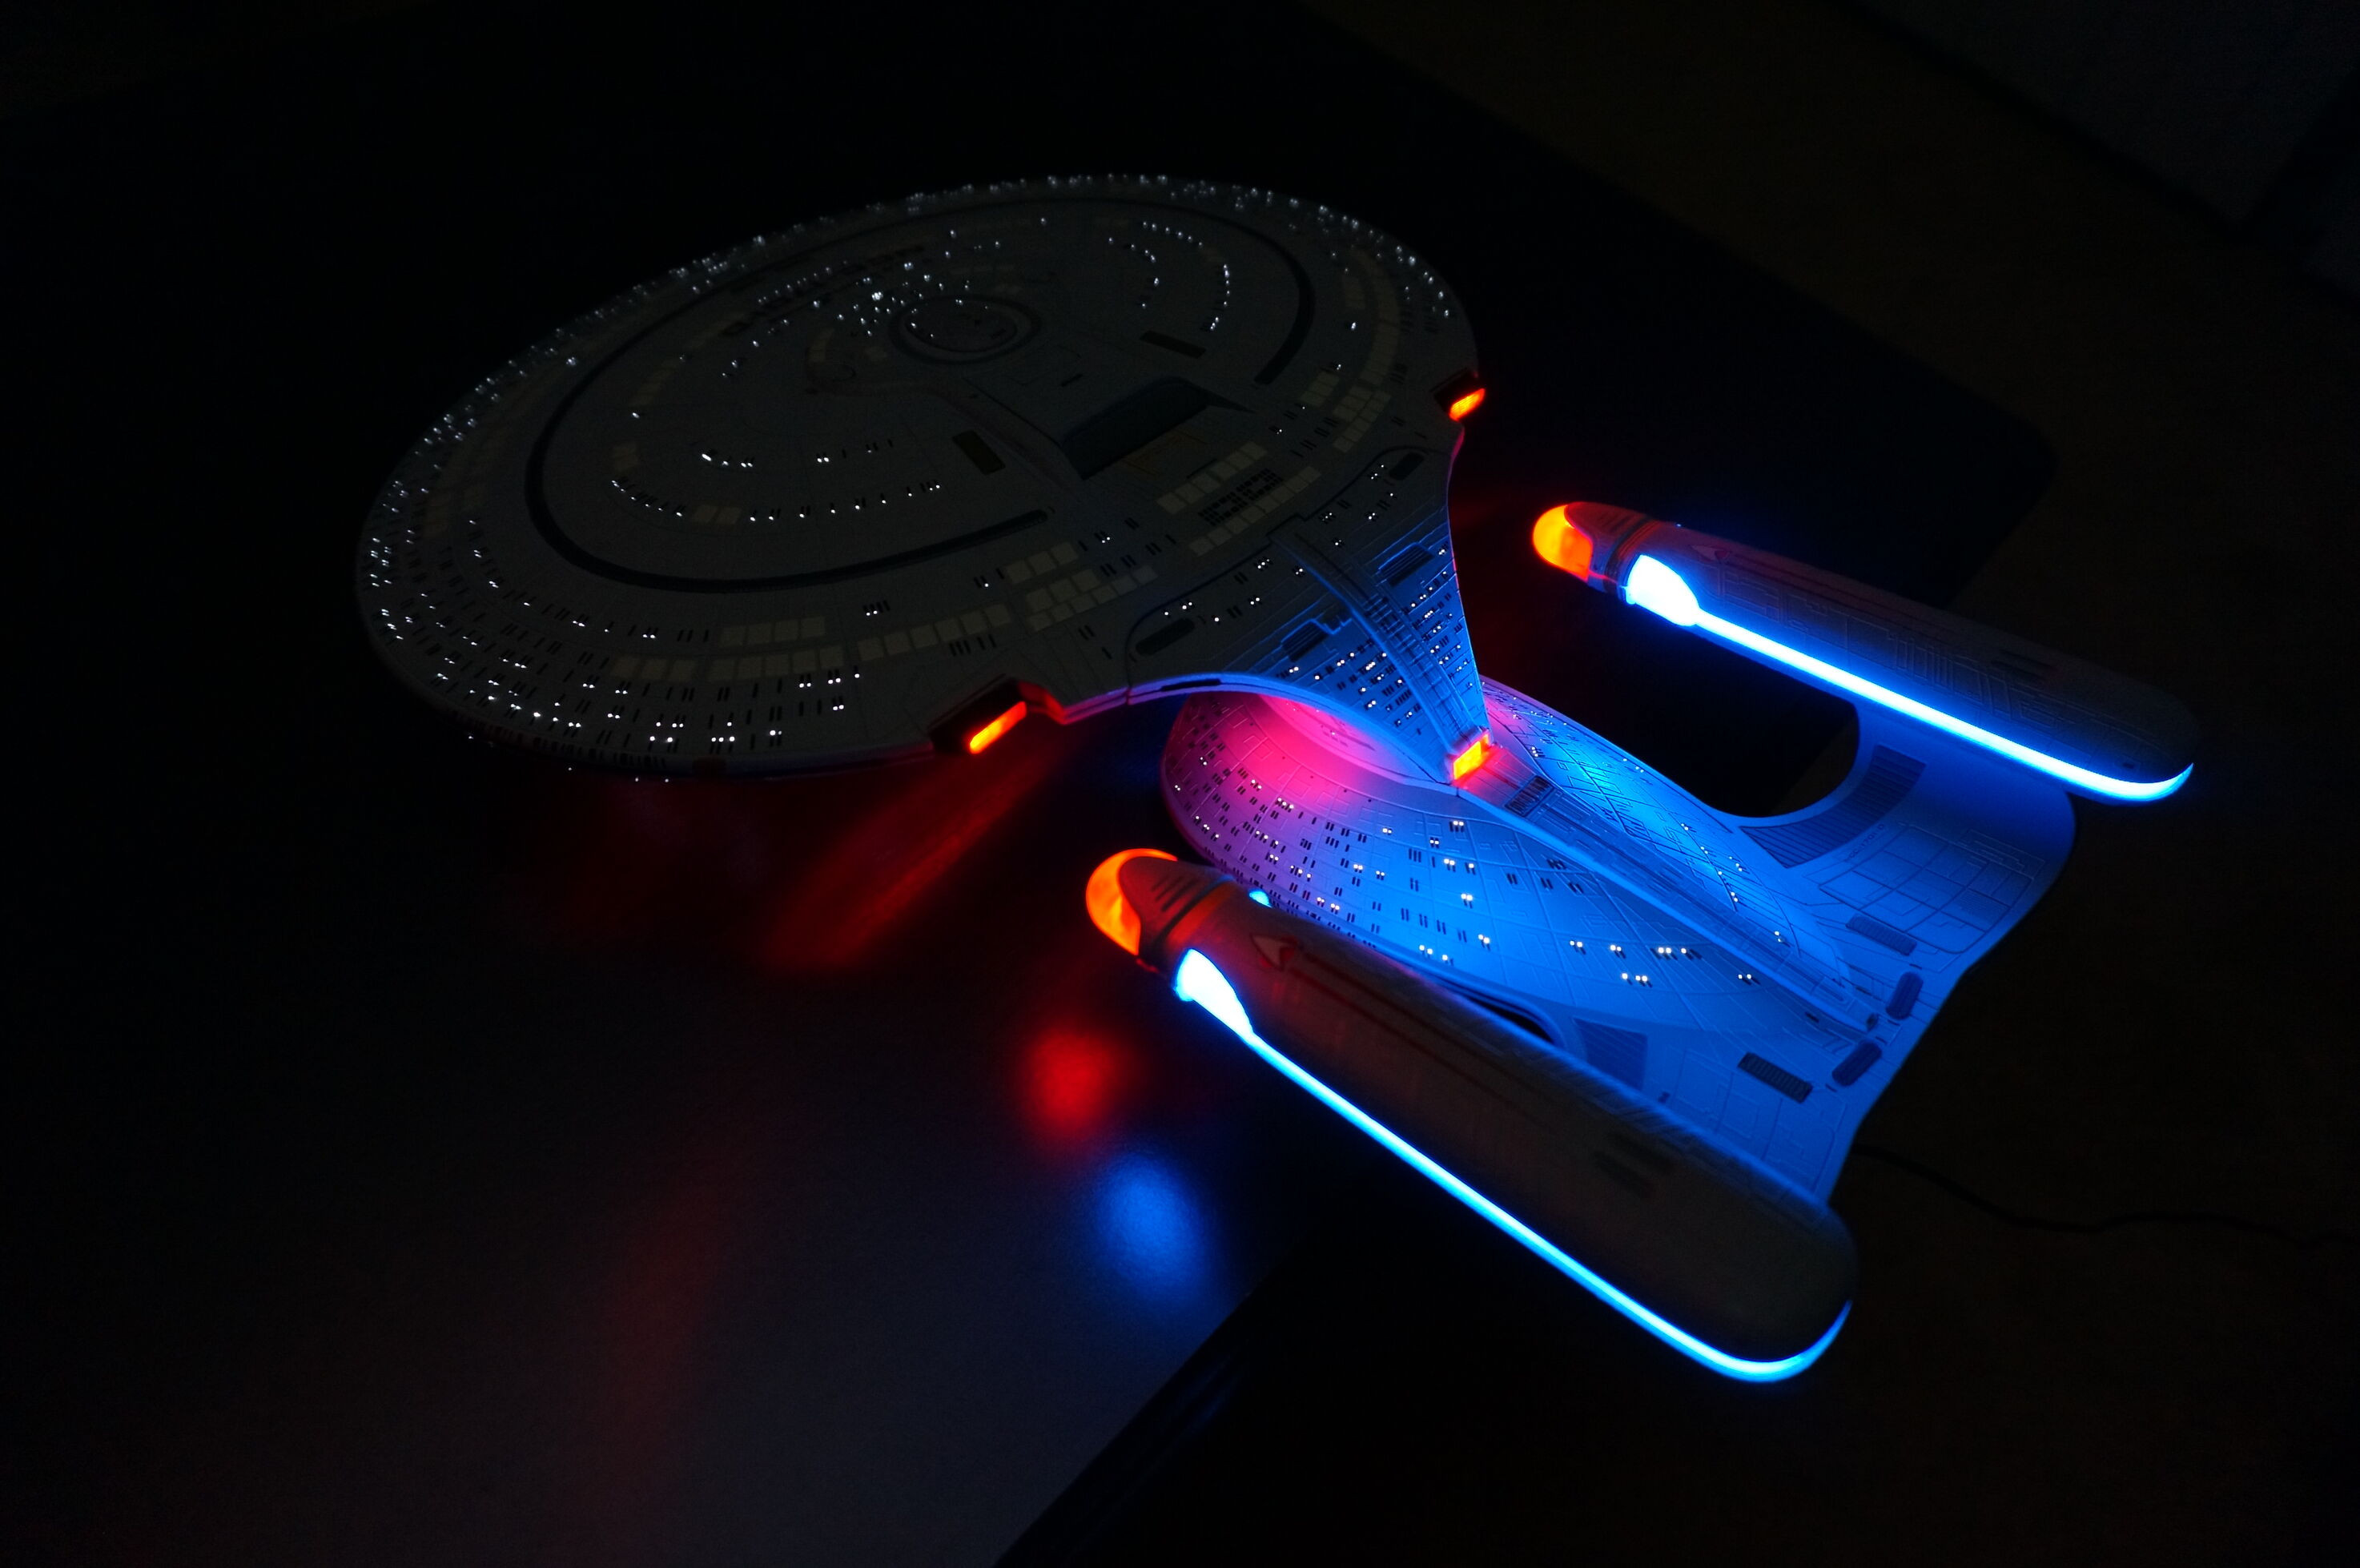
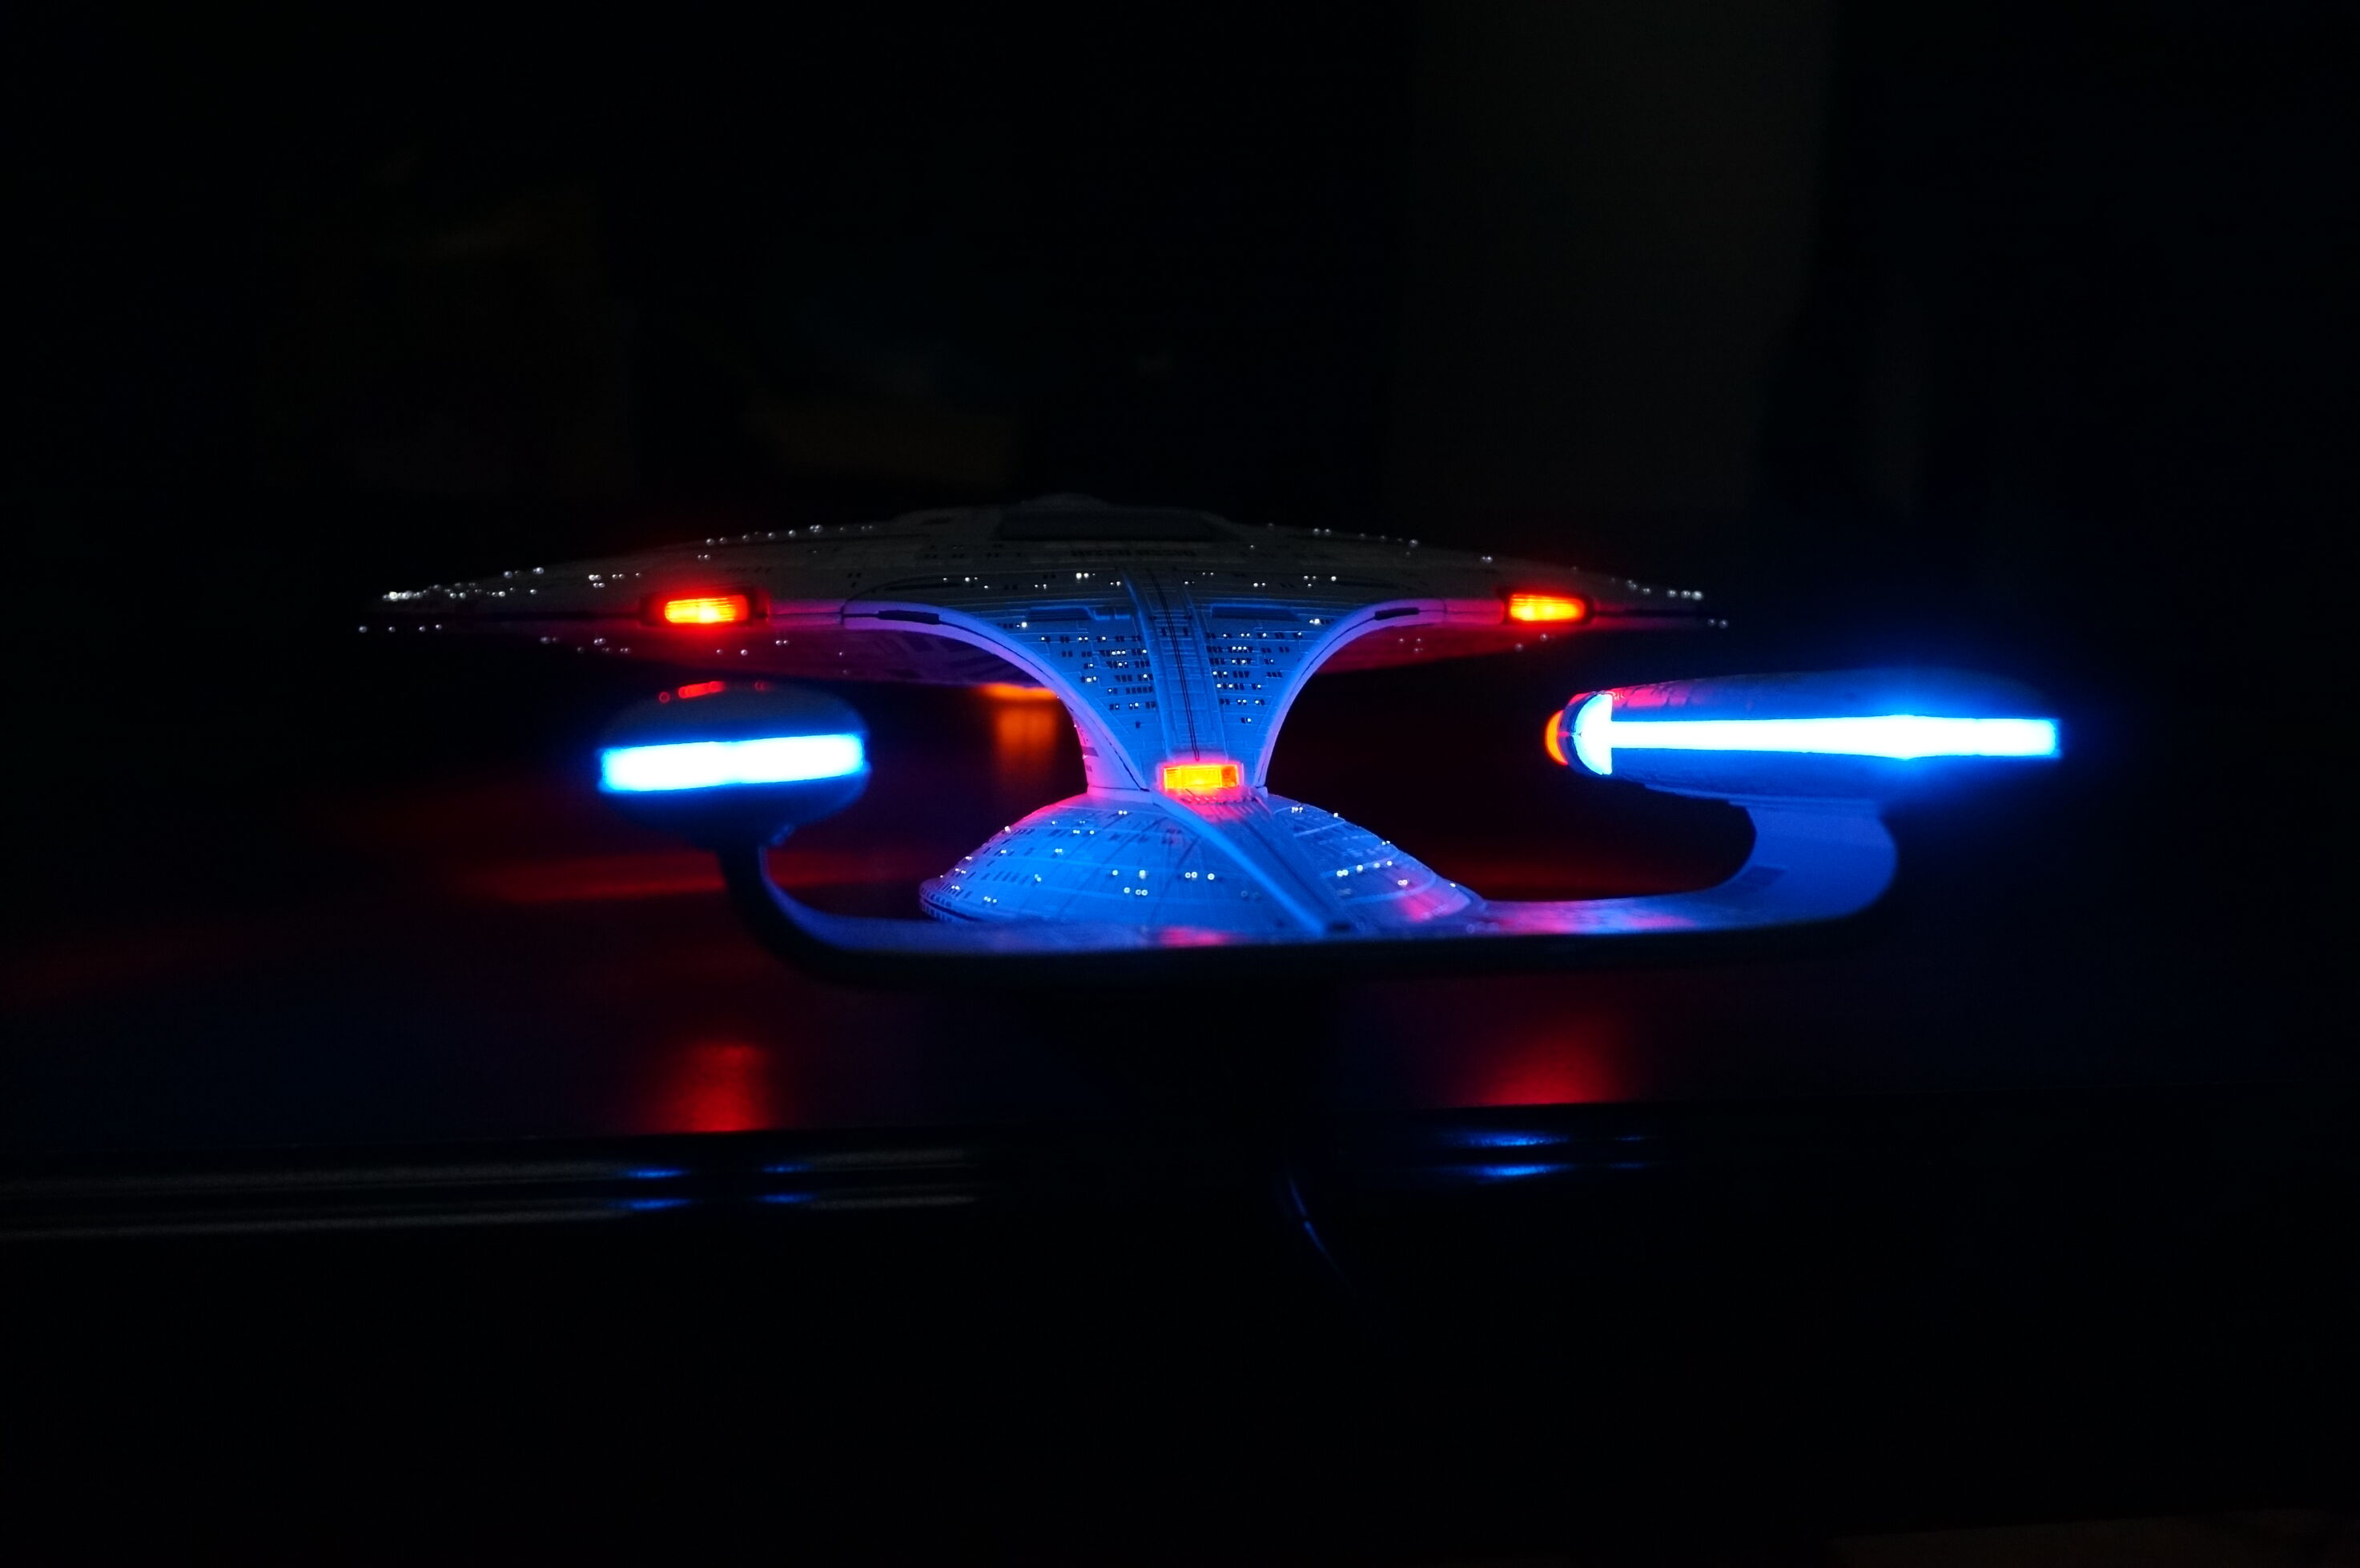
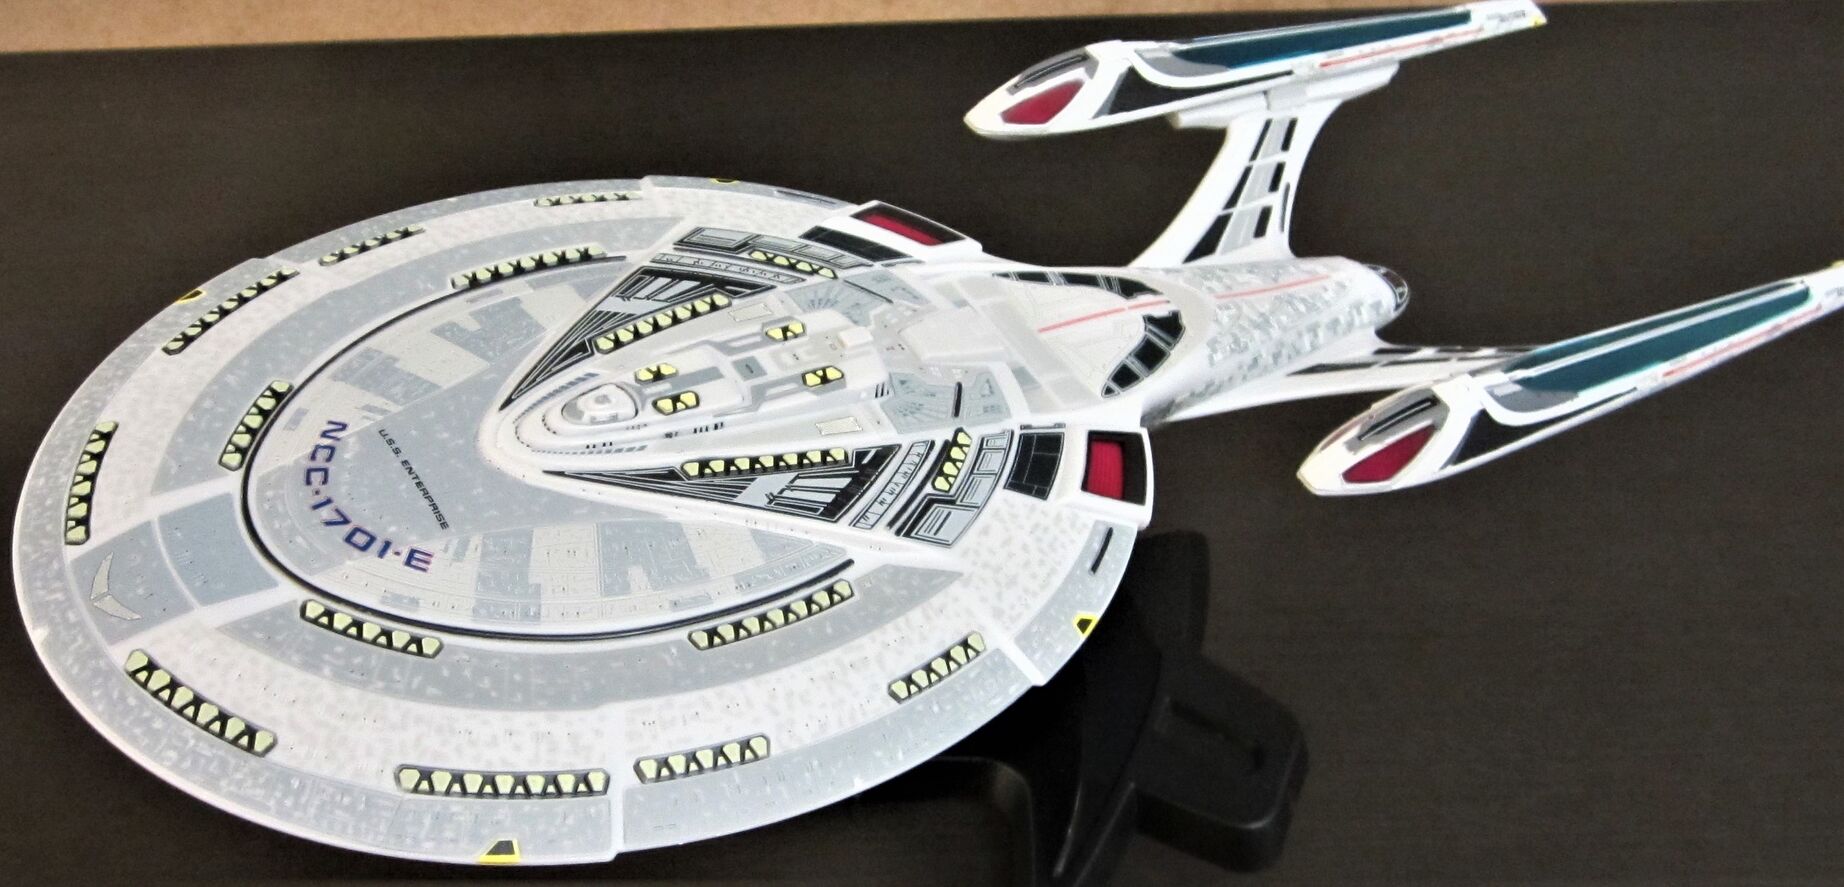
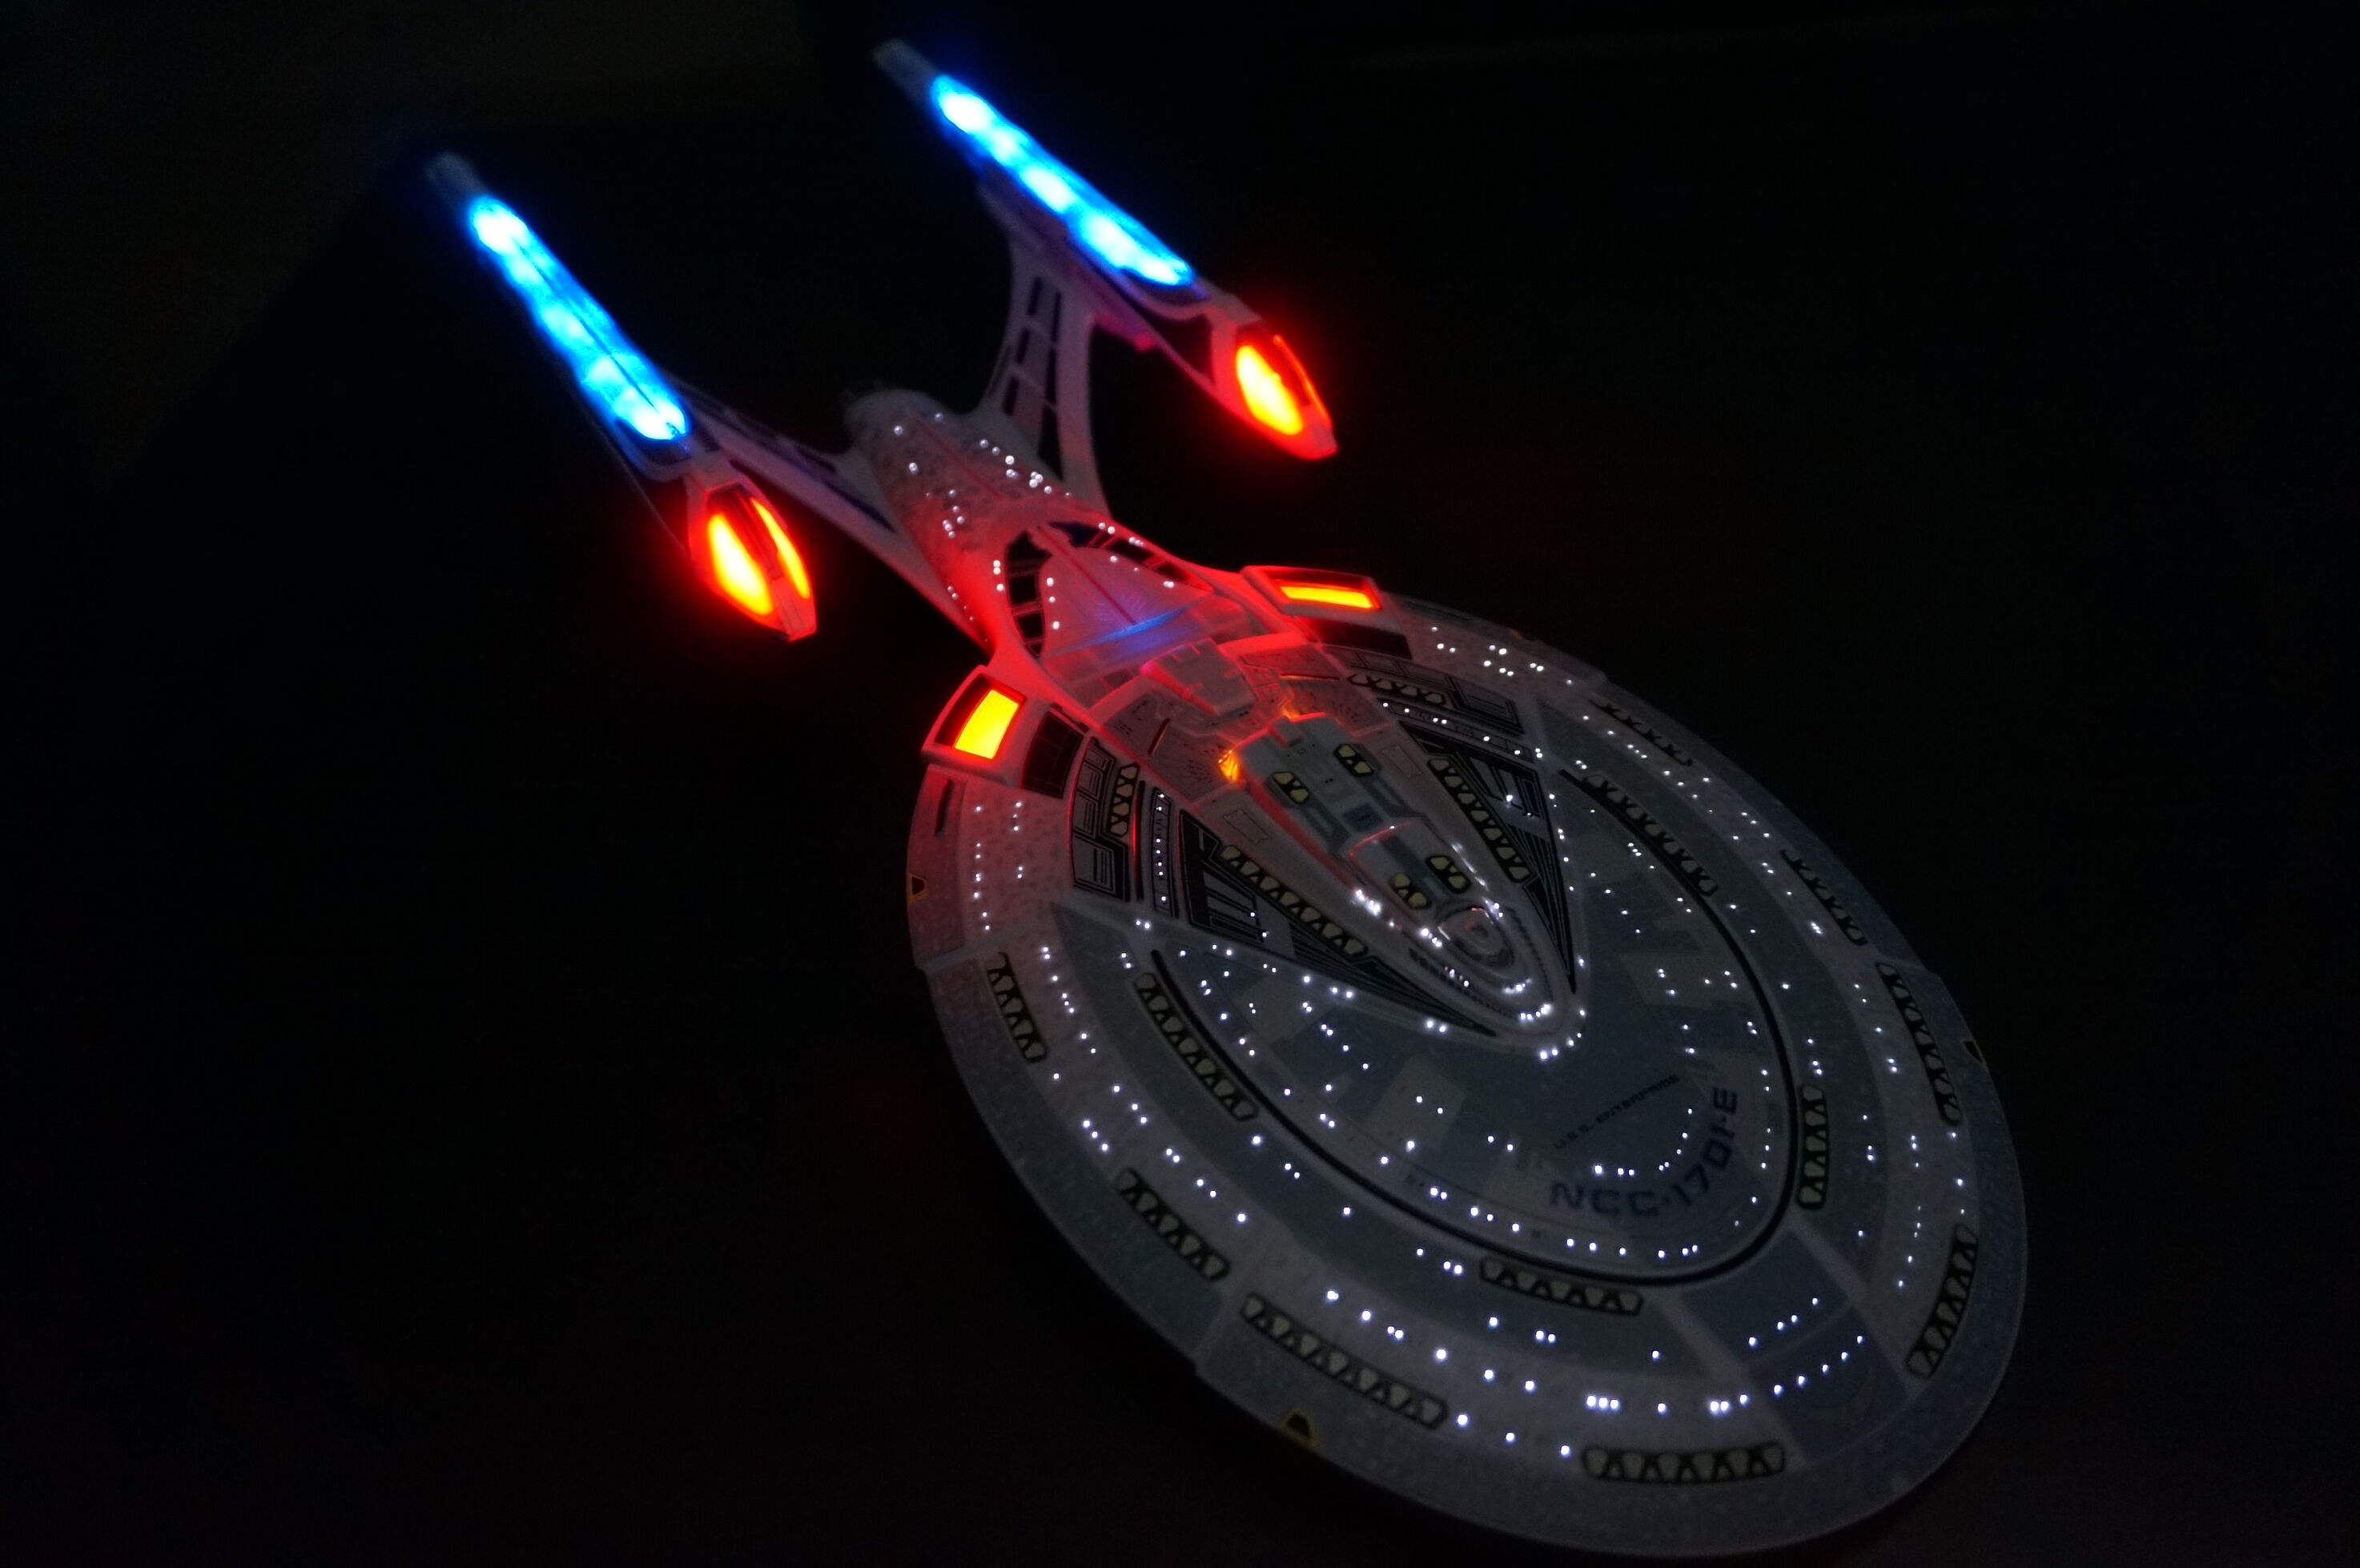
Enterprise E
Building
I started with the Enterprise E. To focus on lighting, I bought a pre-painted Diamond Select model - it had basic lighting but no fiber optics or window lights.
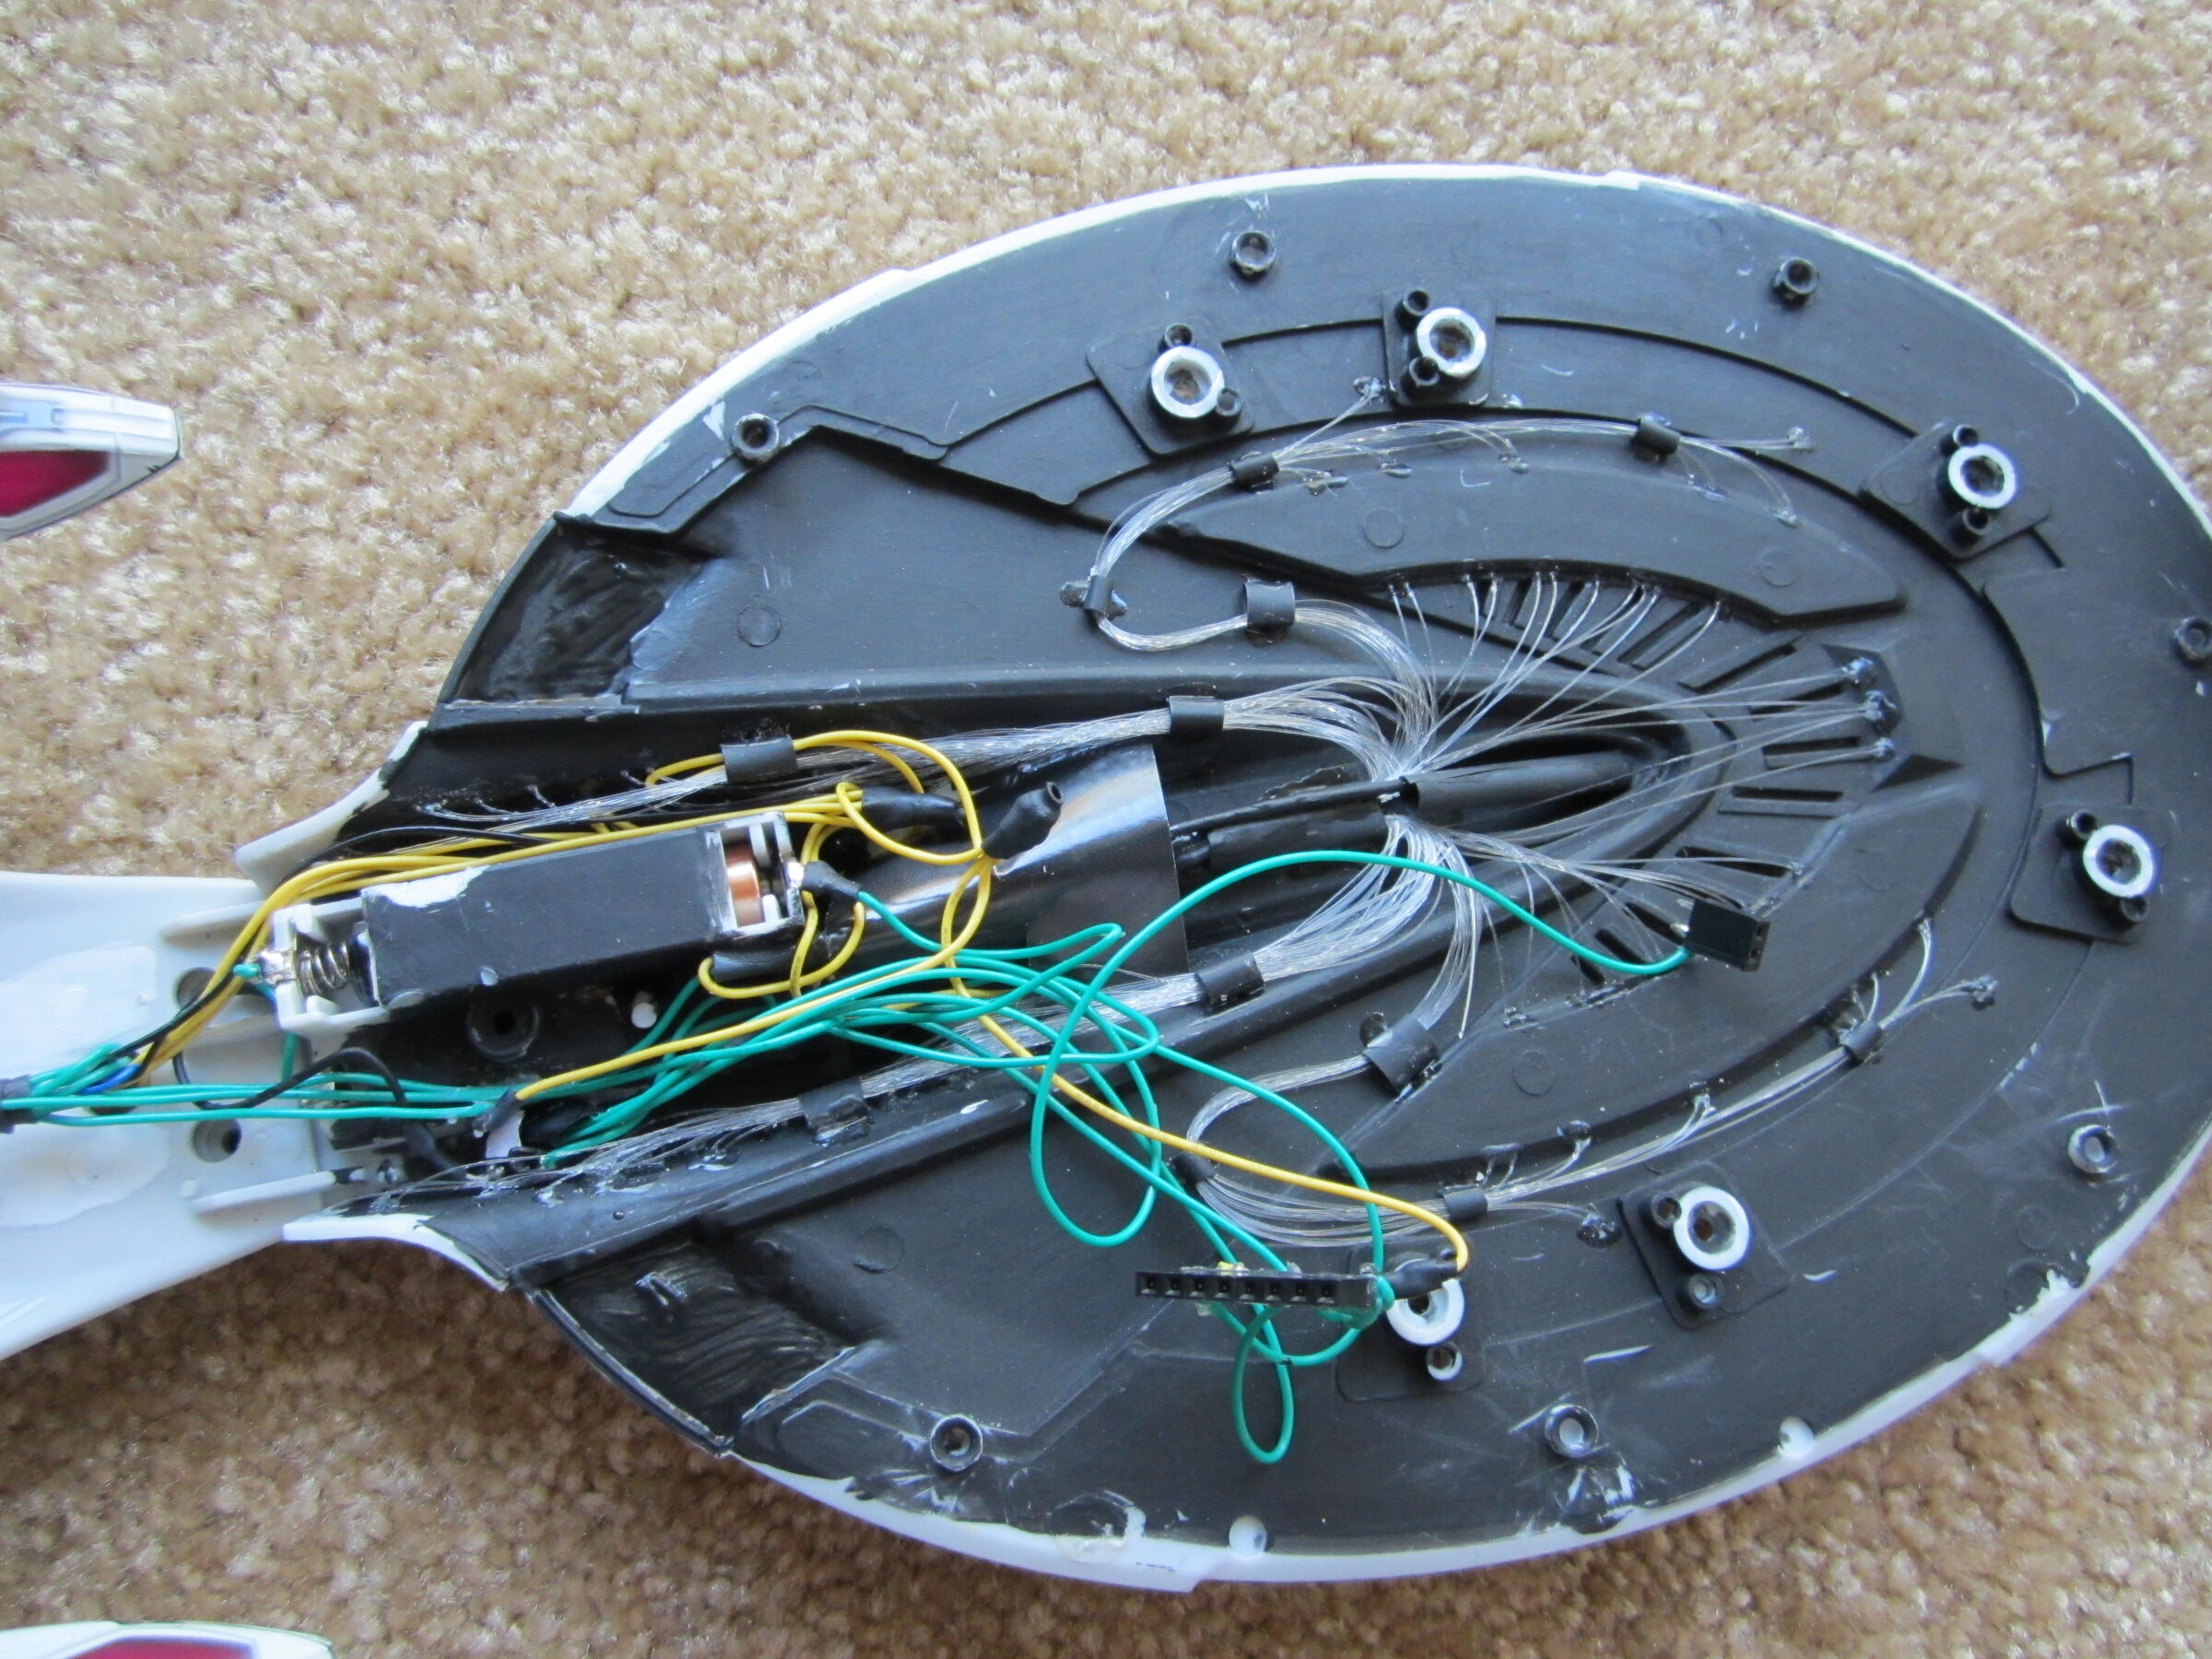
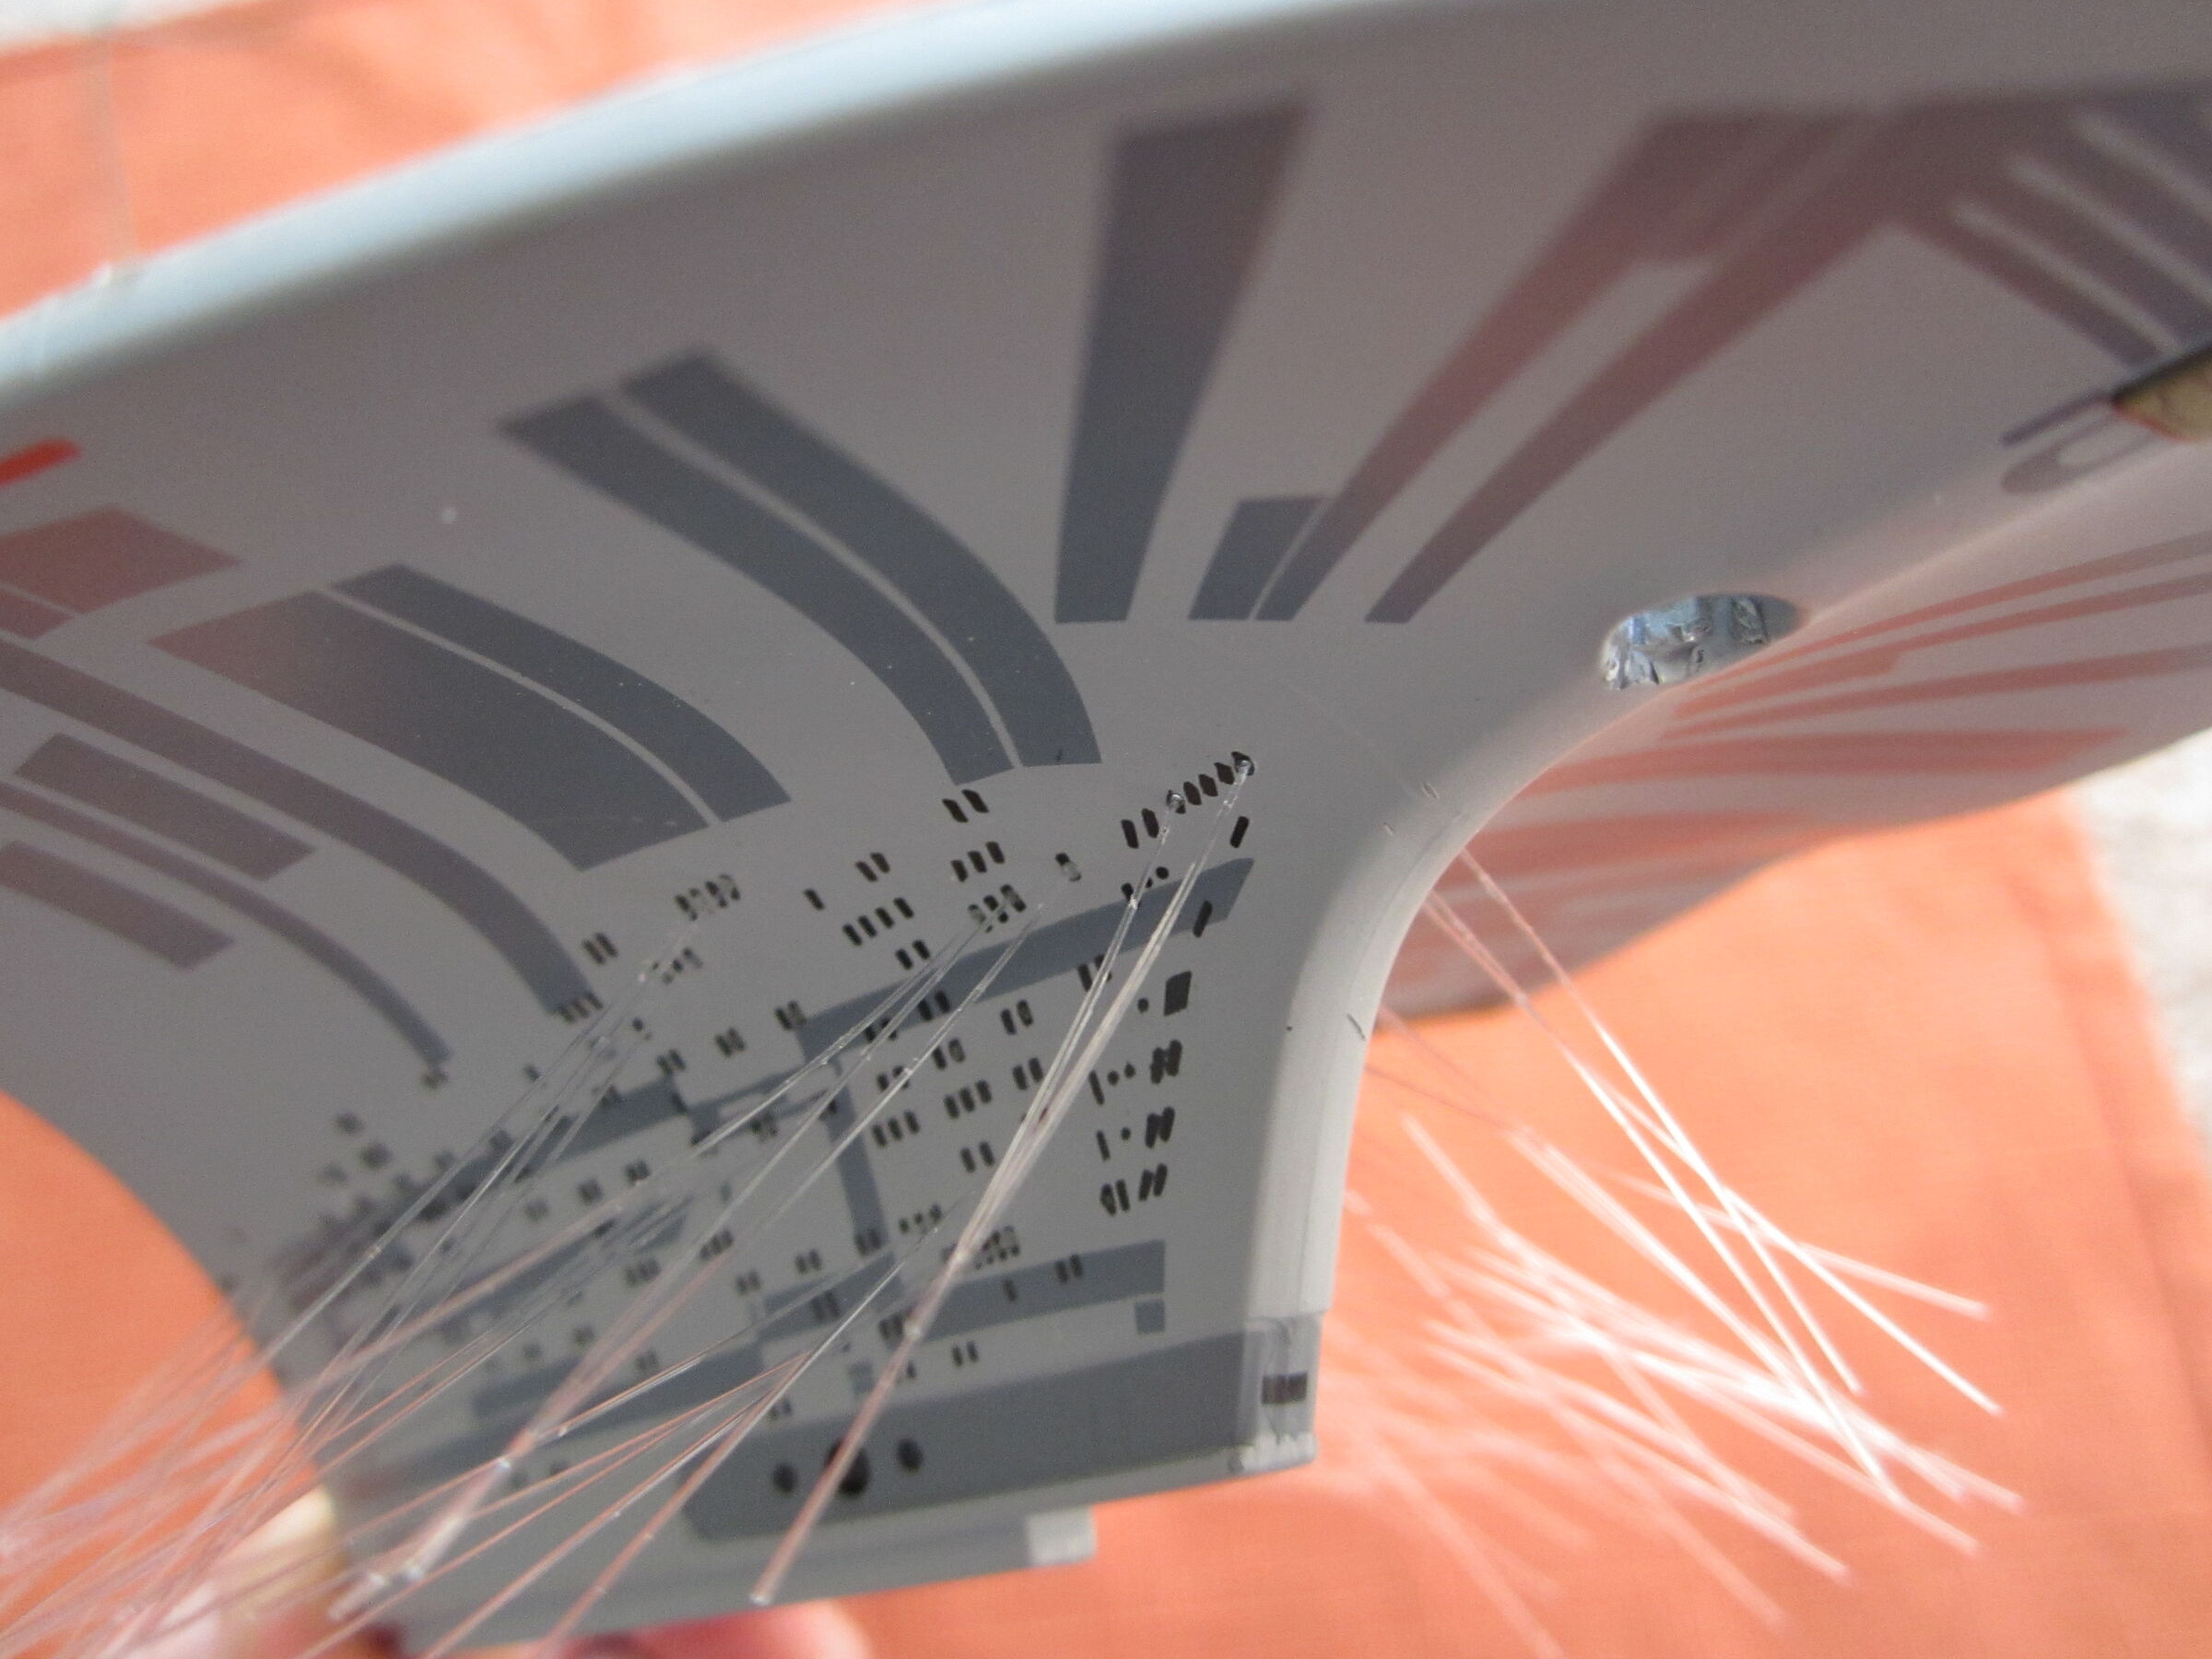
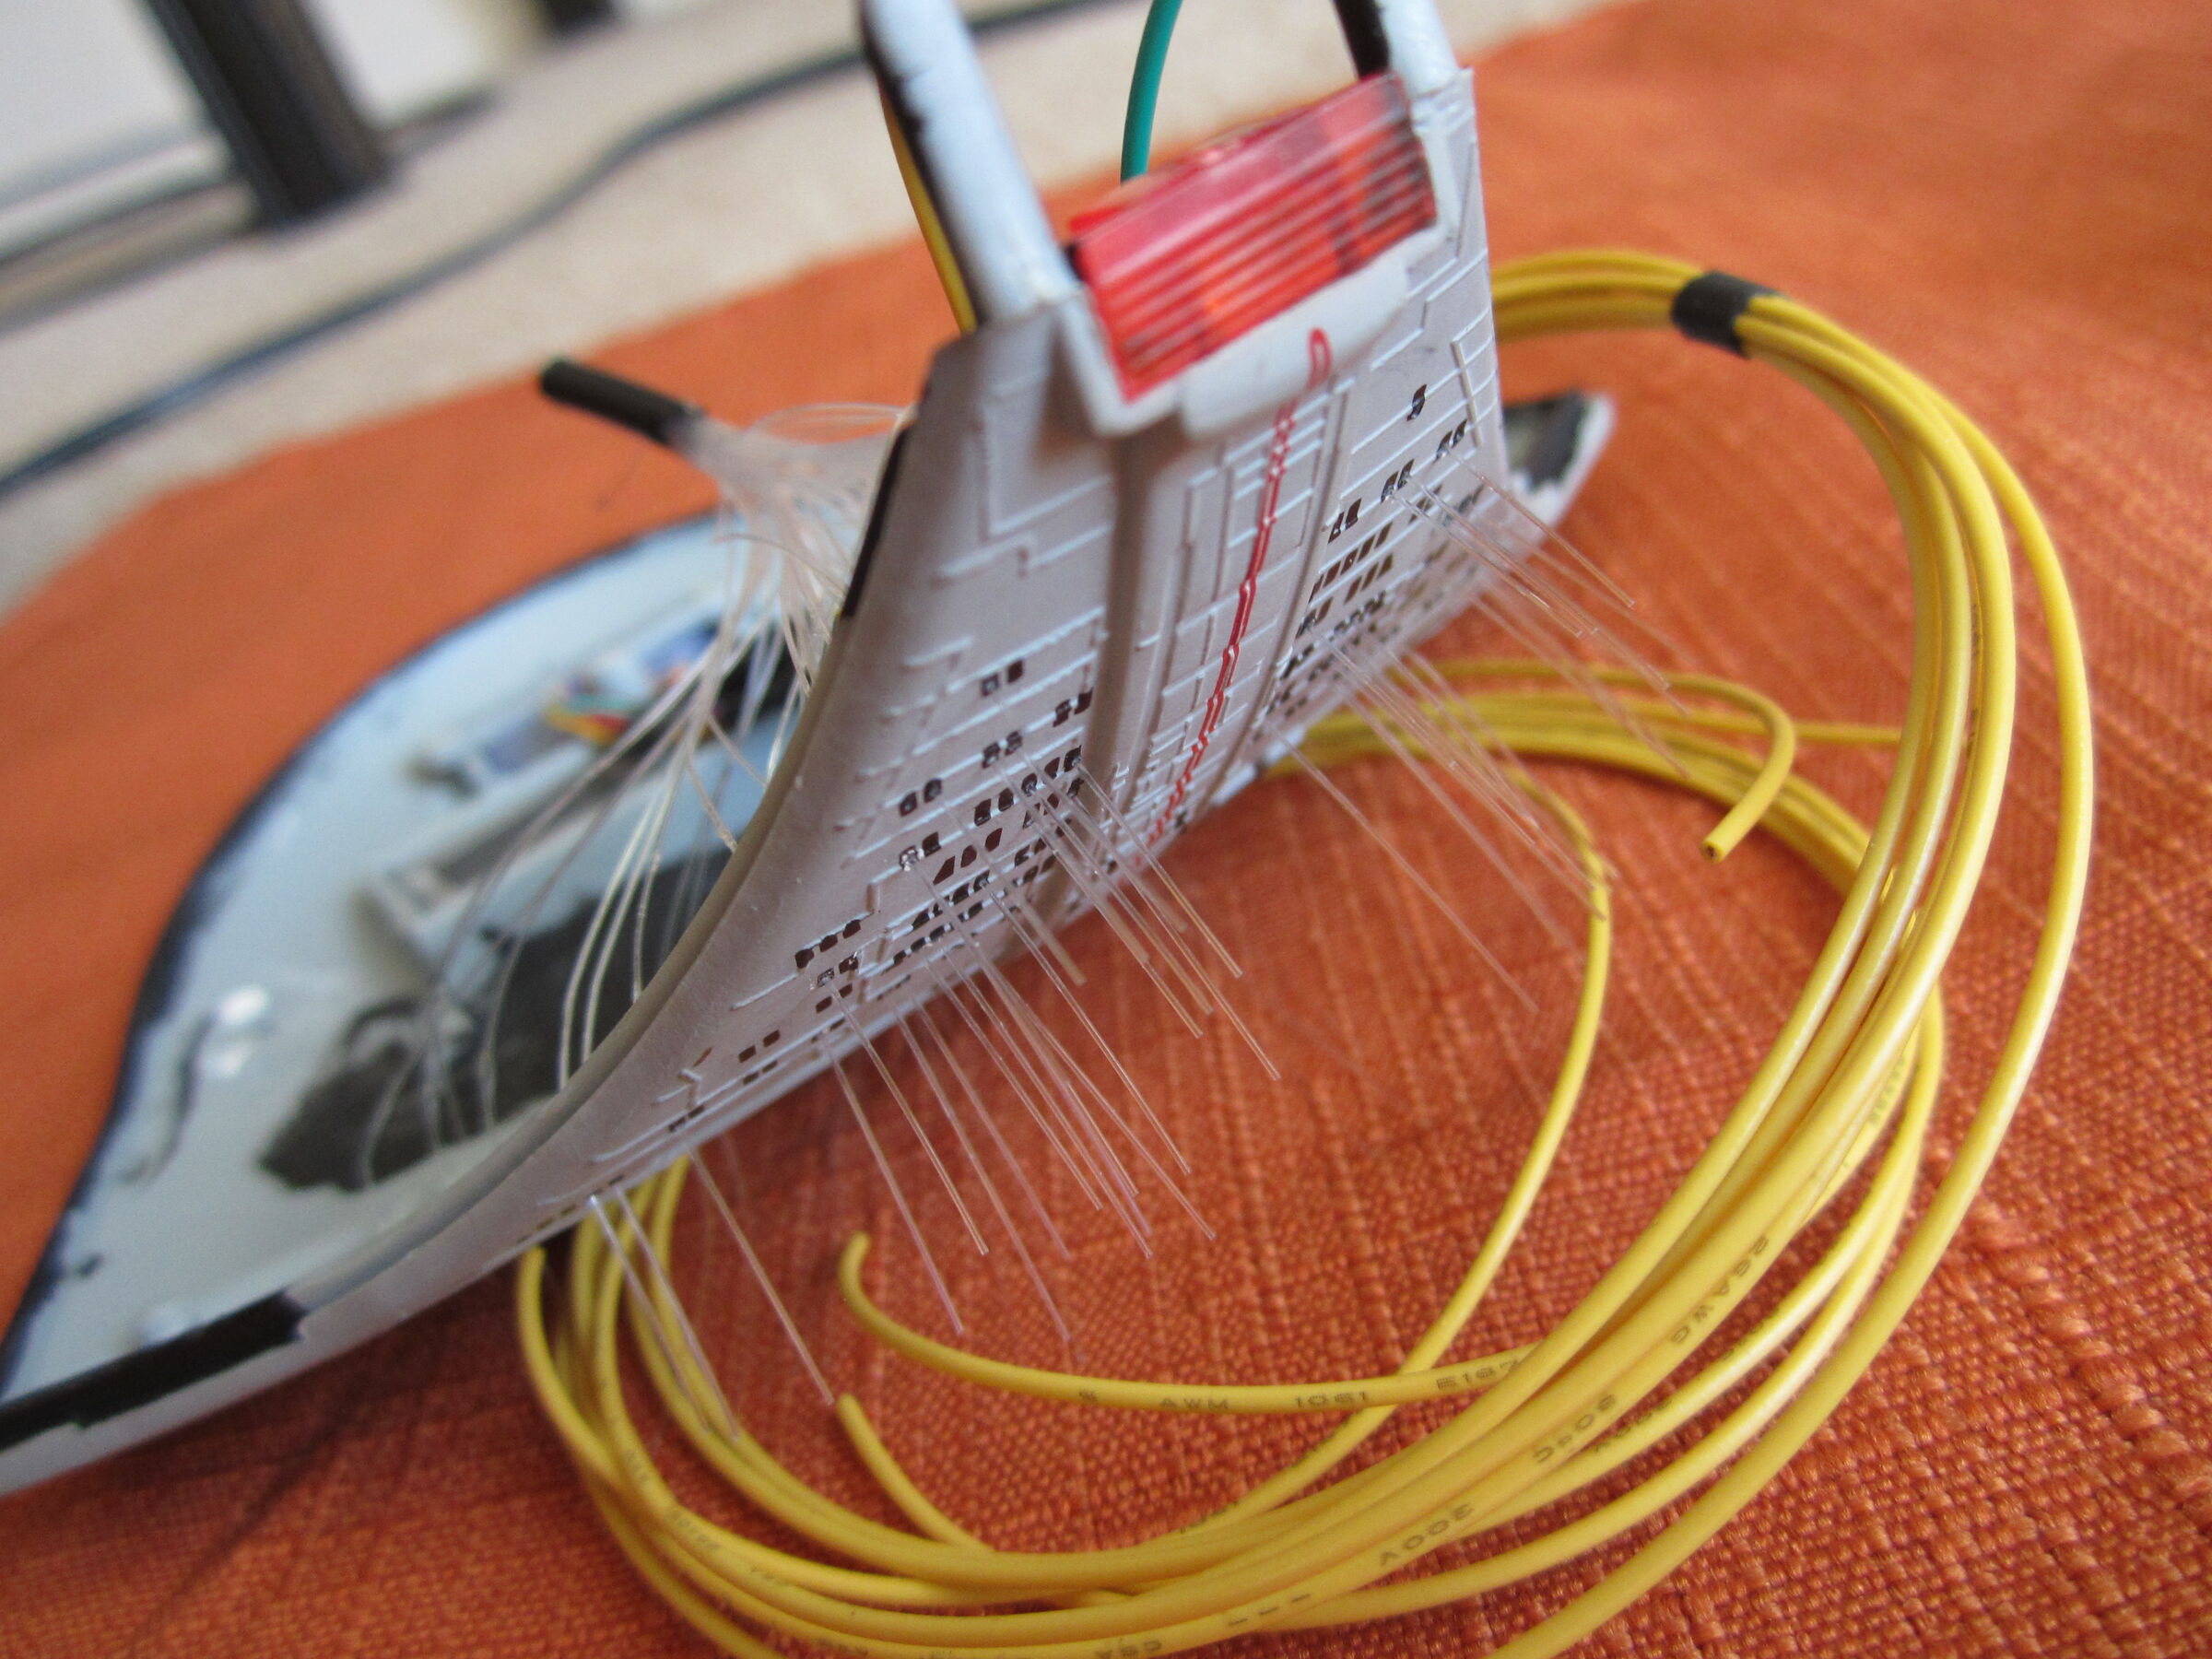
First step: disassemble and strip out the existing electronics. I painted the interior with black and white layers to prevent light leakage.
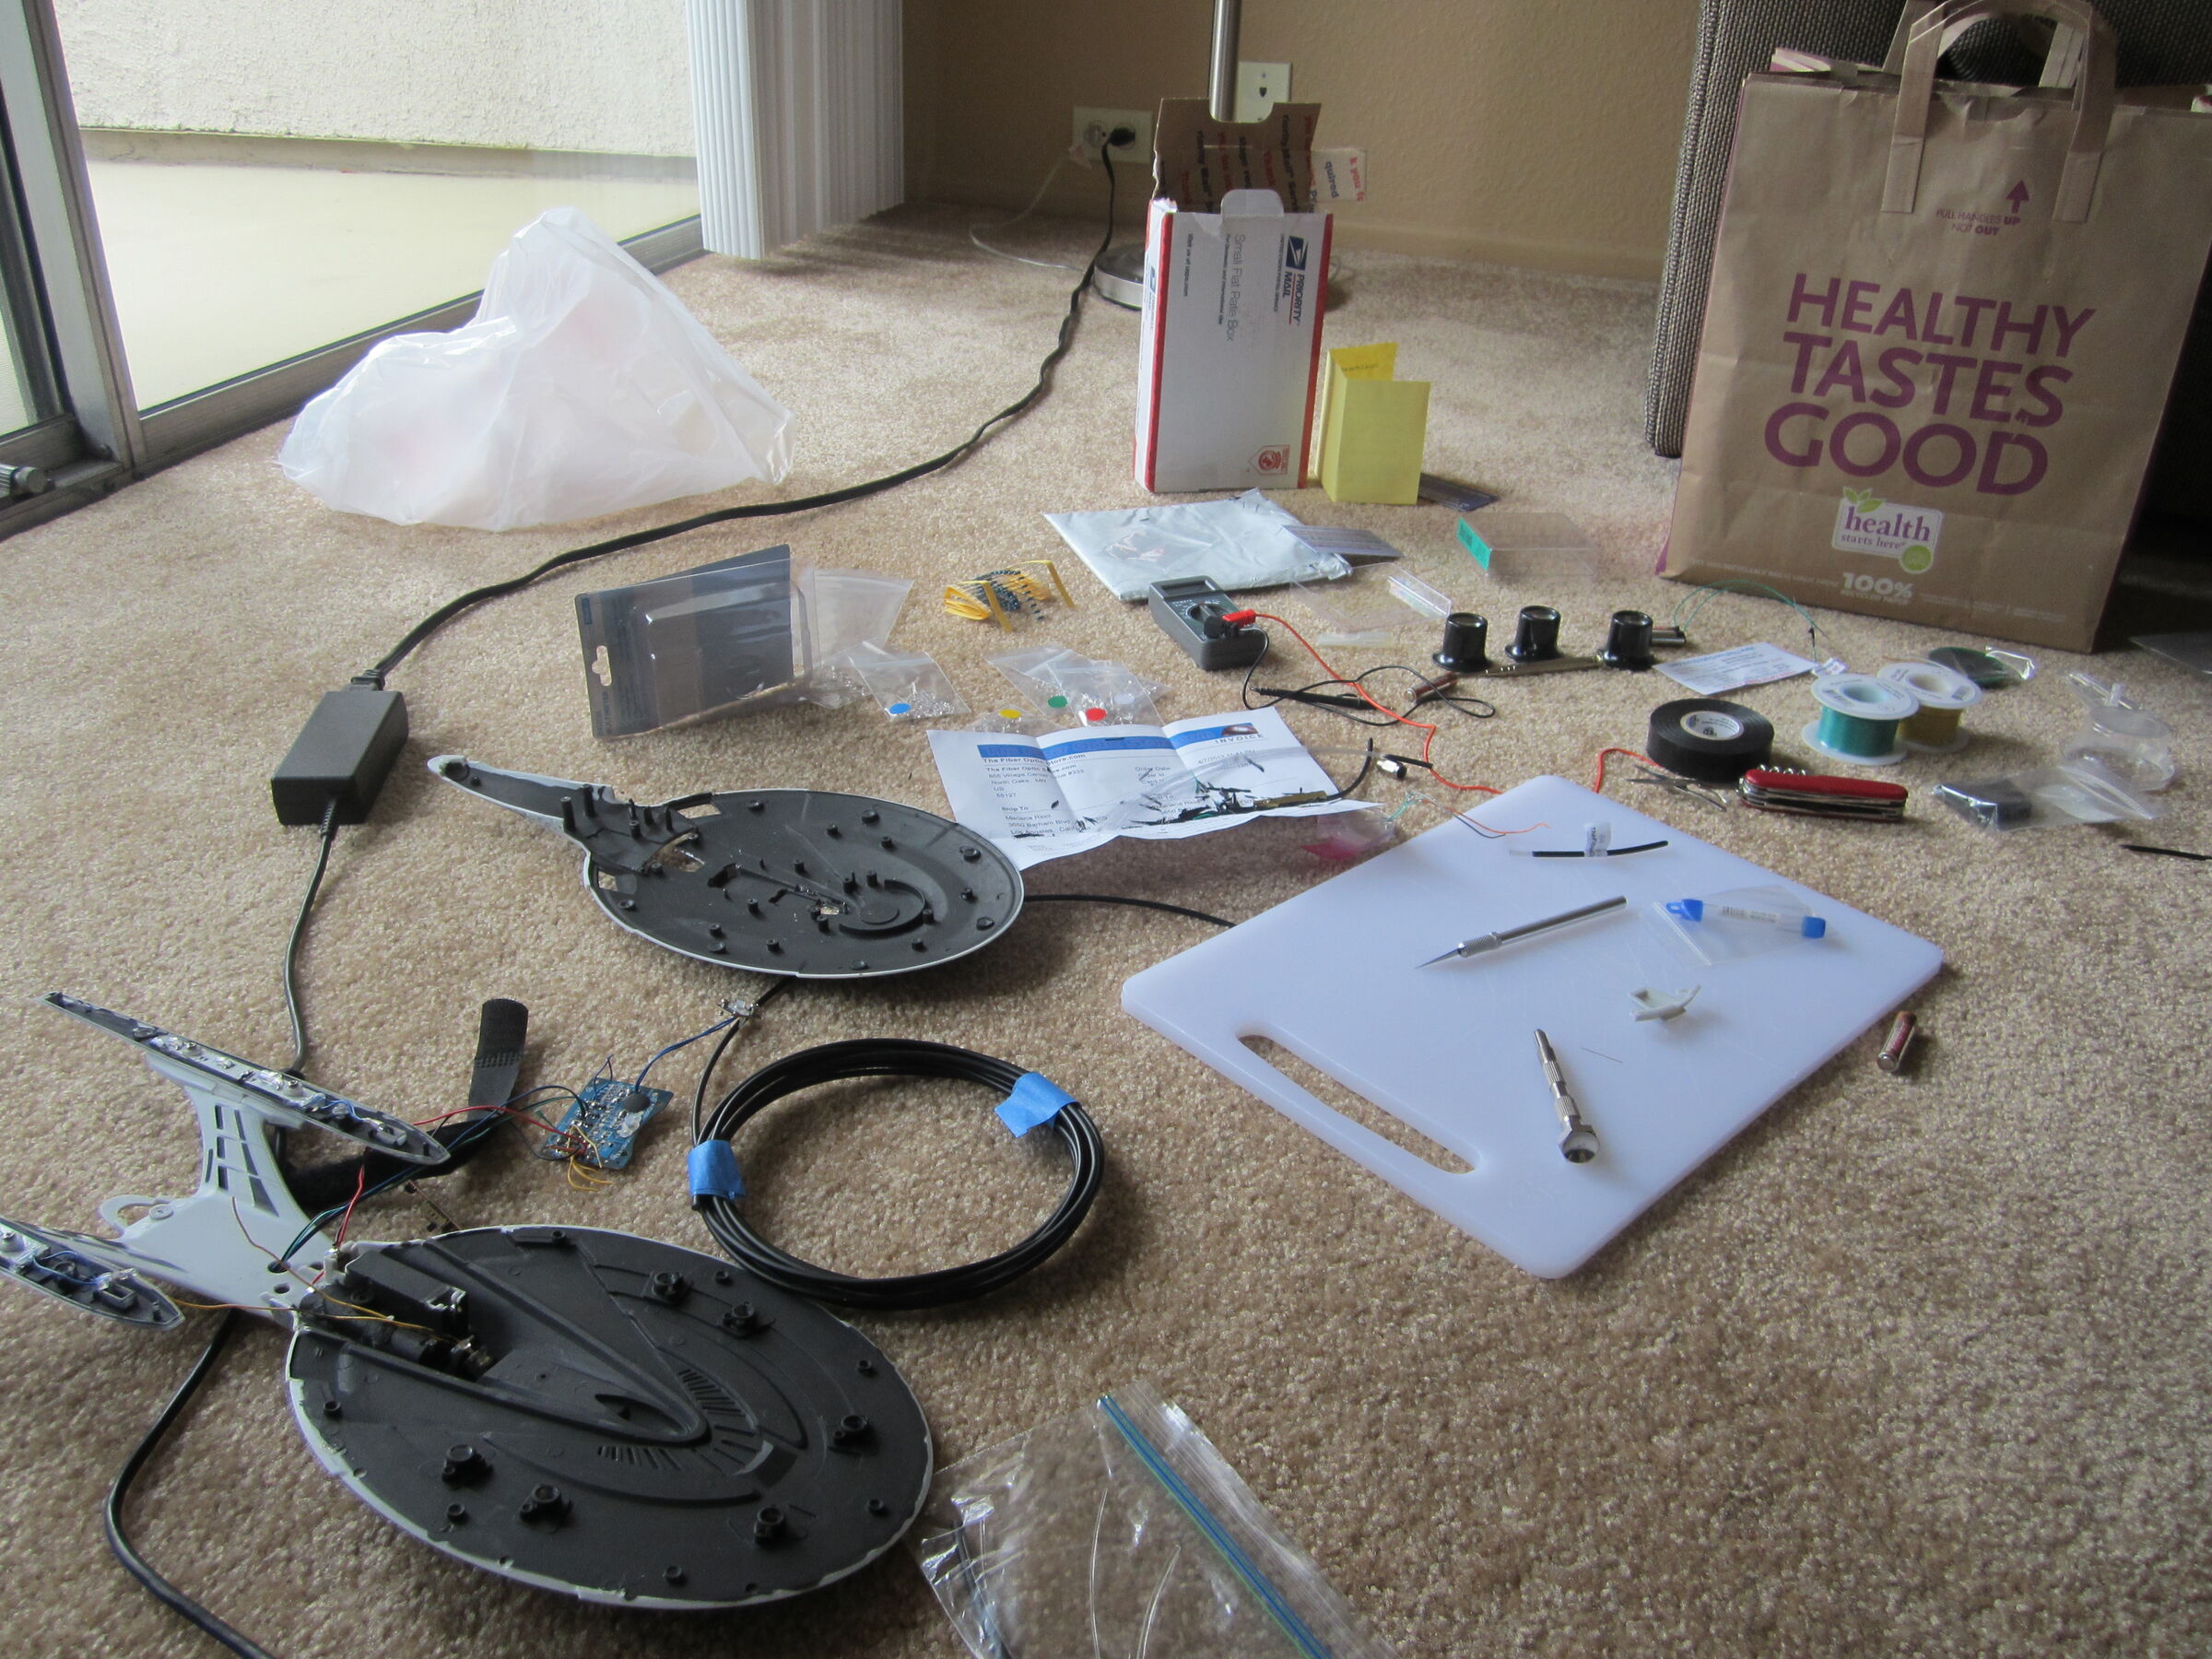
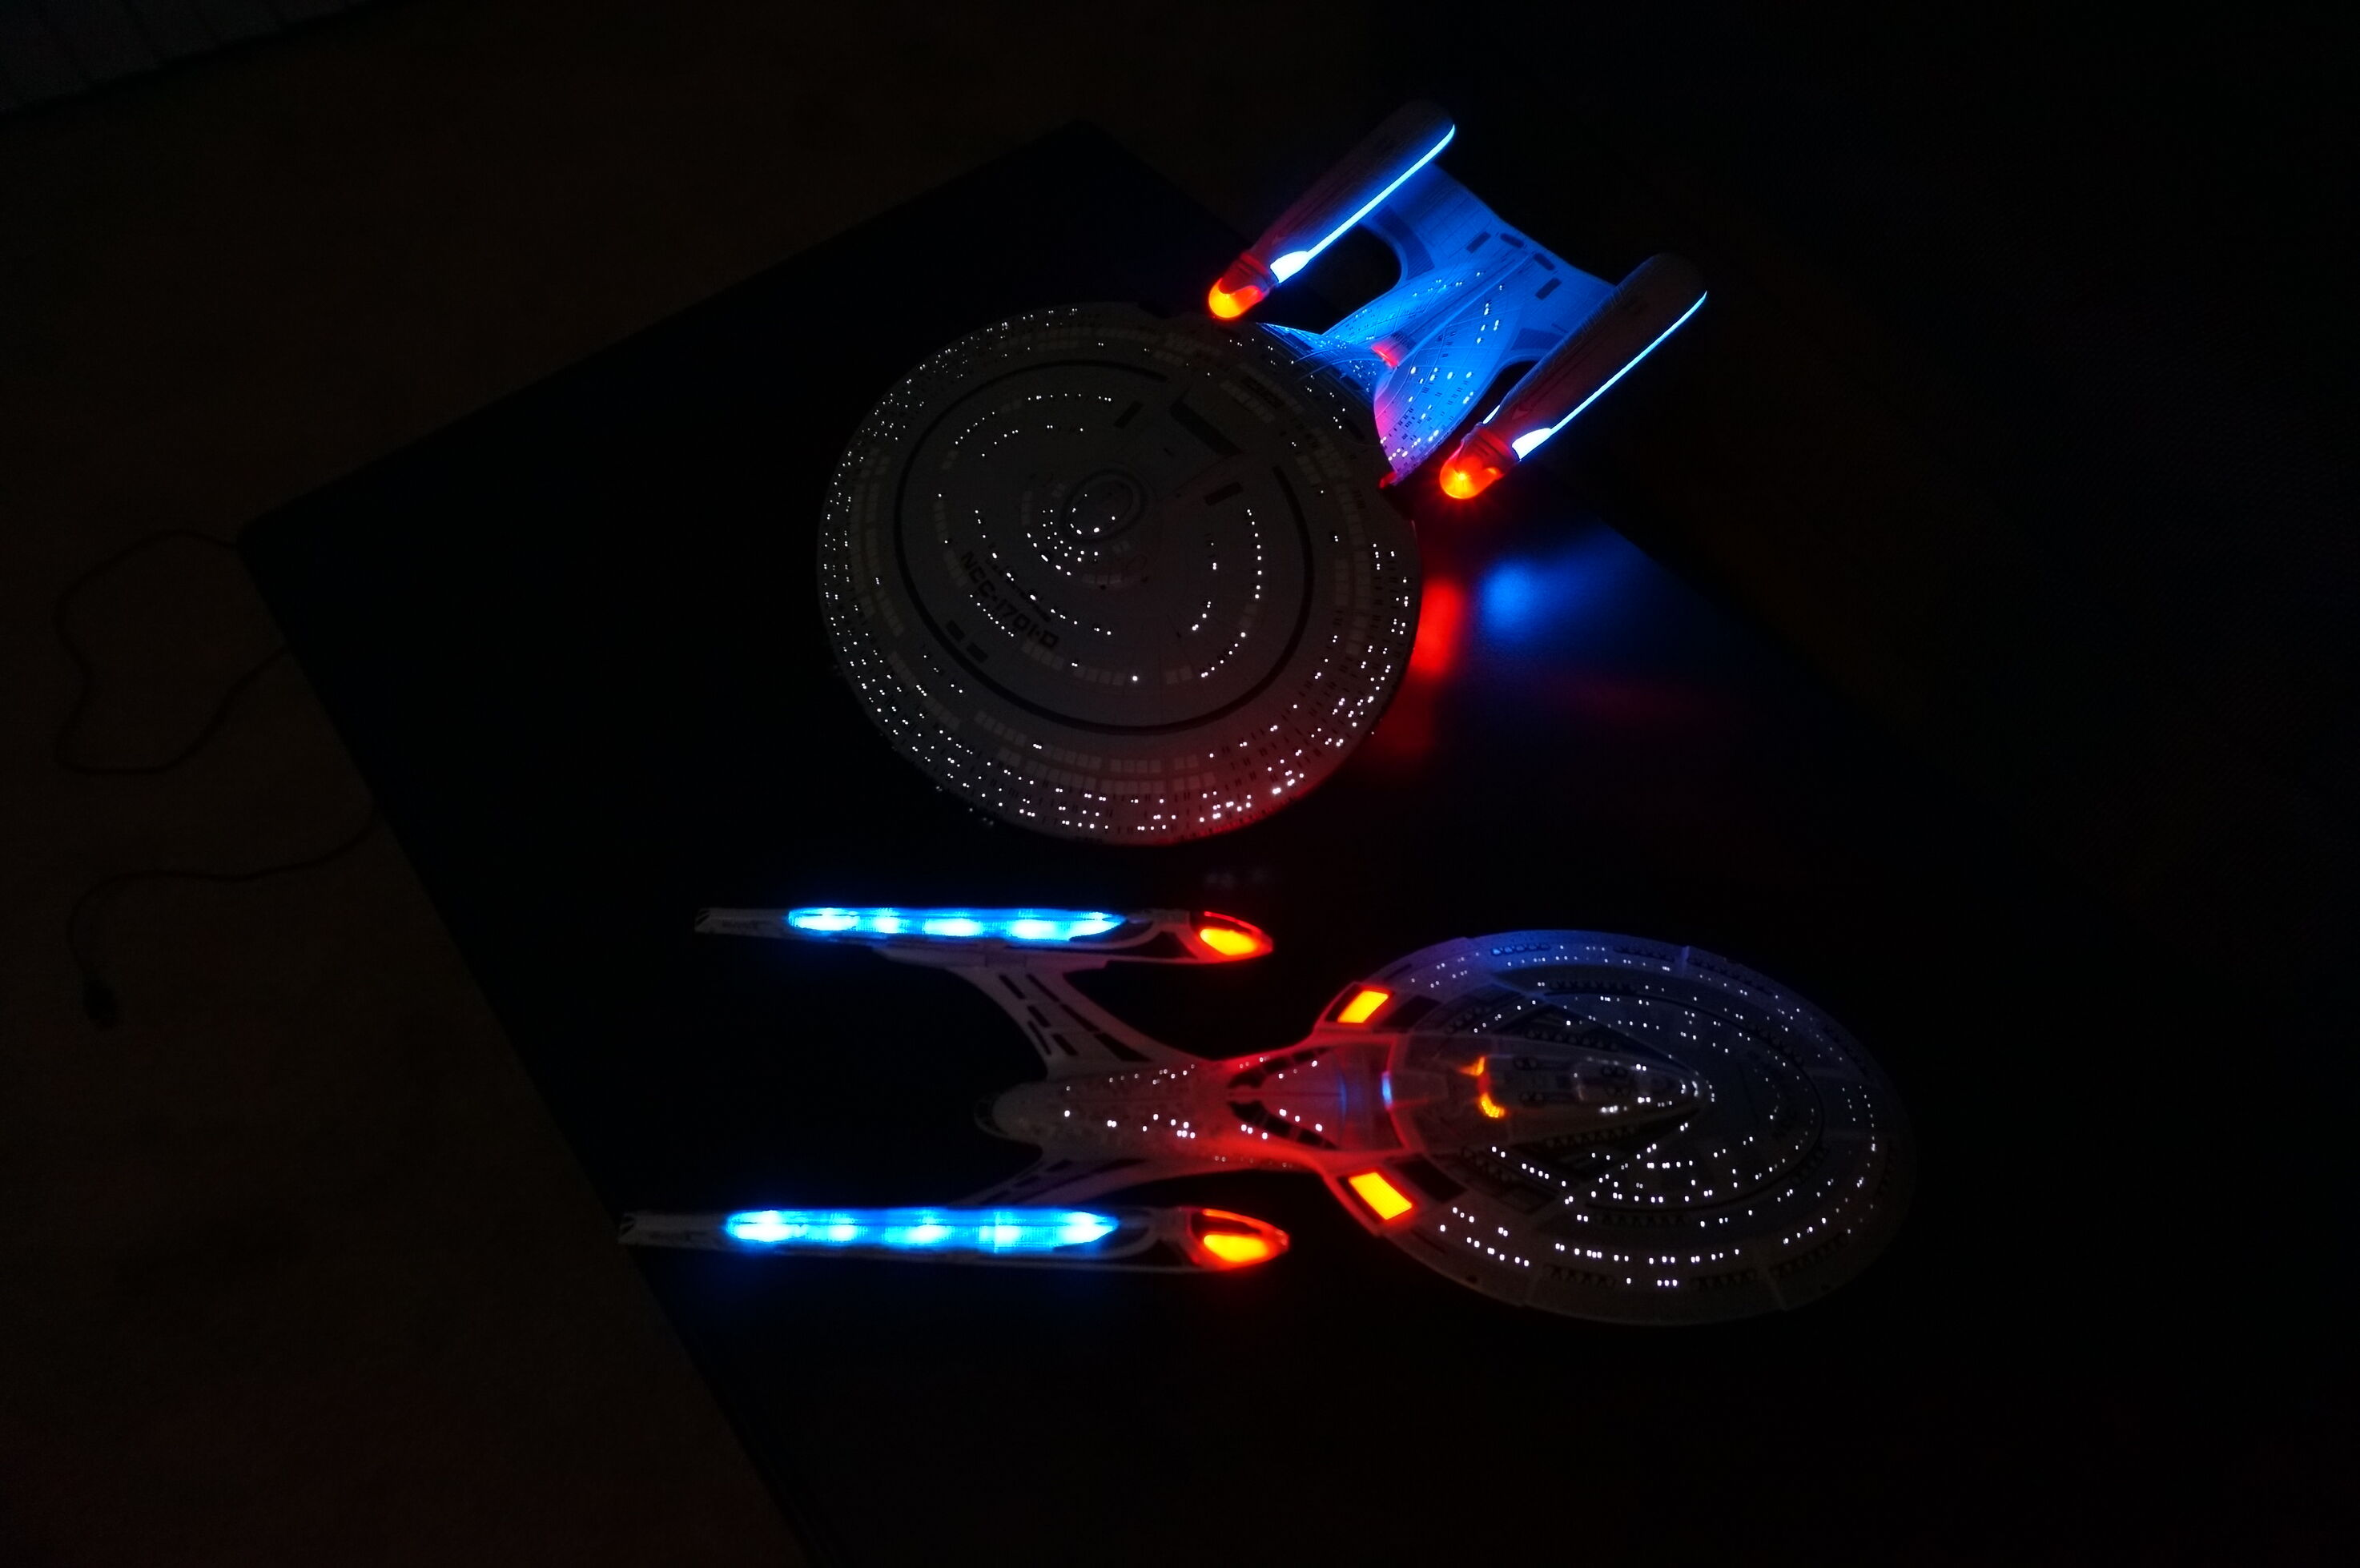
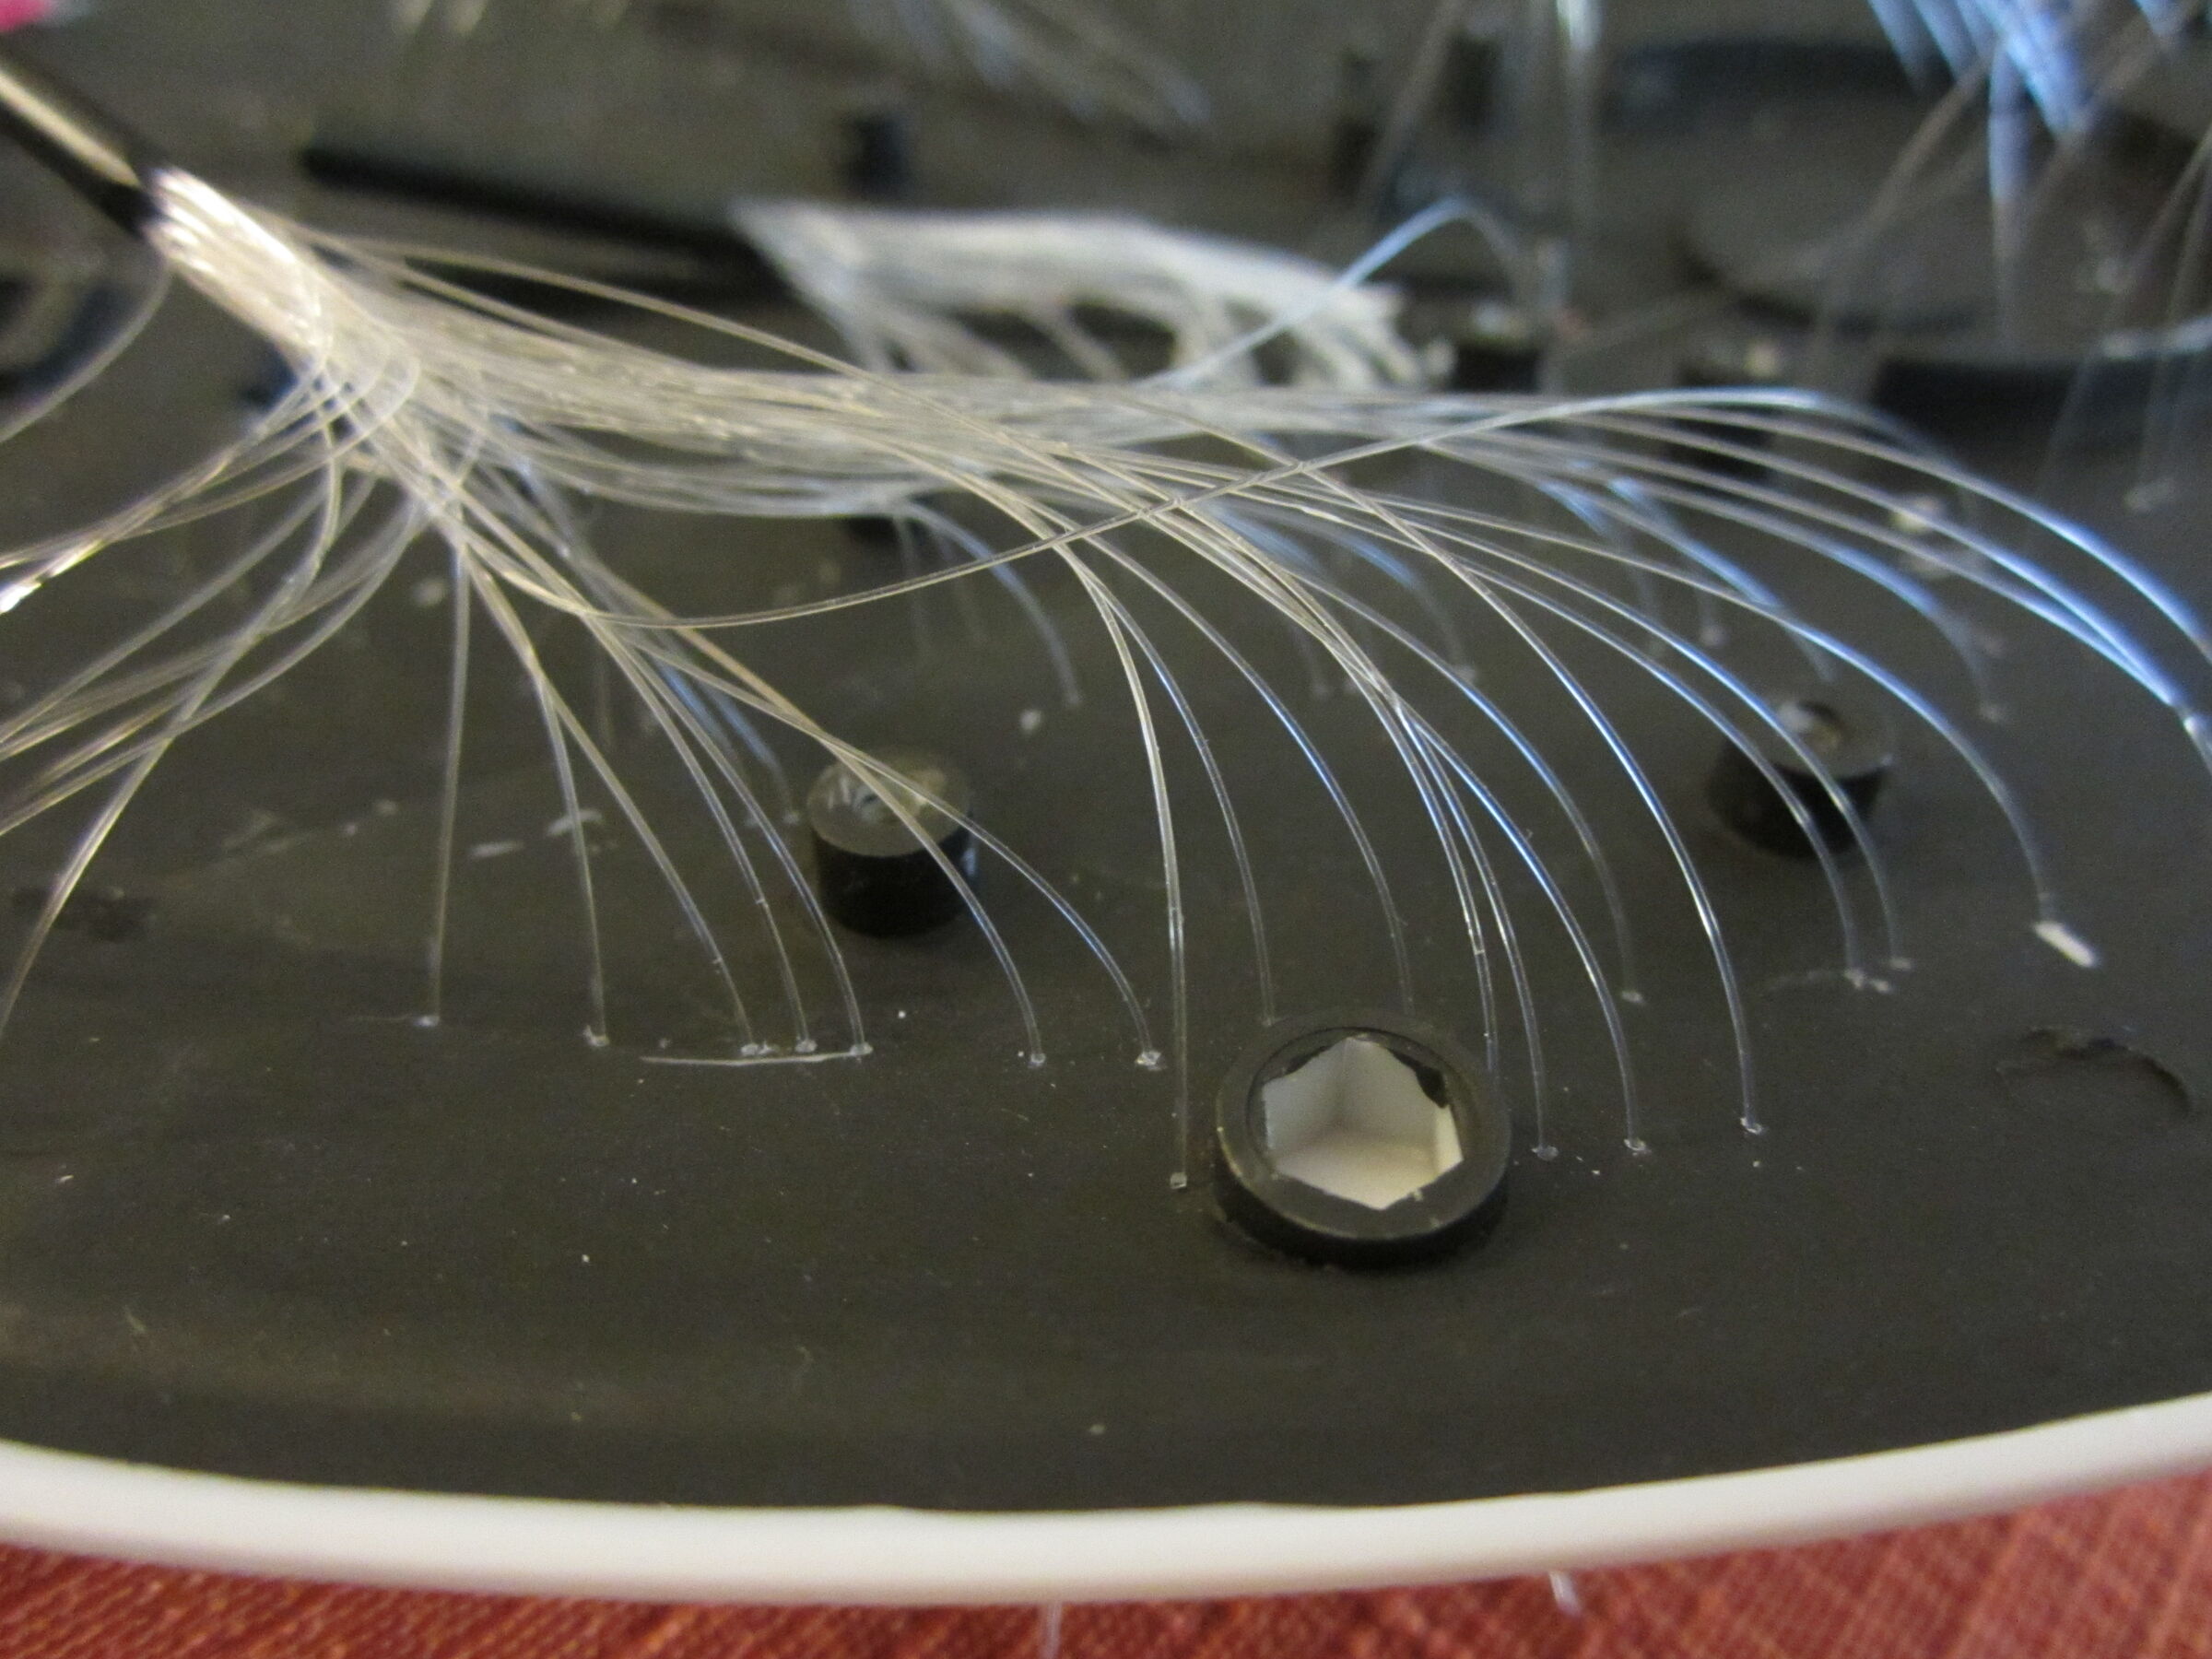
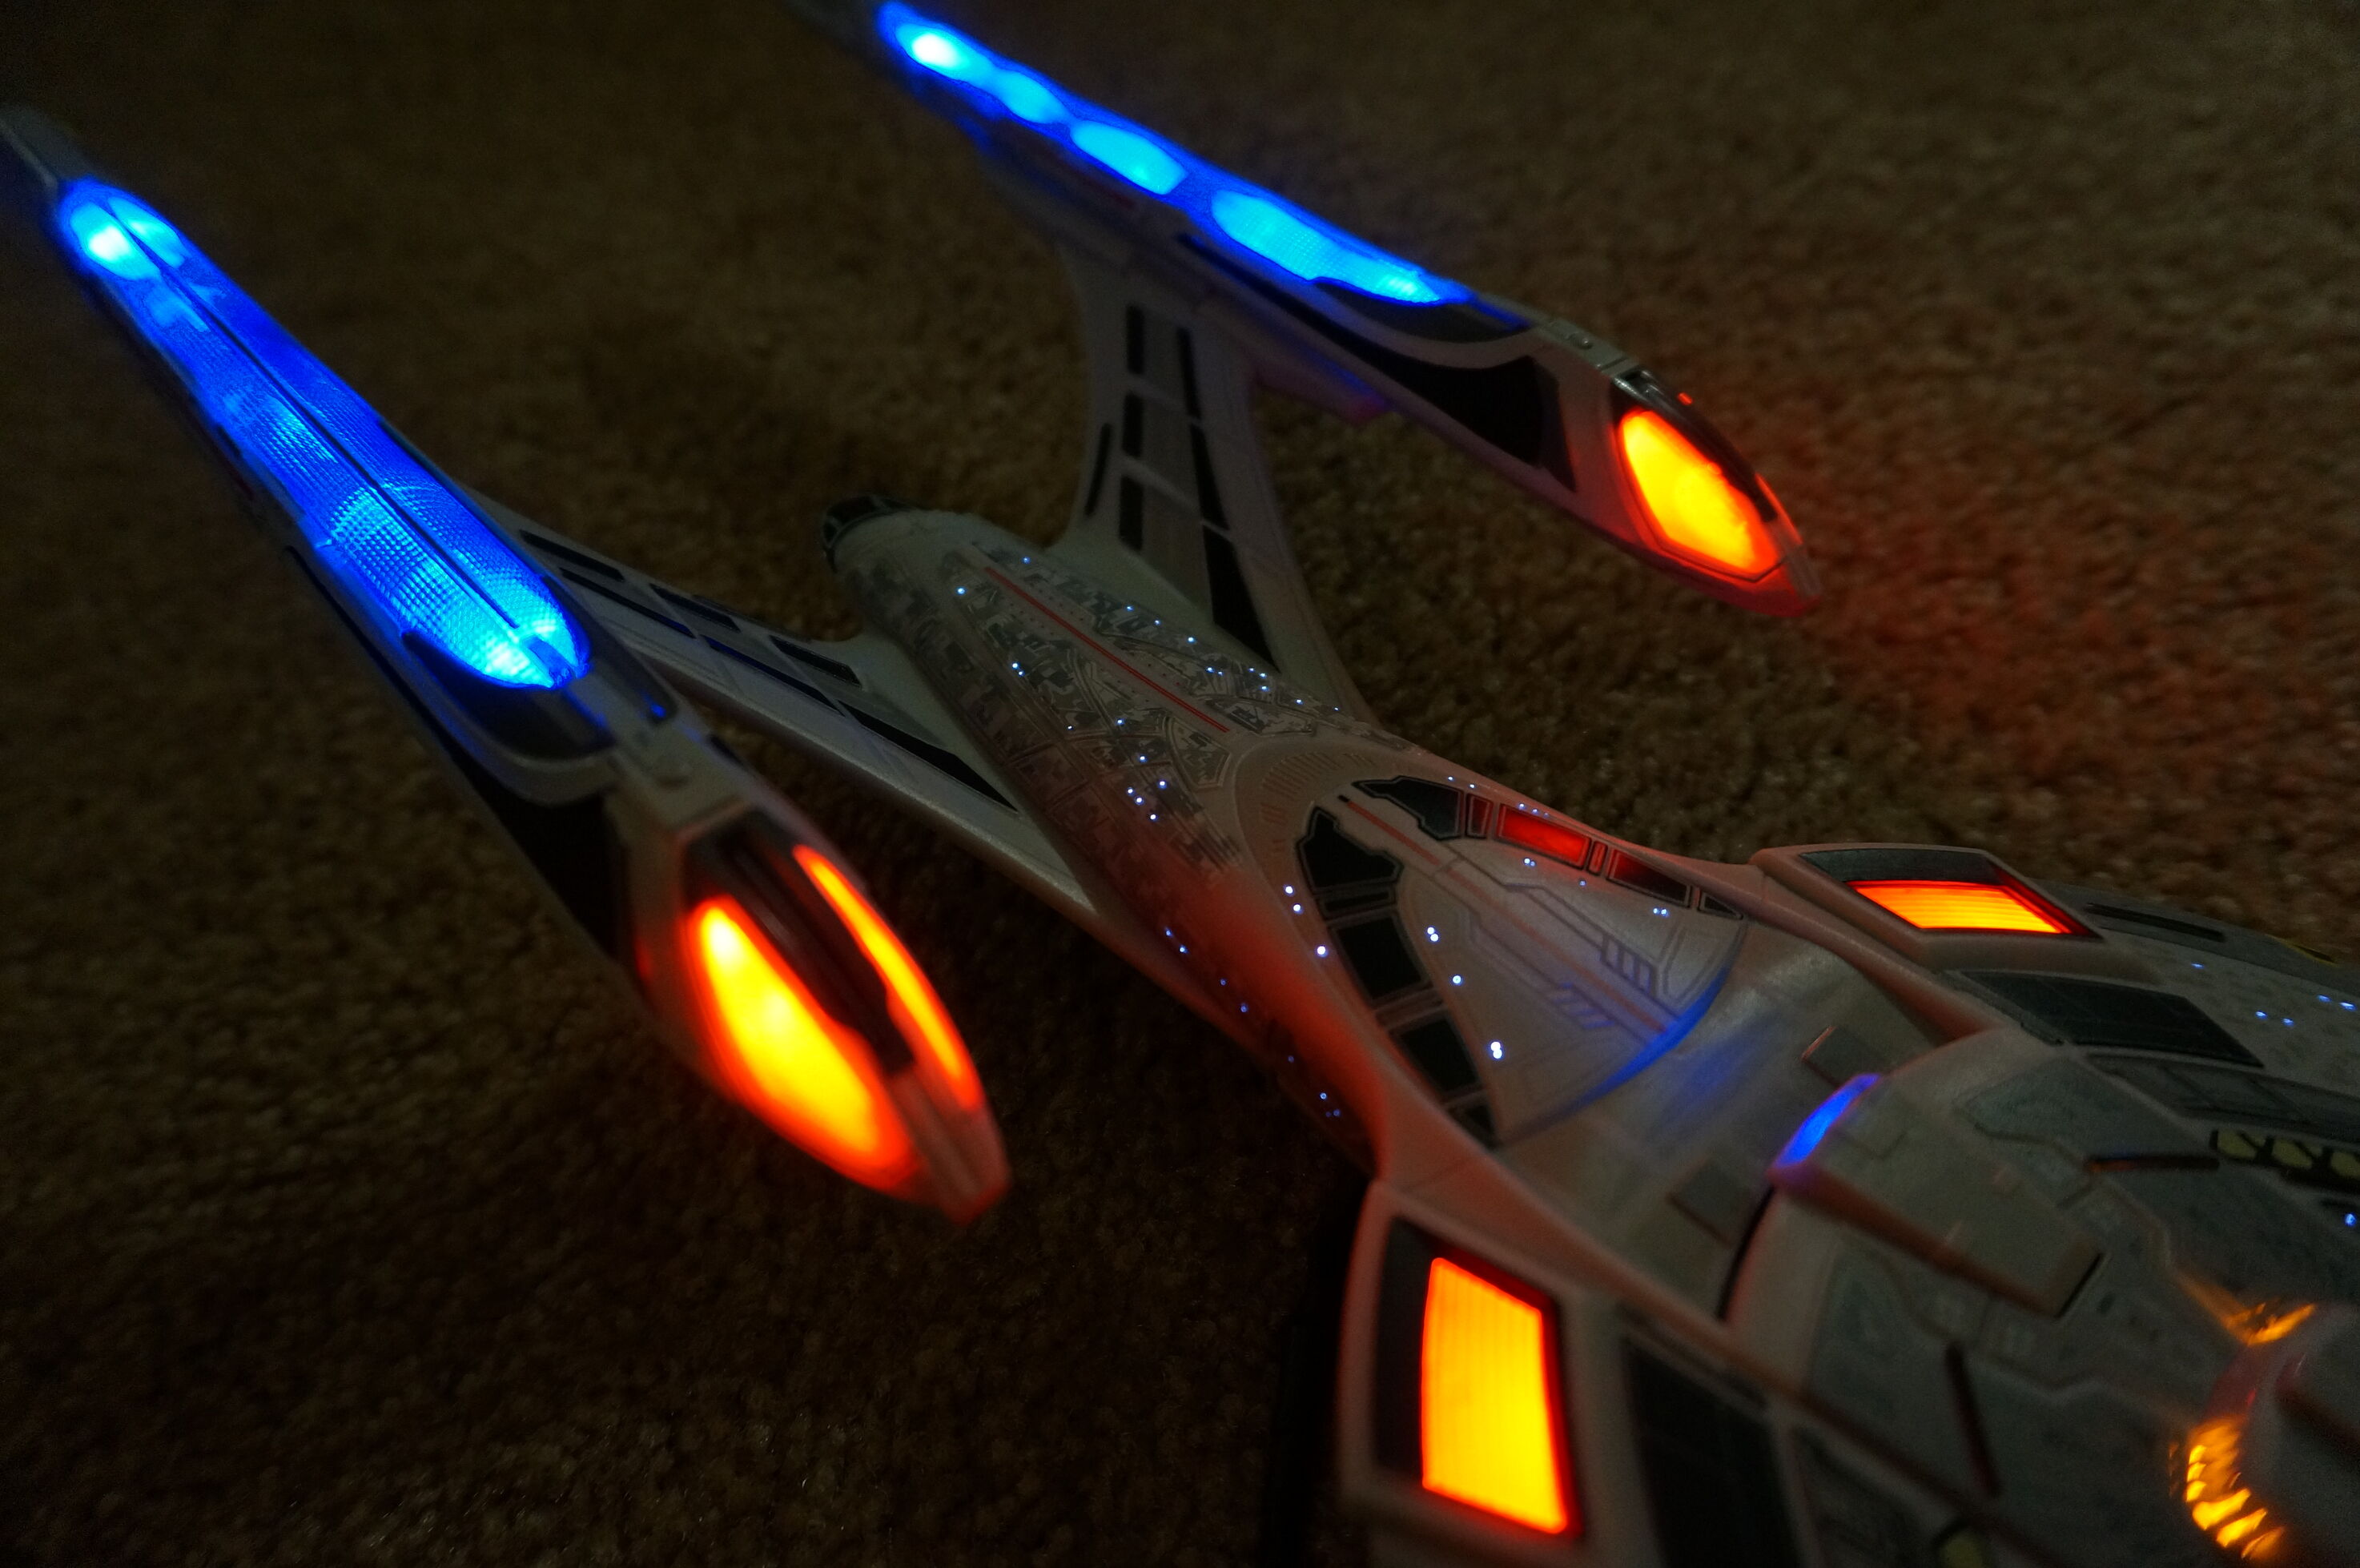
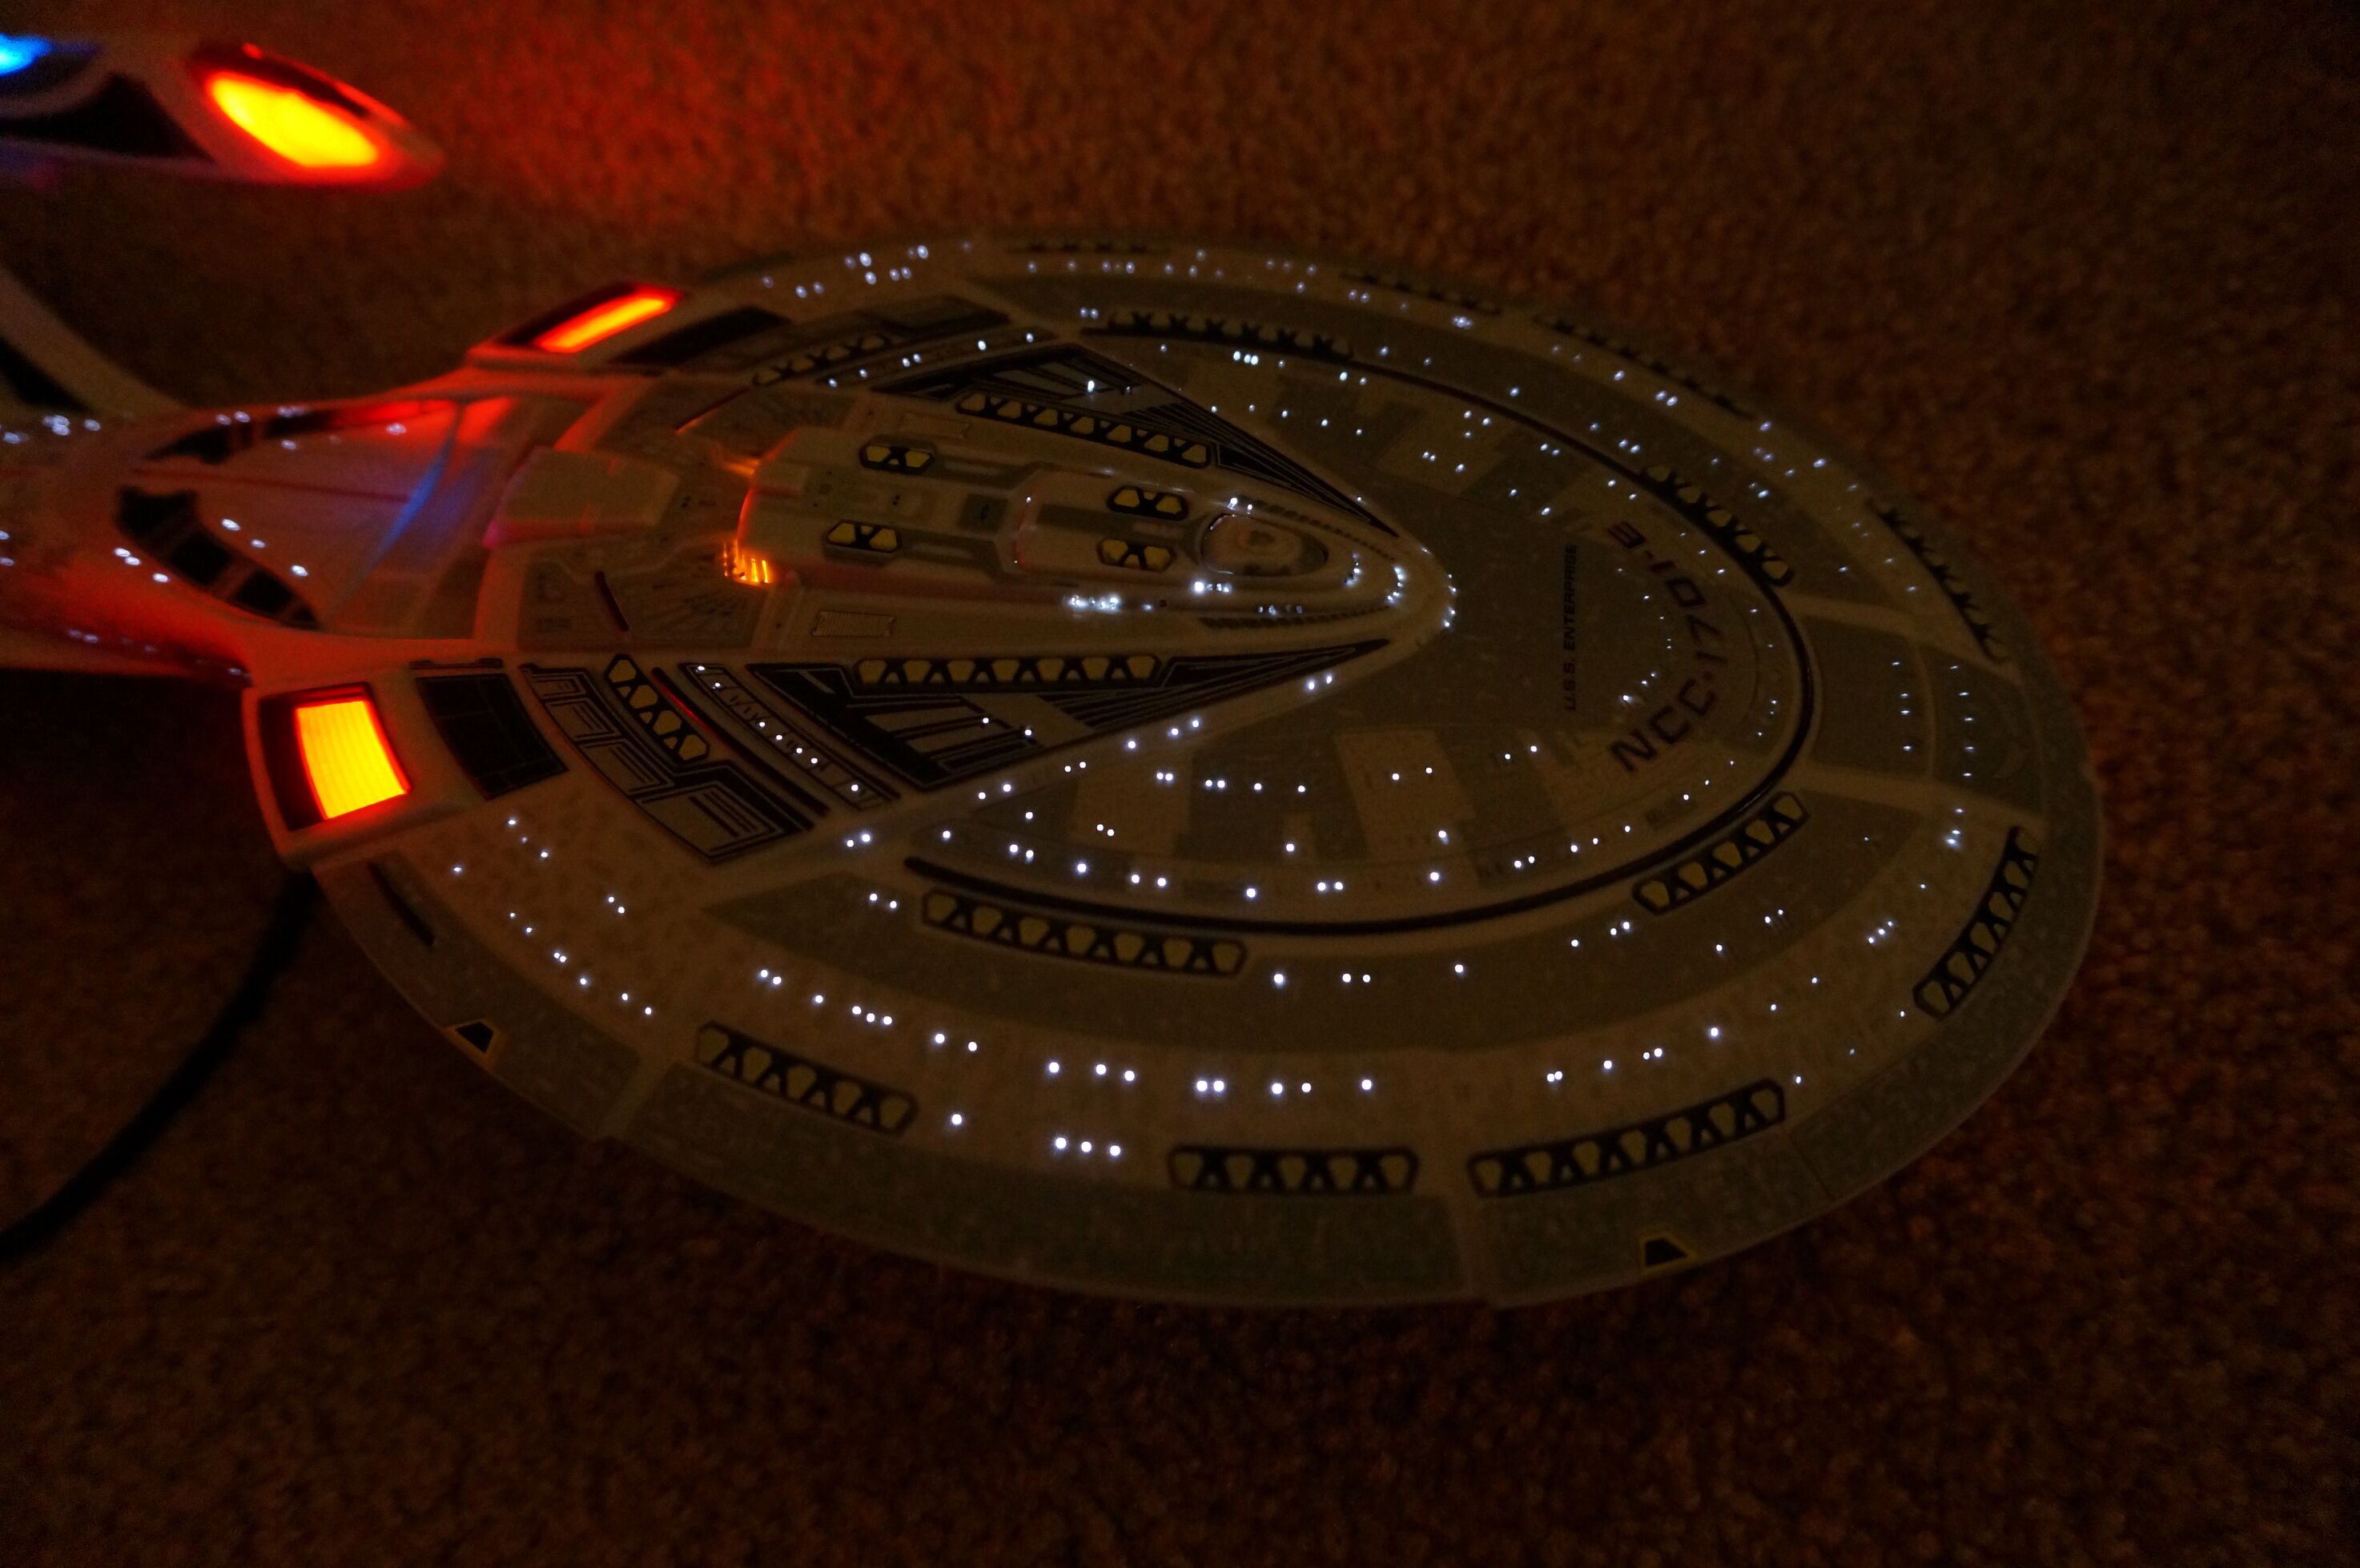
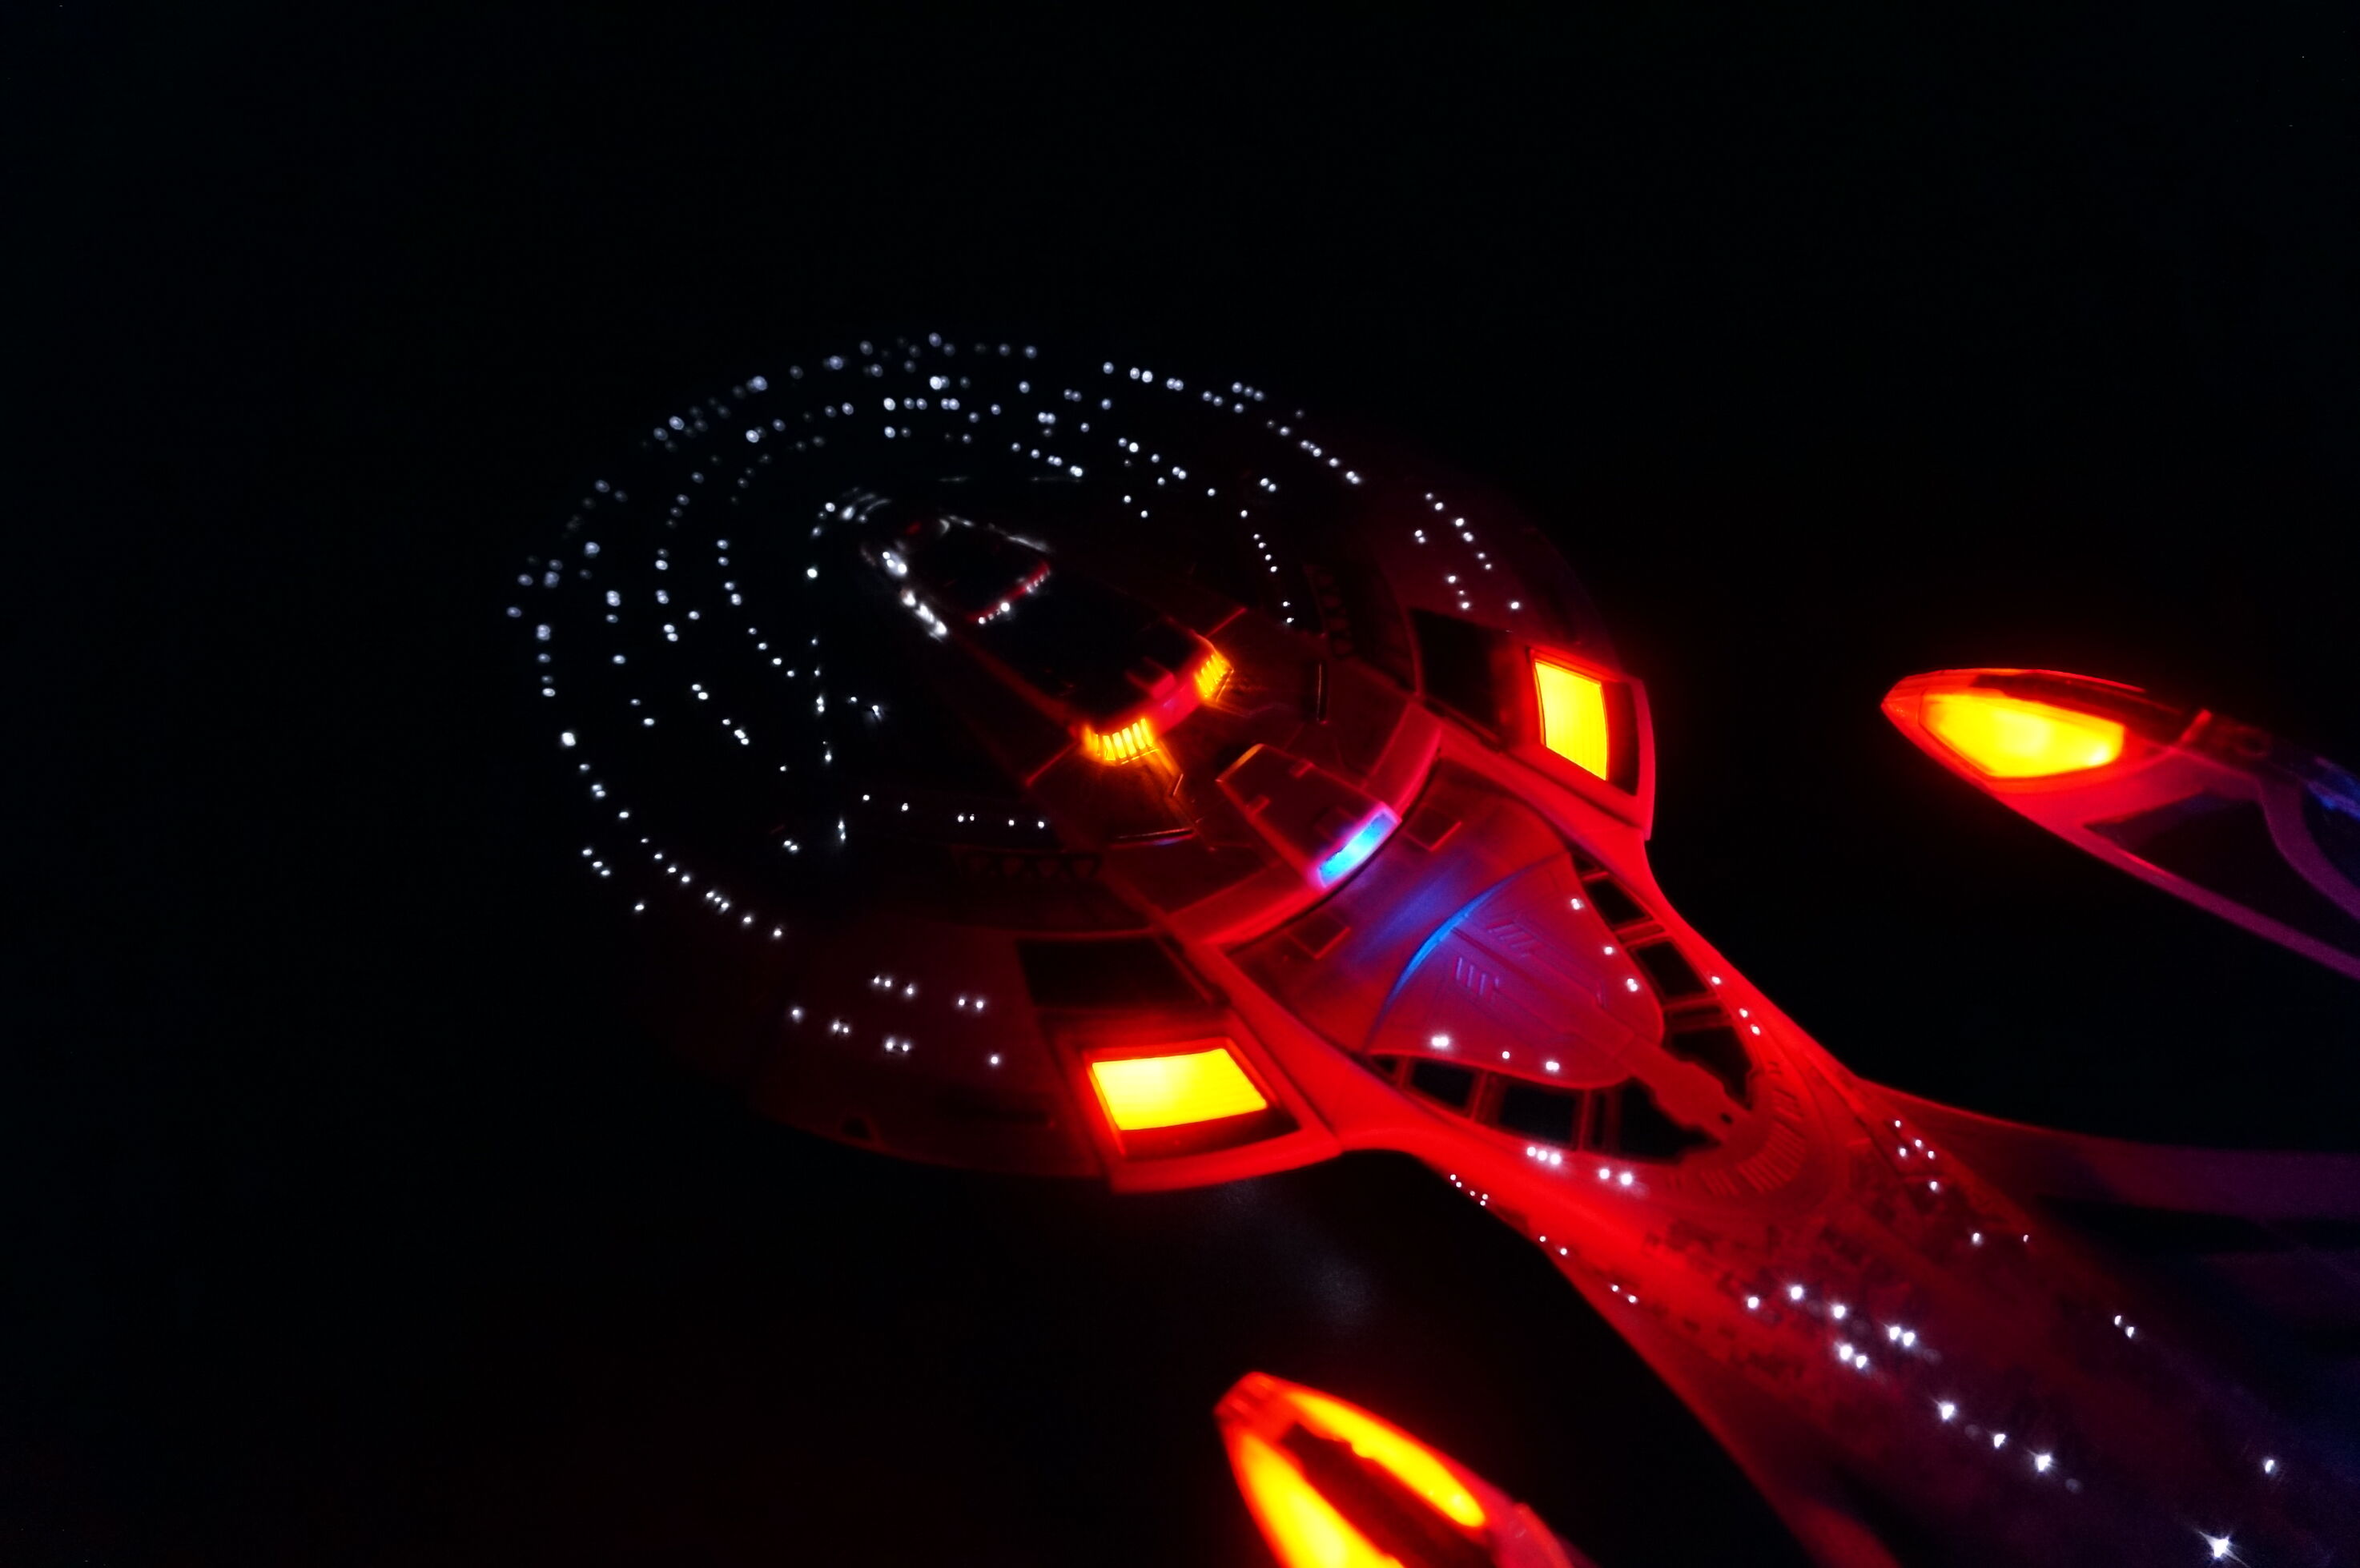
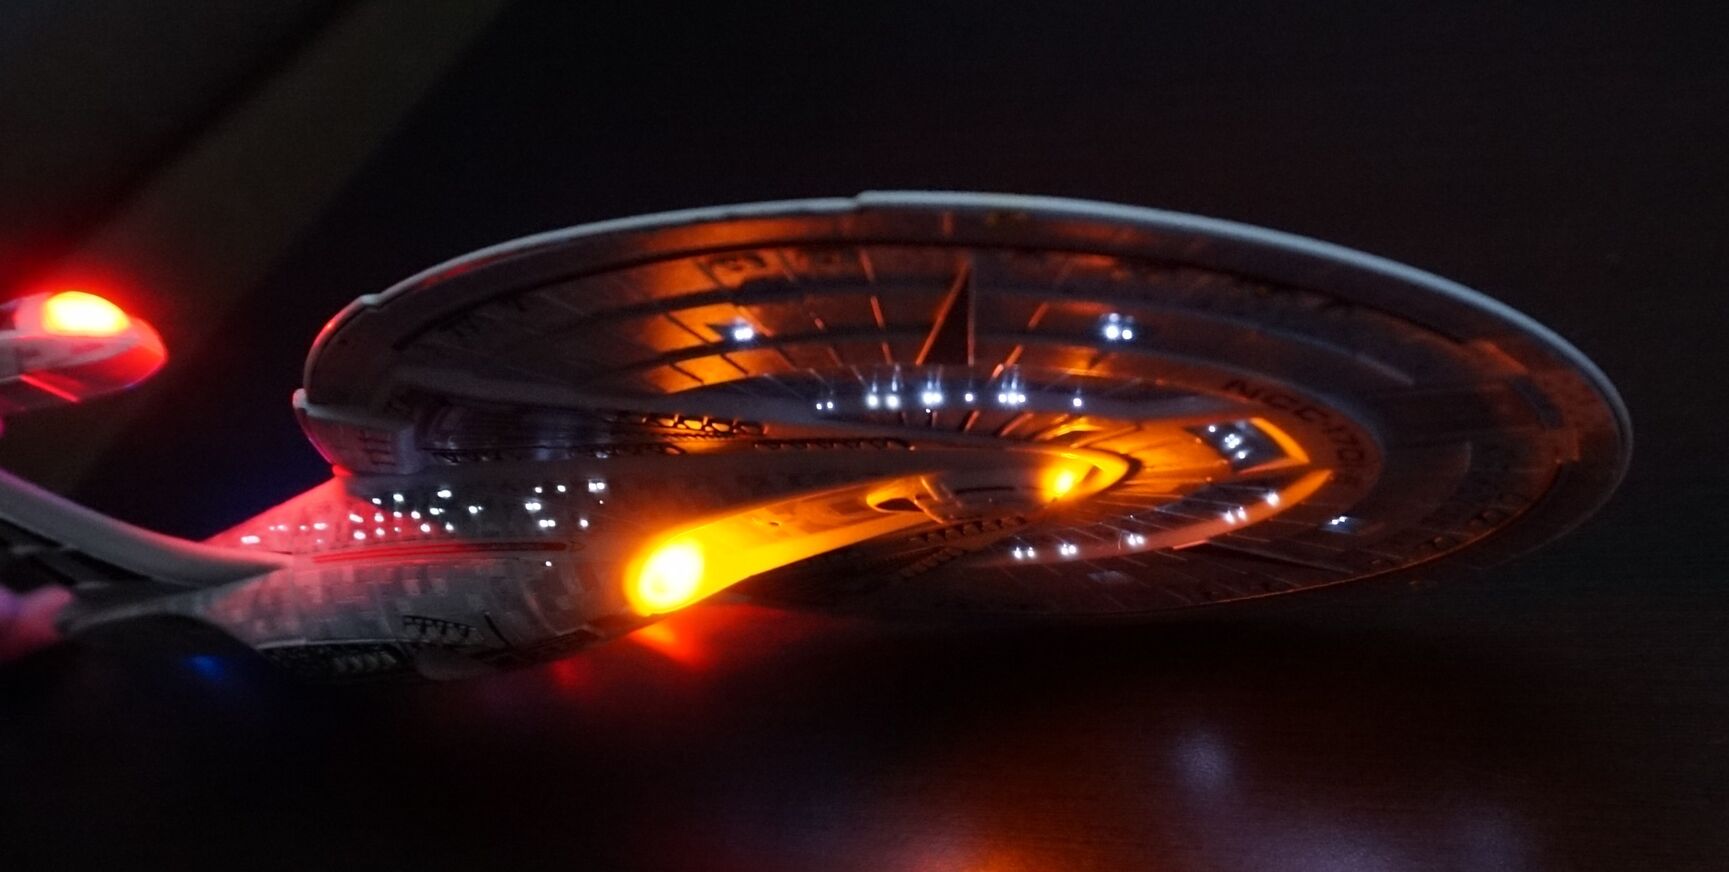
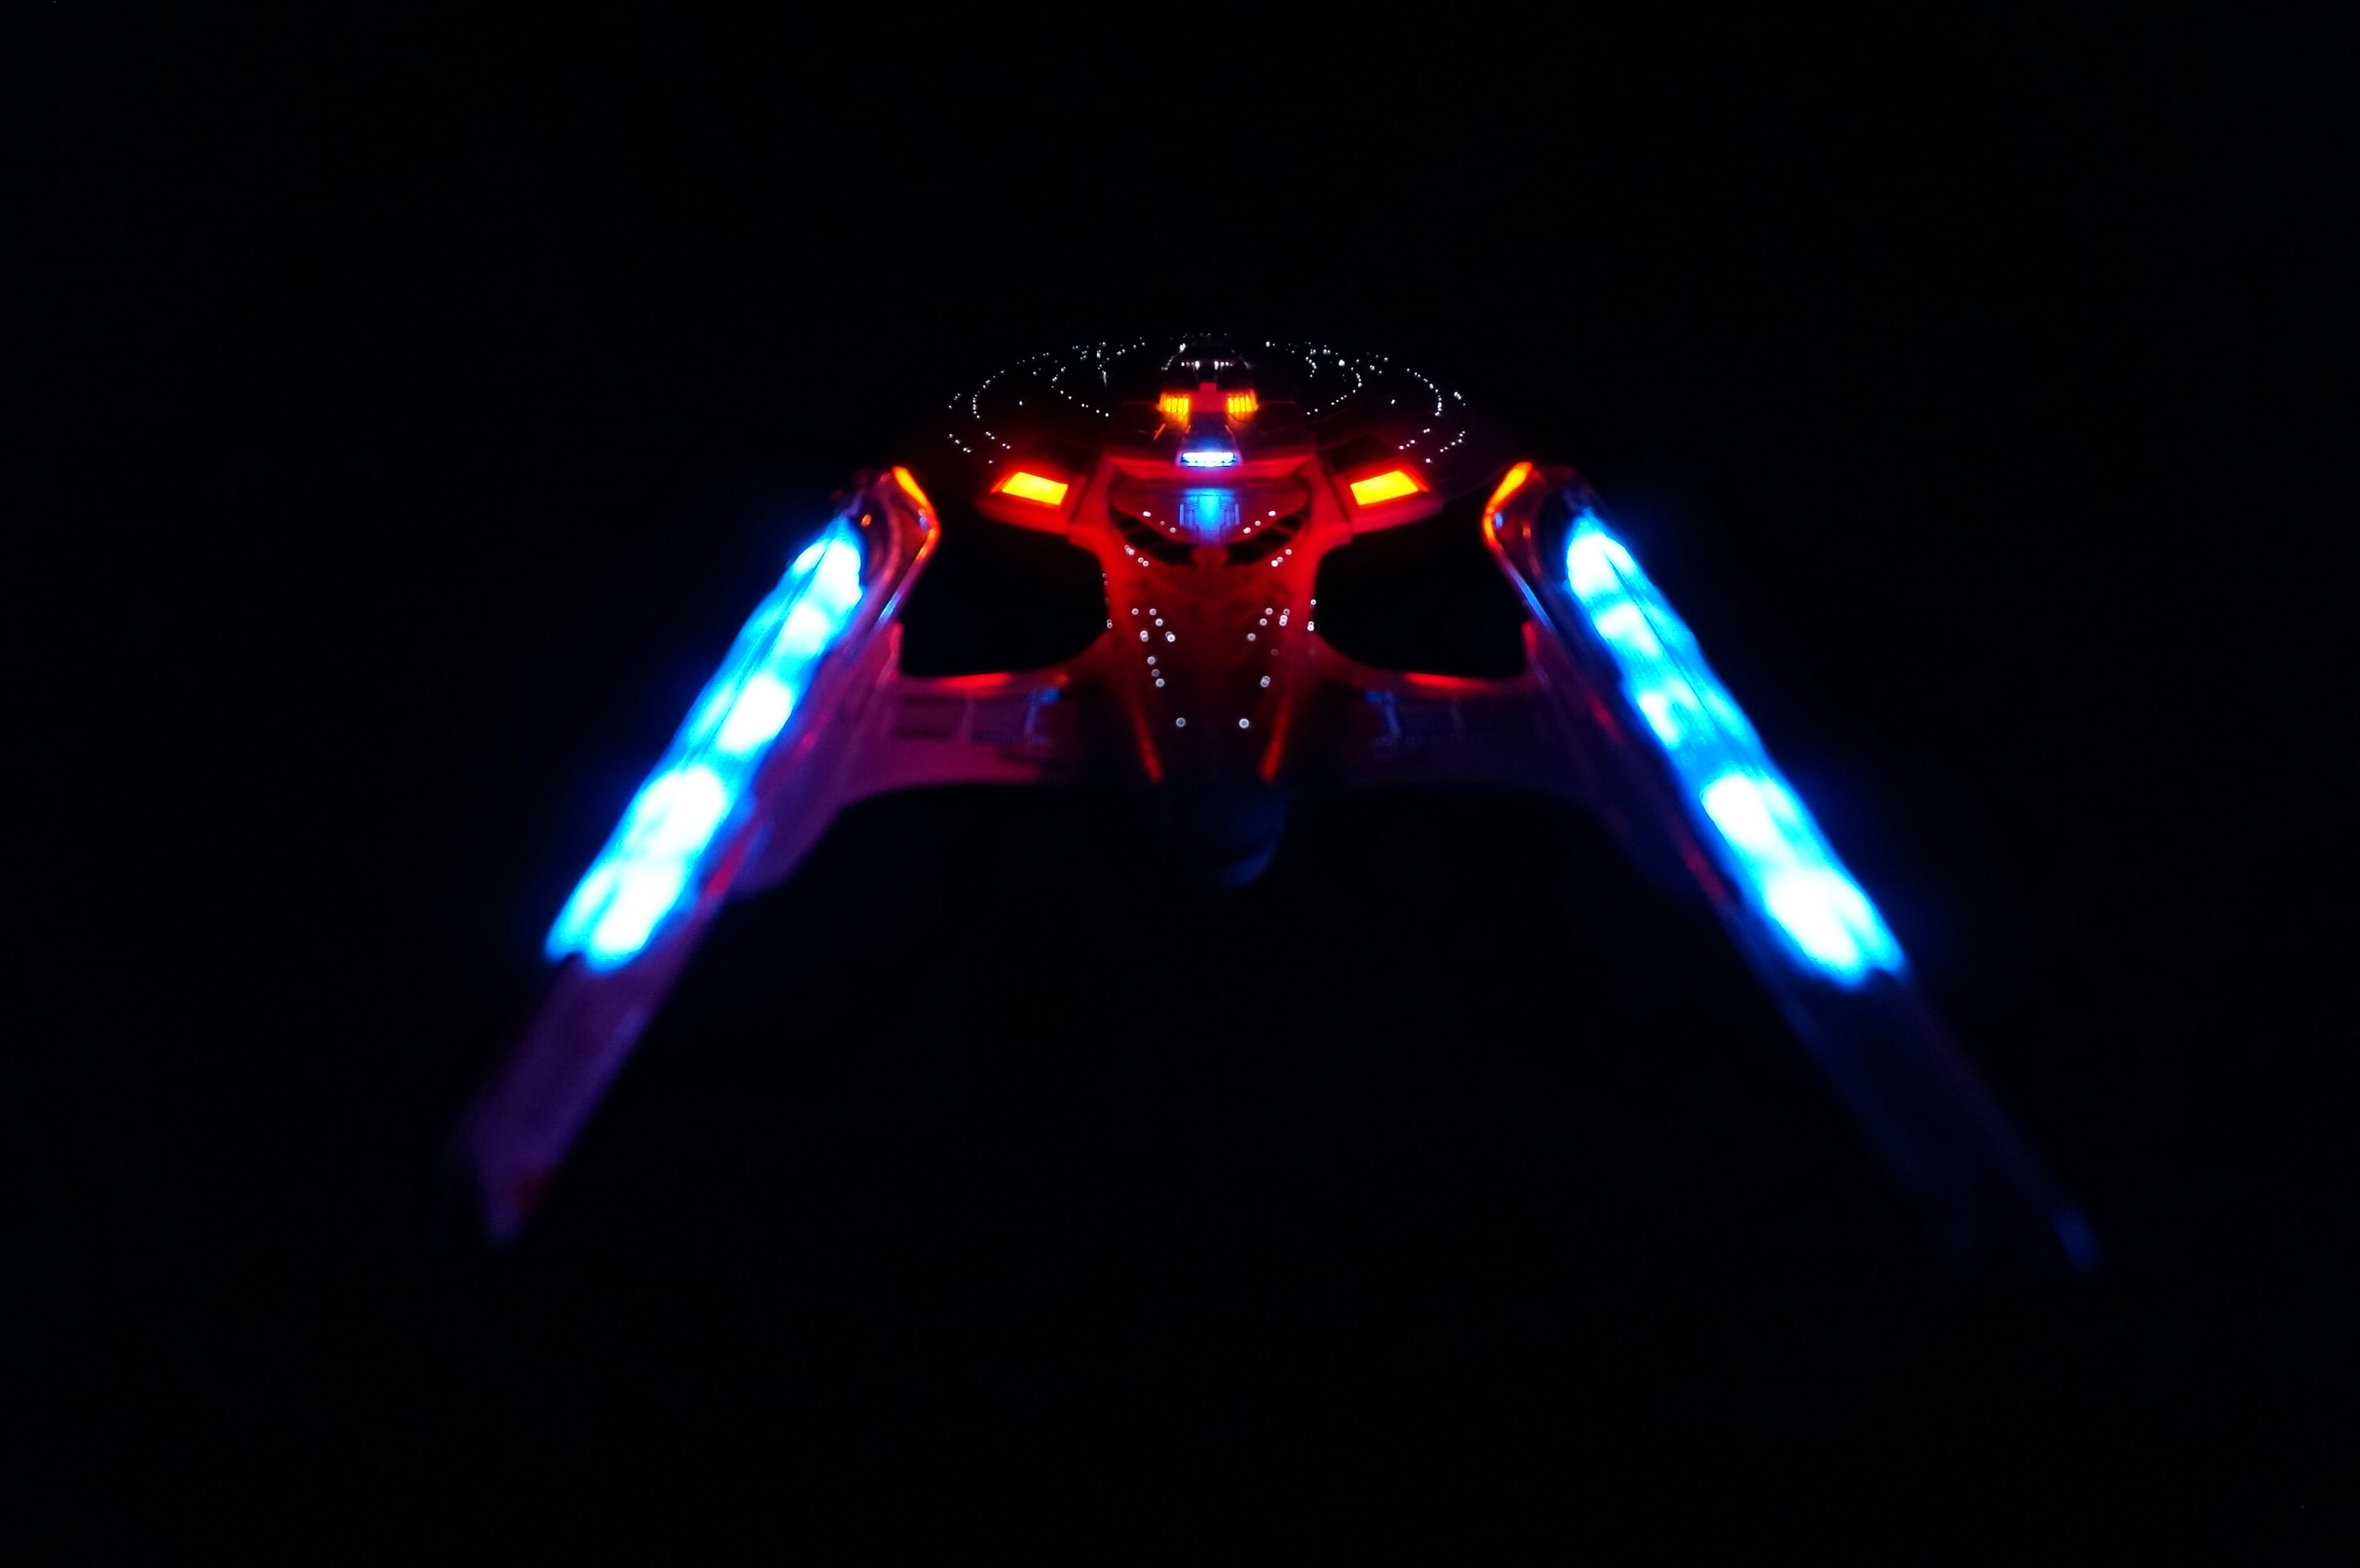
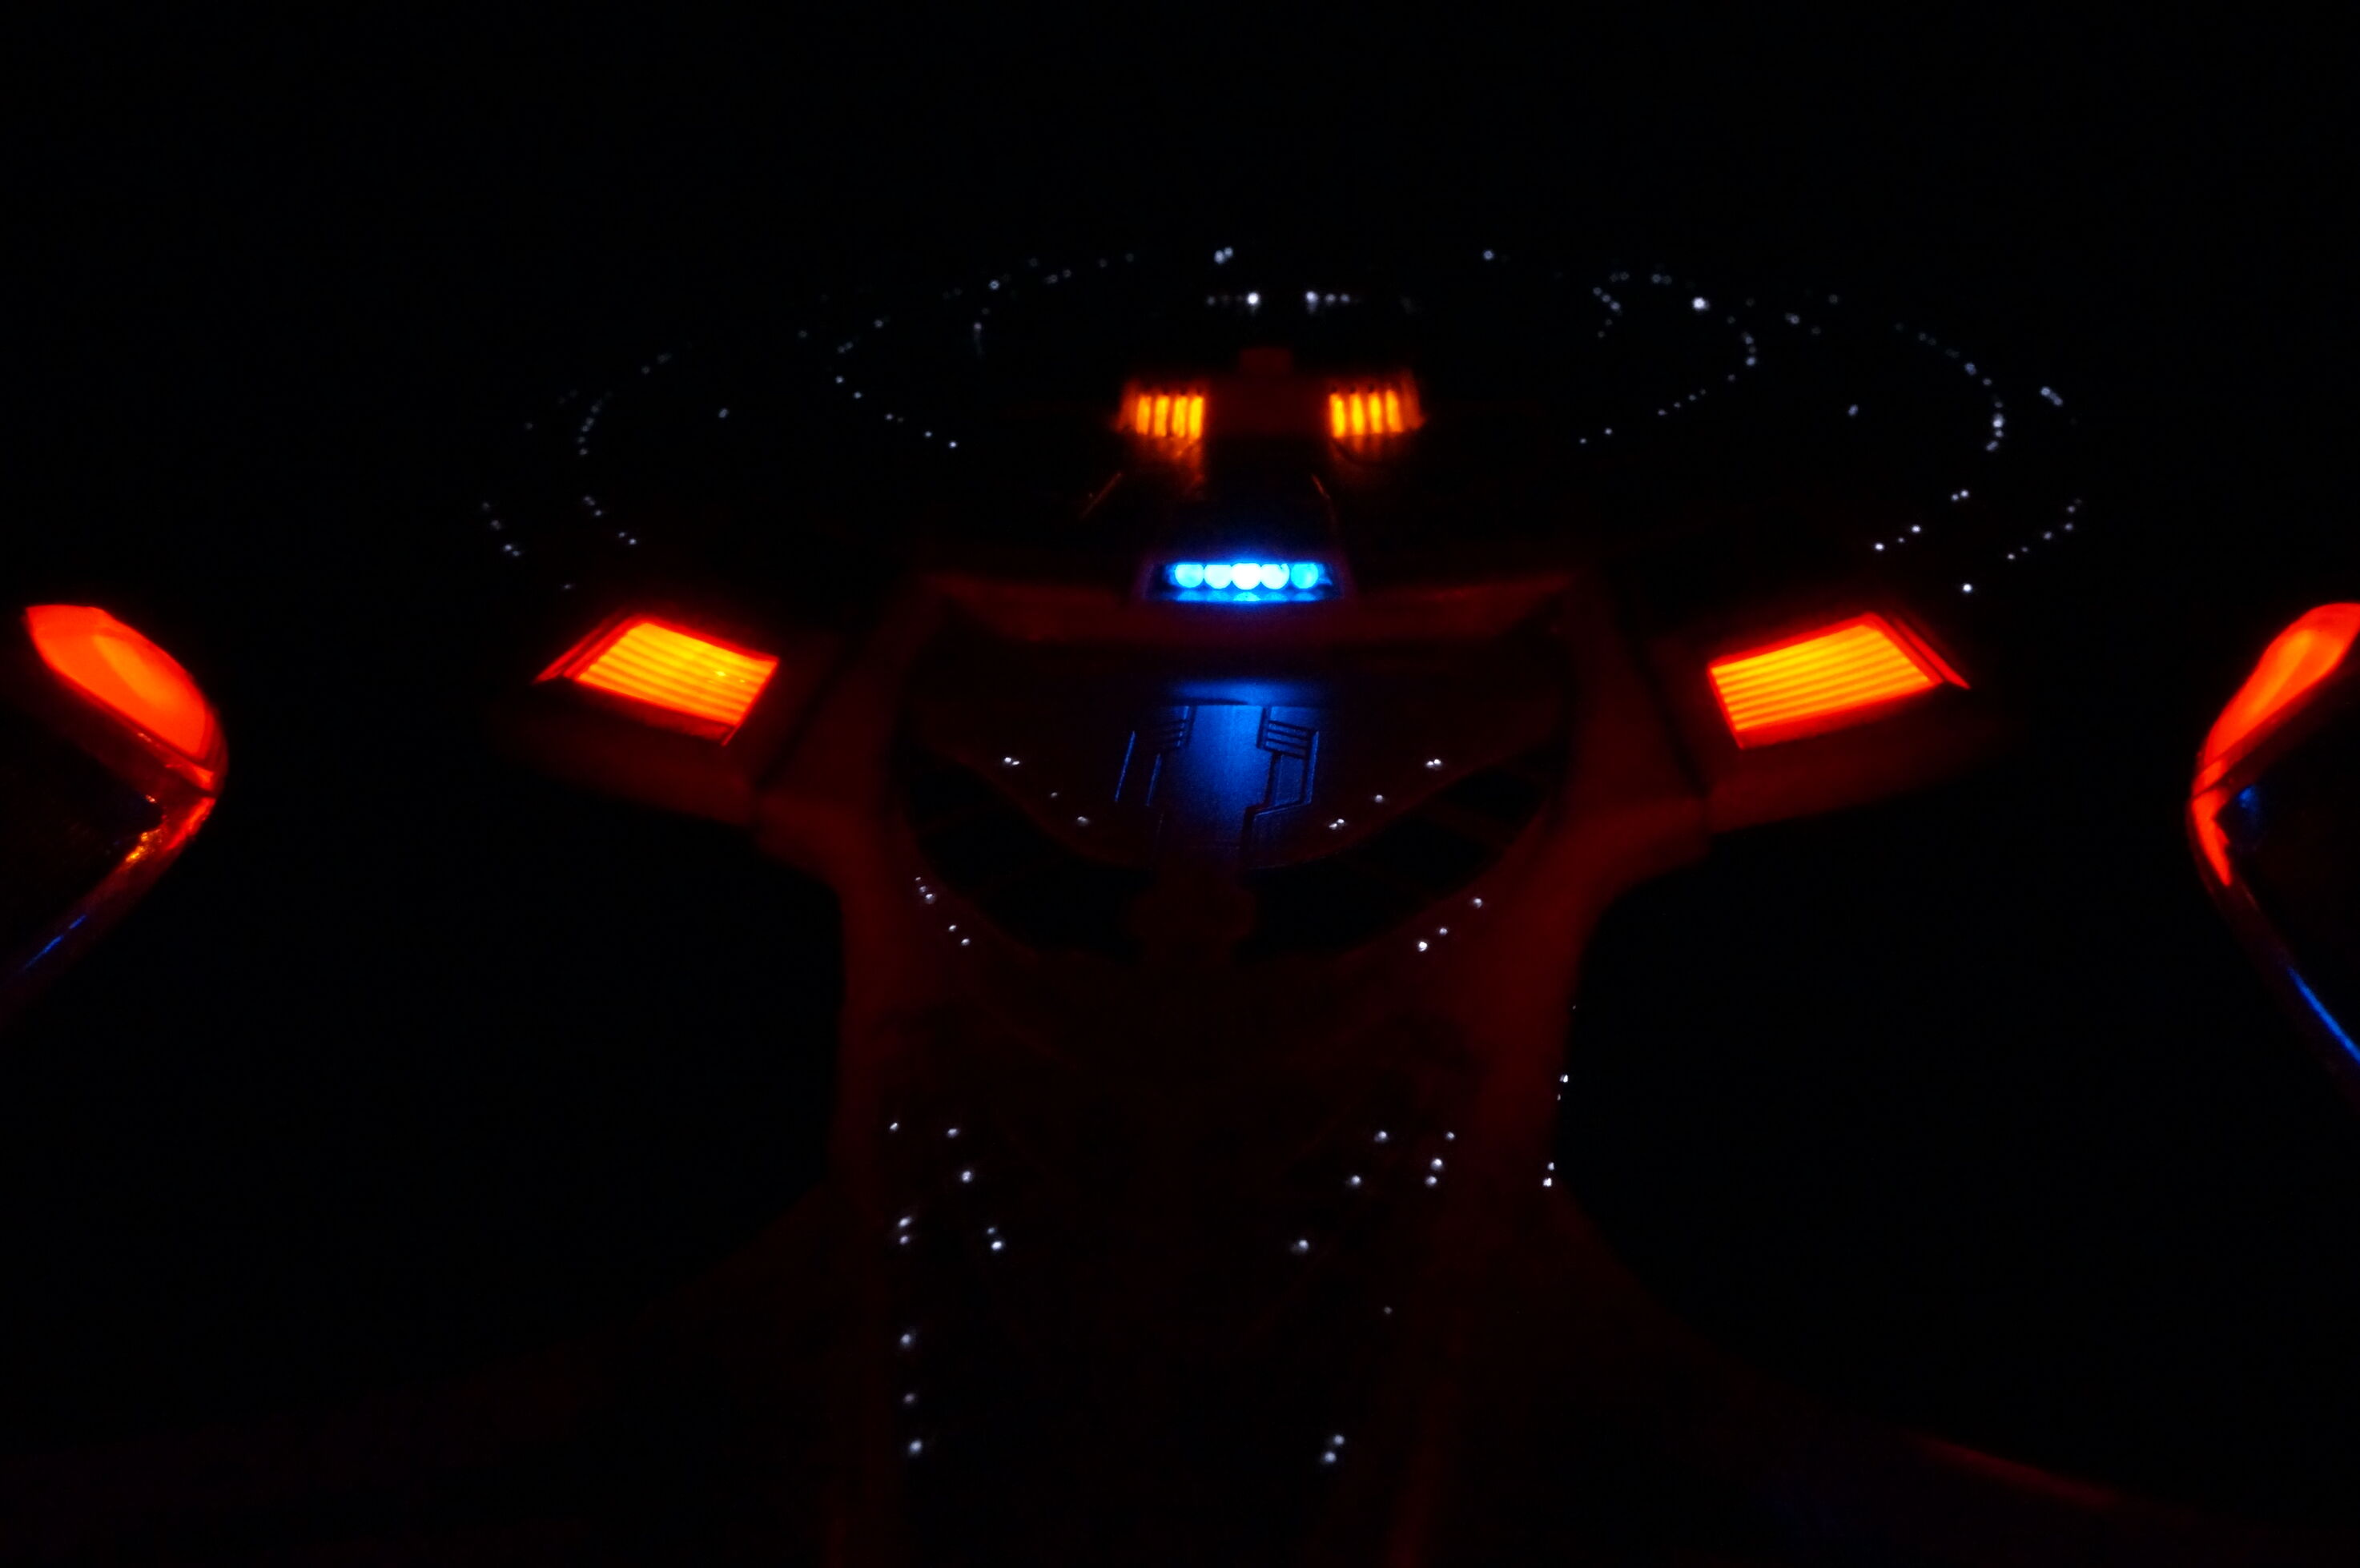
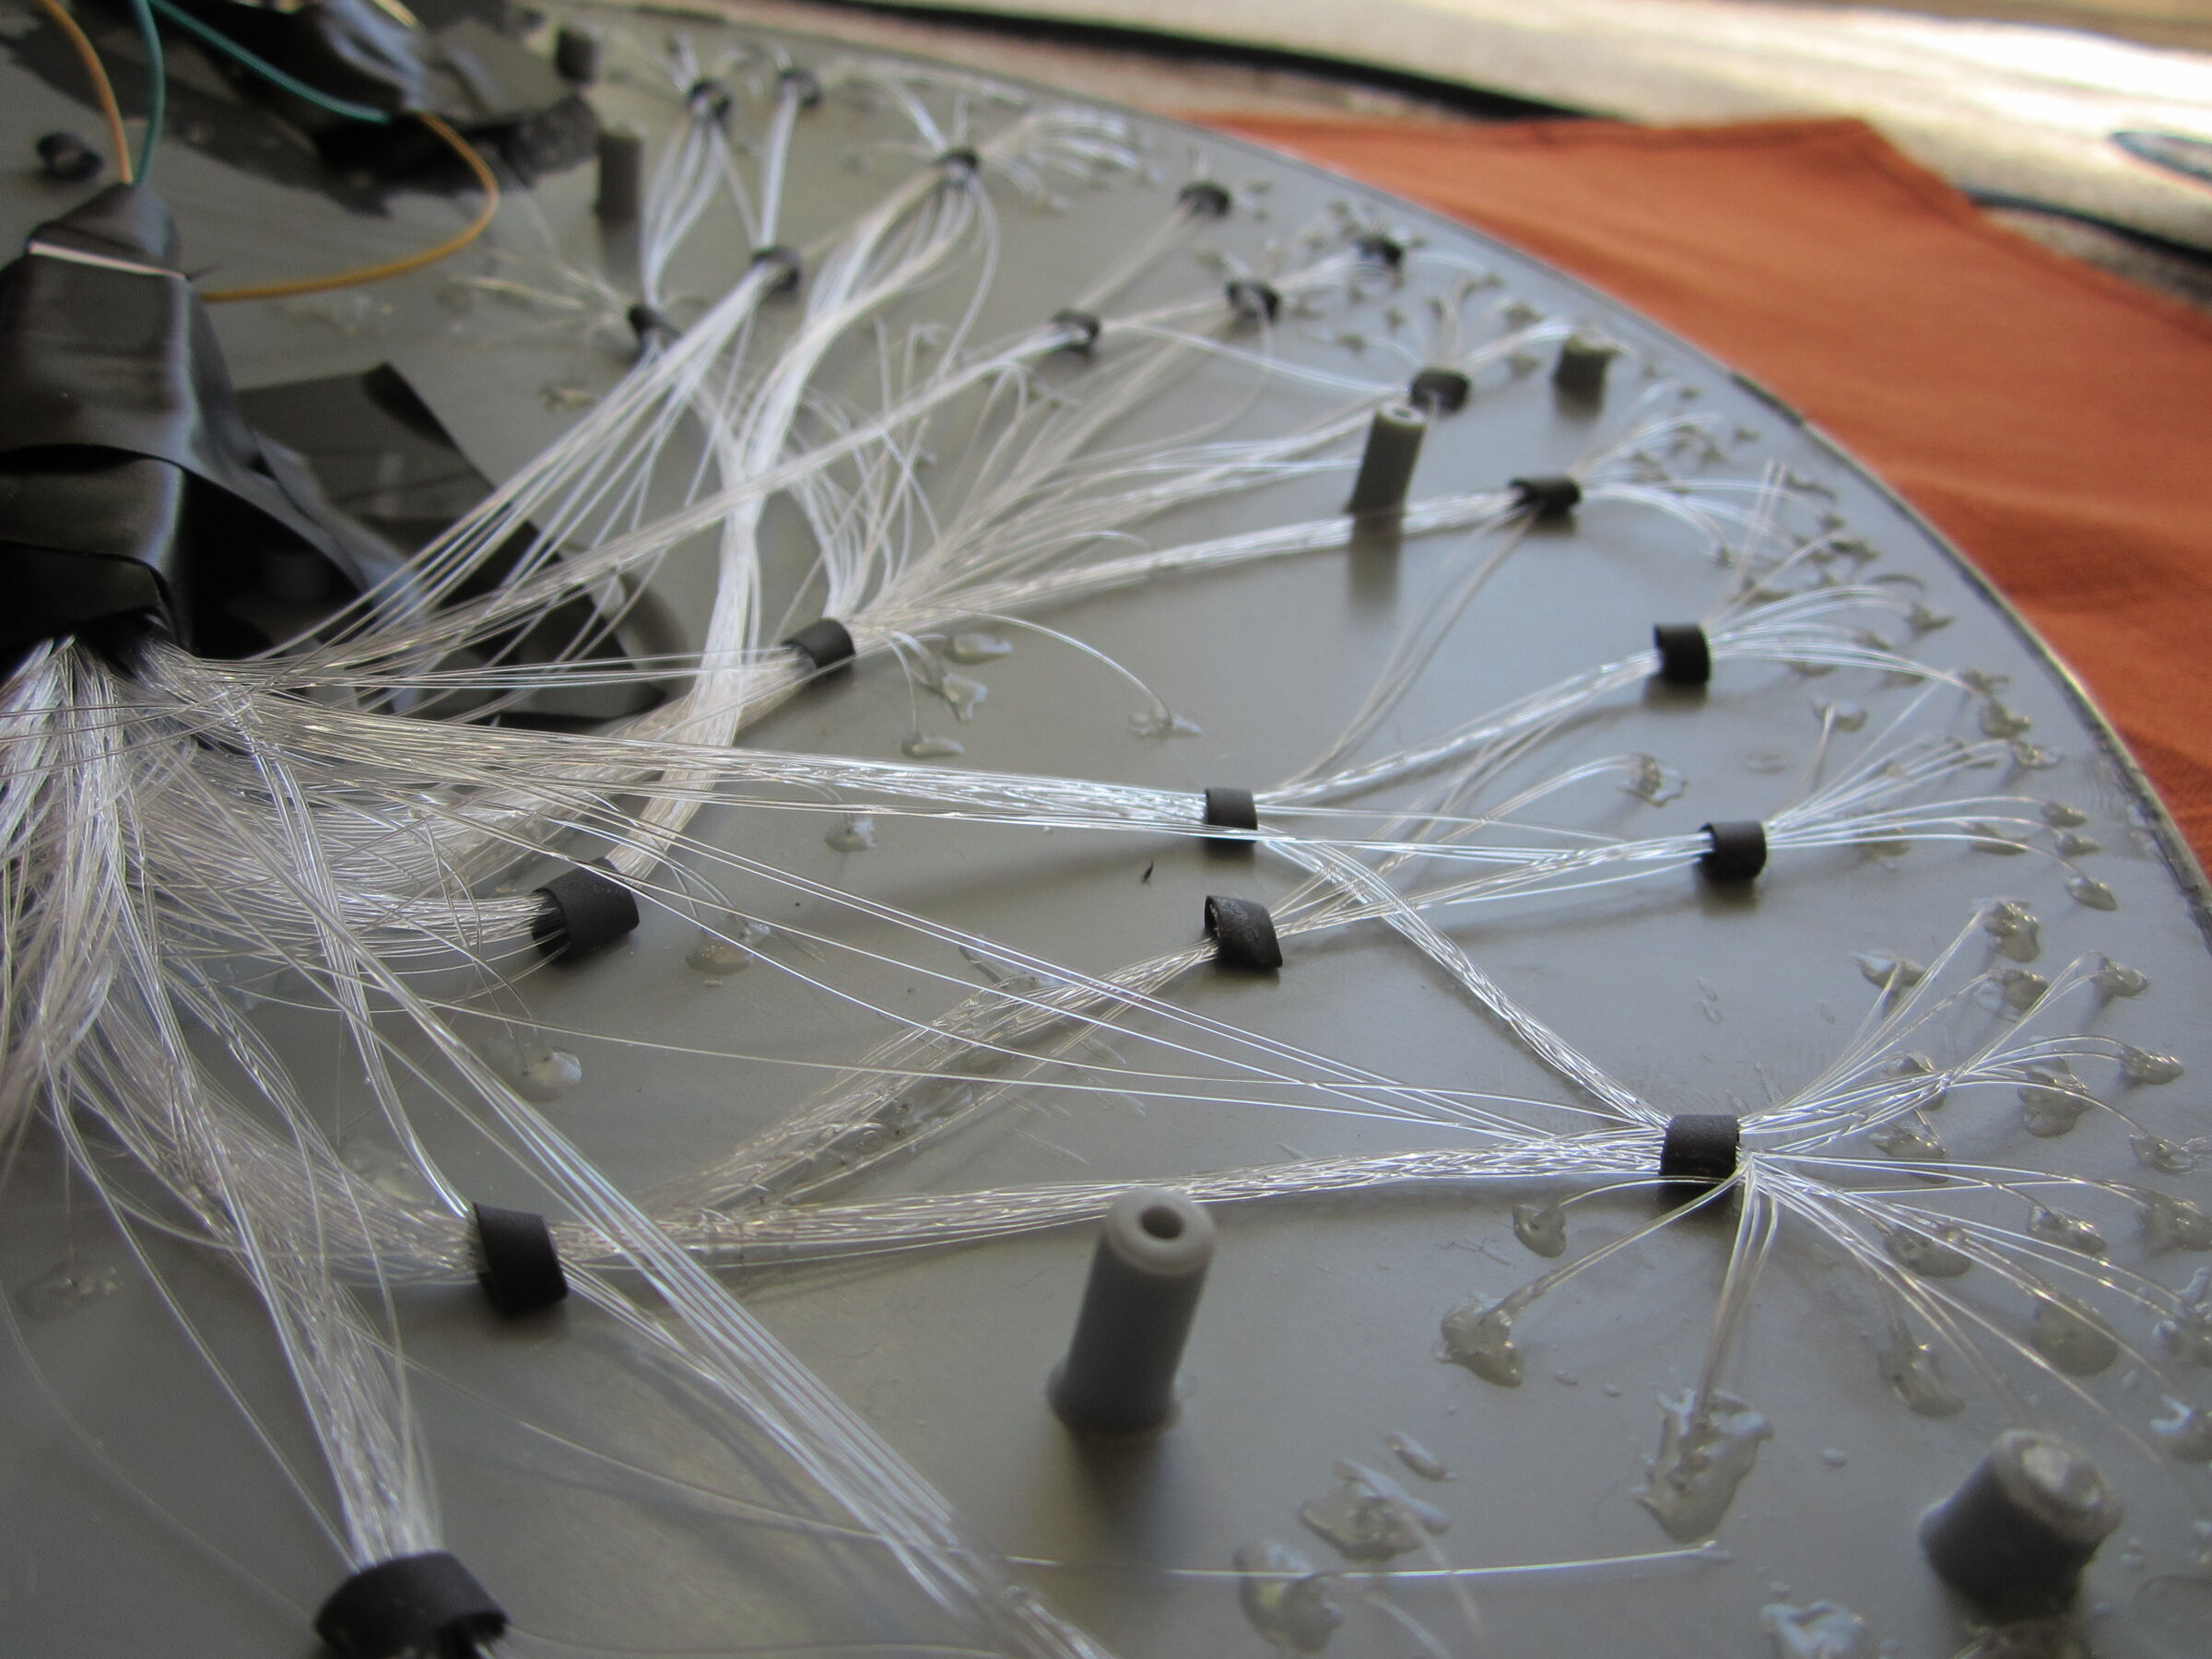
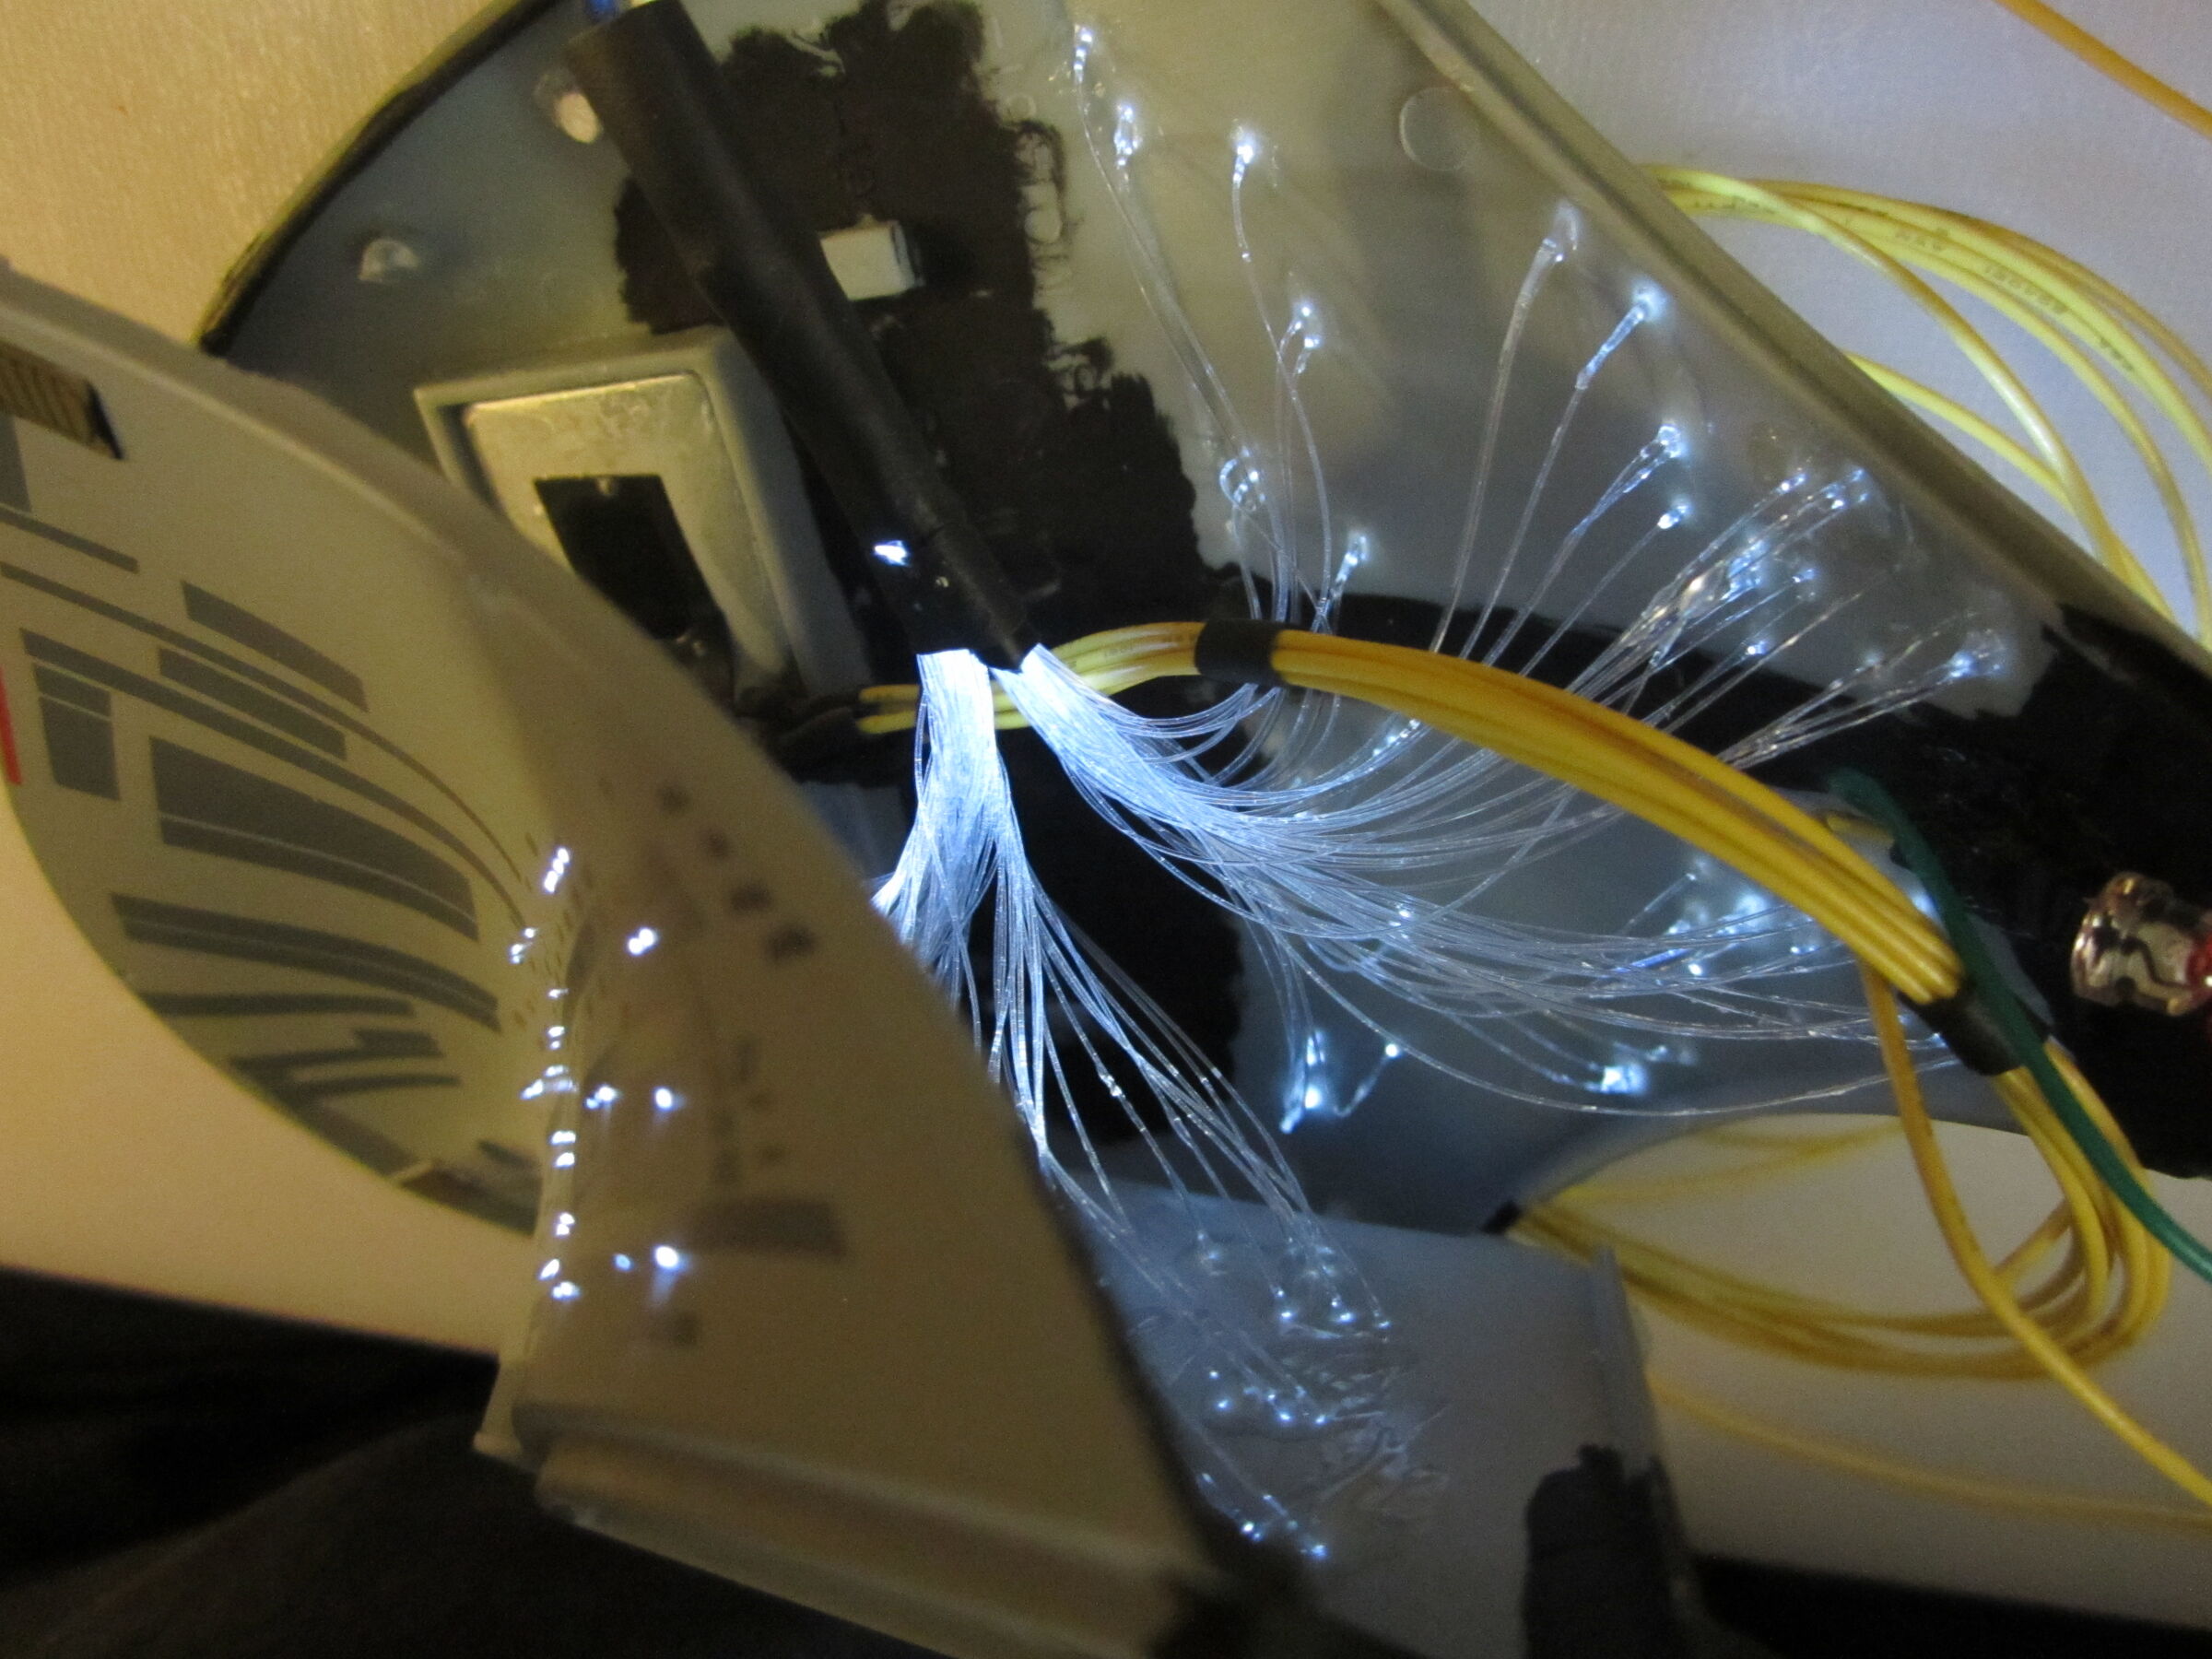
Next, I drilled tiny holes for windows using a 0.3 mm bit. About 380 “windows” total (and many broken drills). I used six cables with 64 strands each, plus 3mm and 5mm fibers. The row of four yellow lights at the front was my own addition, not part of the original model.
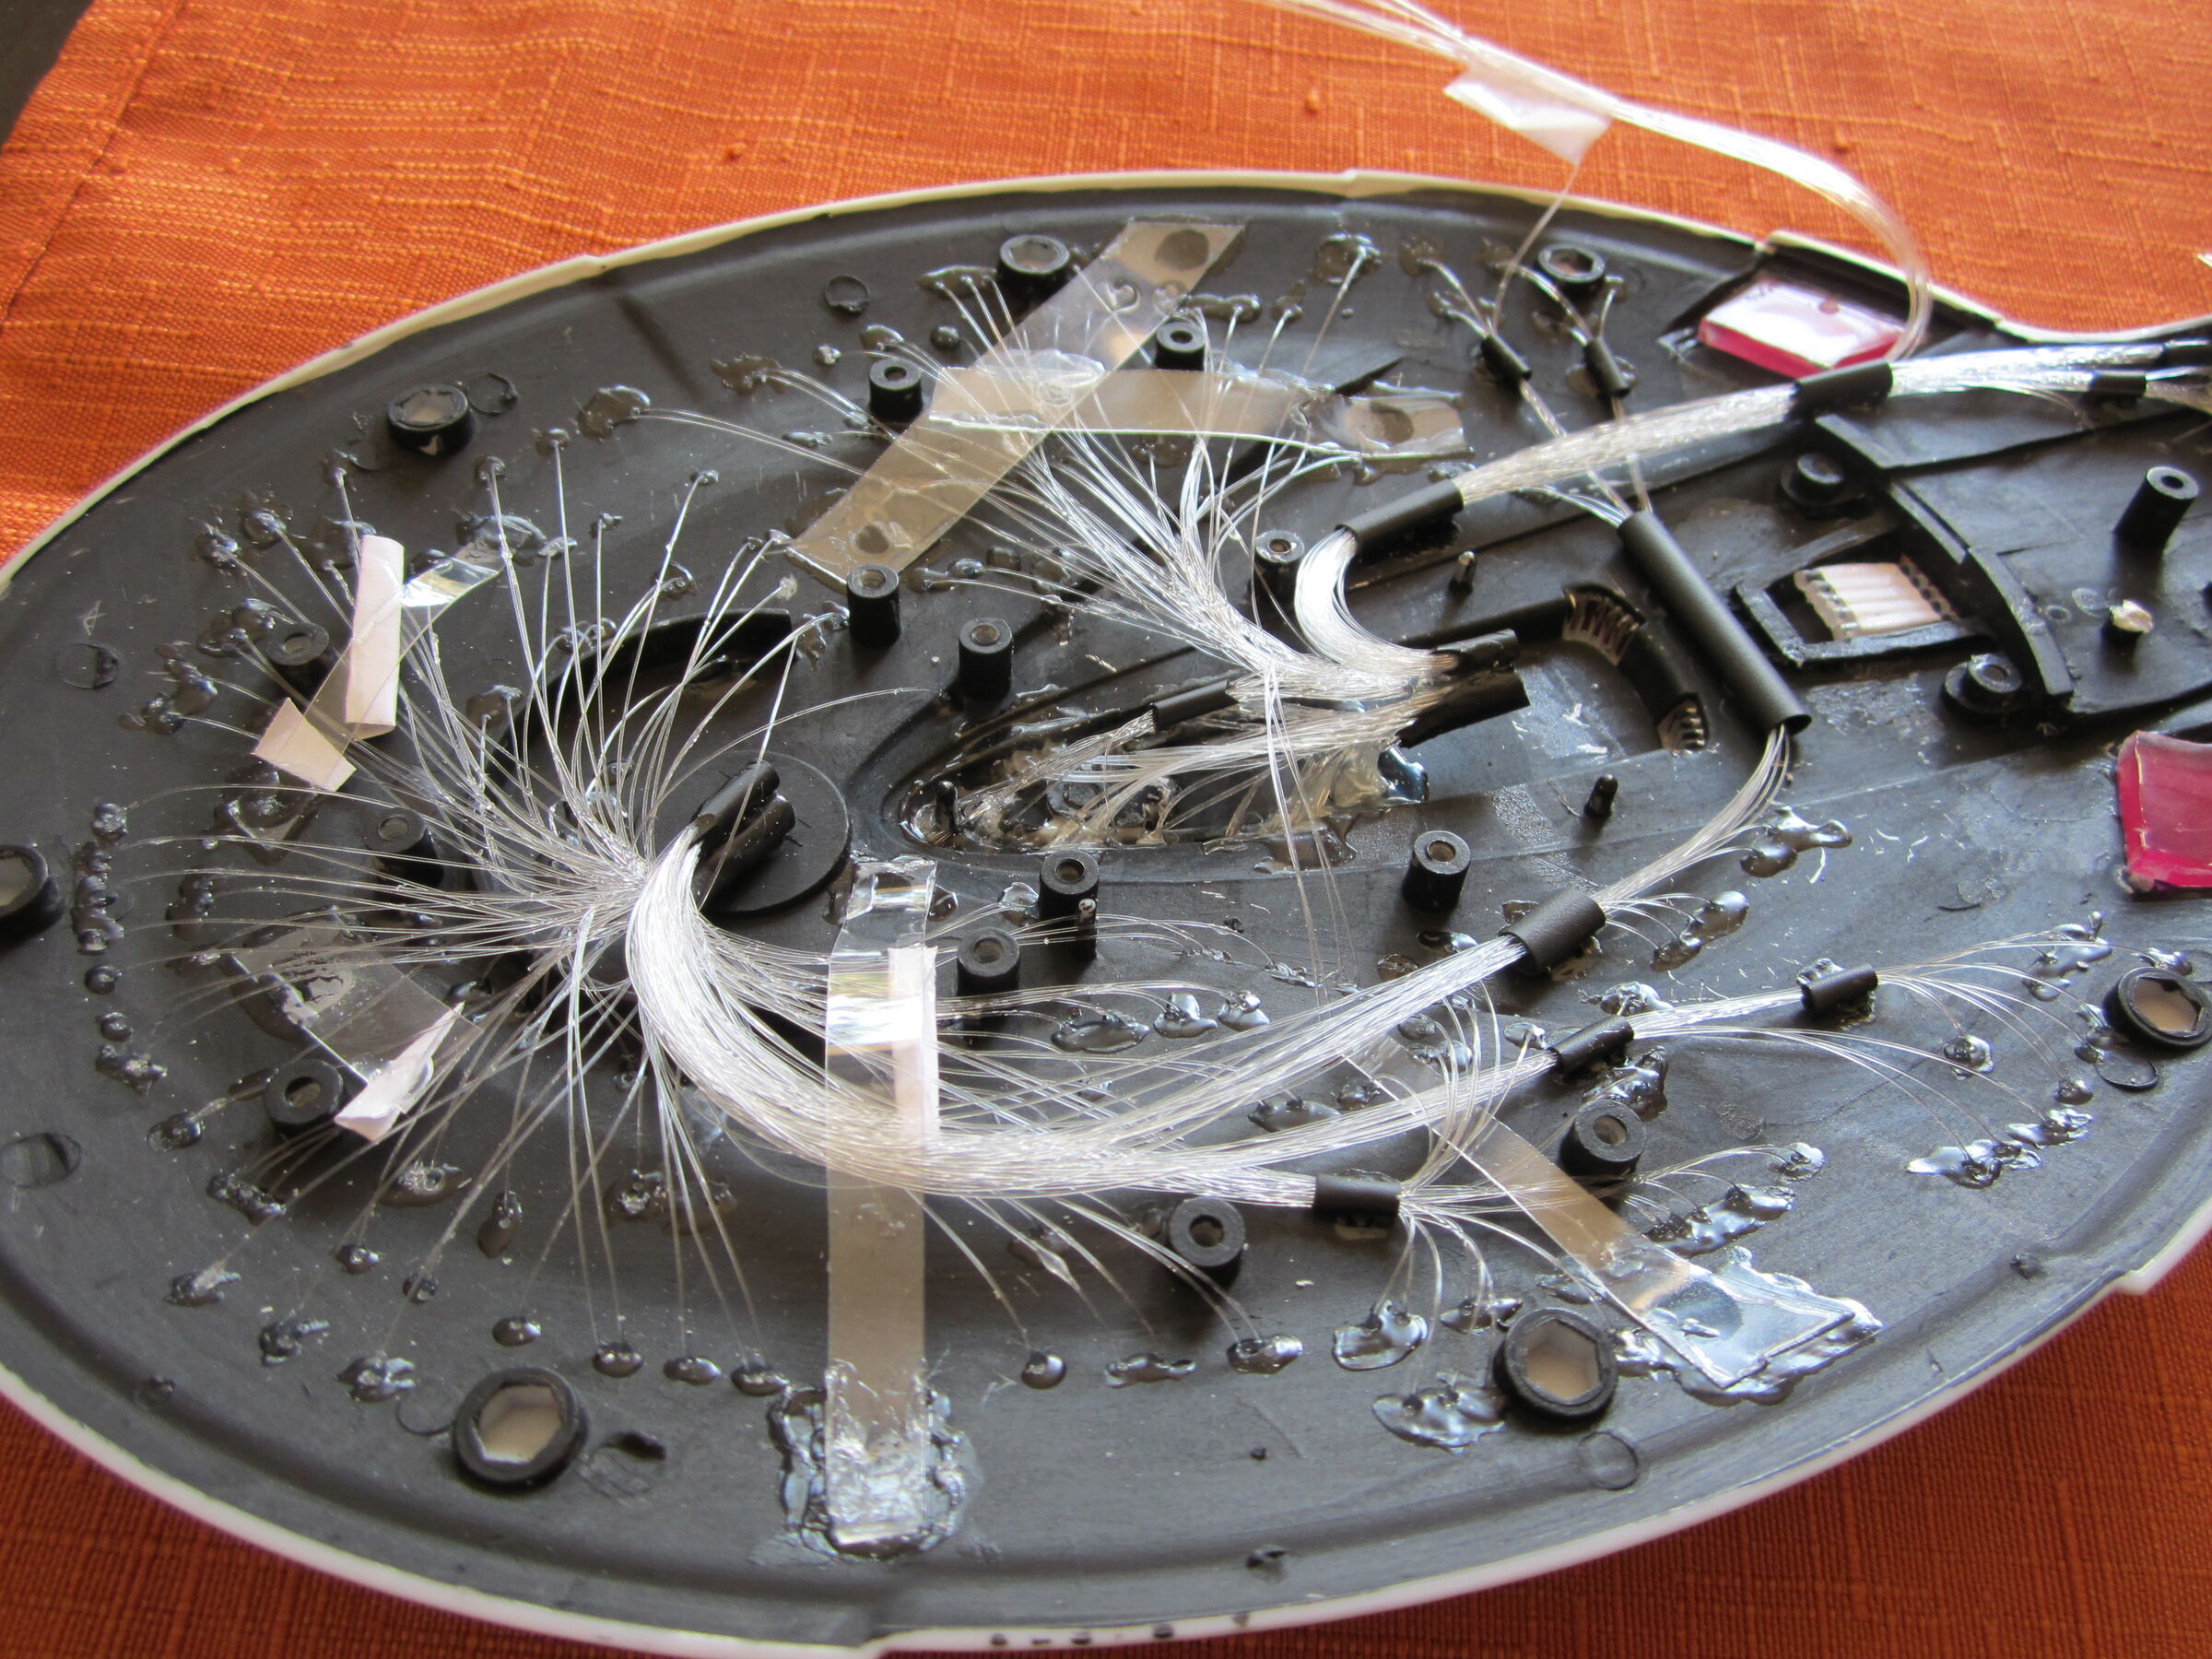
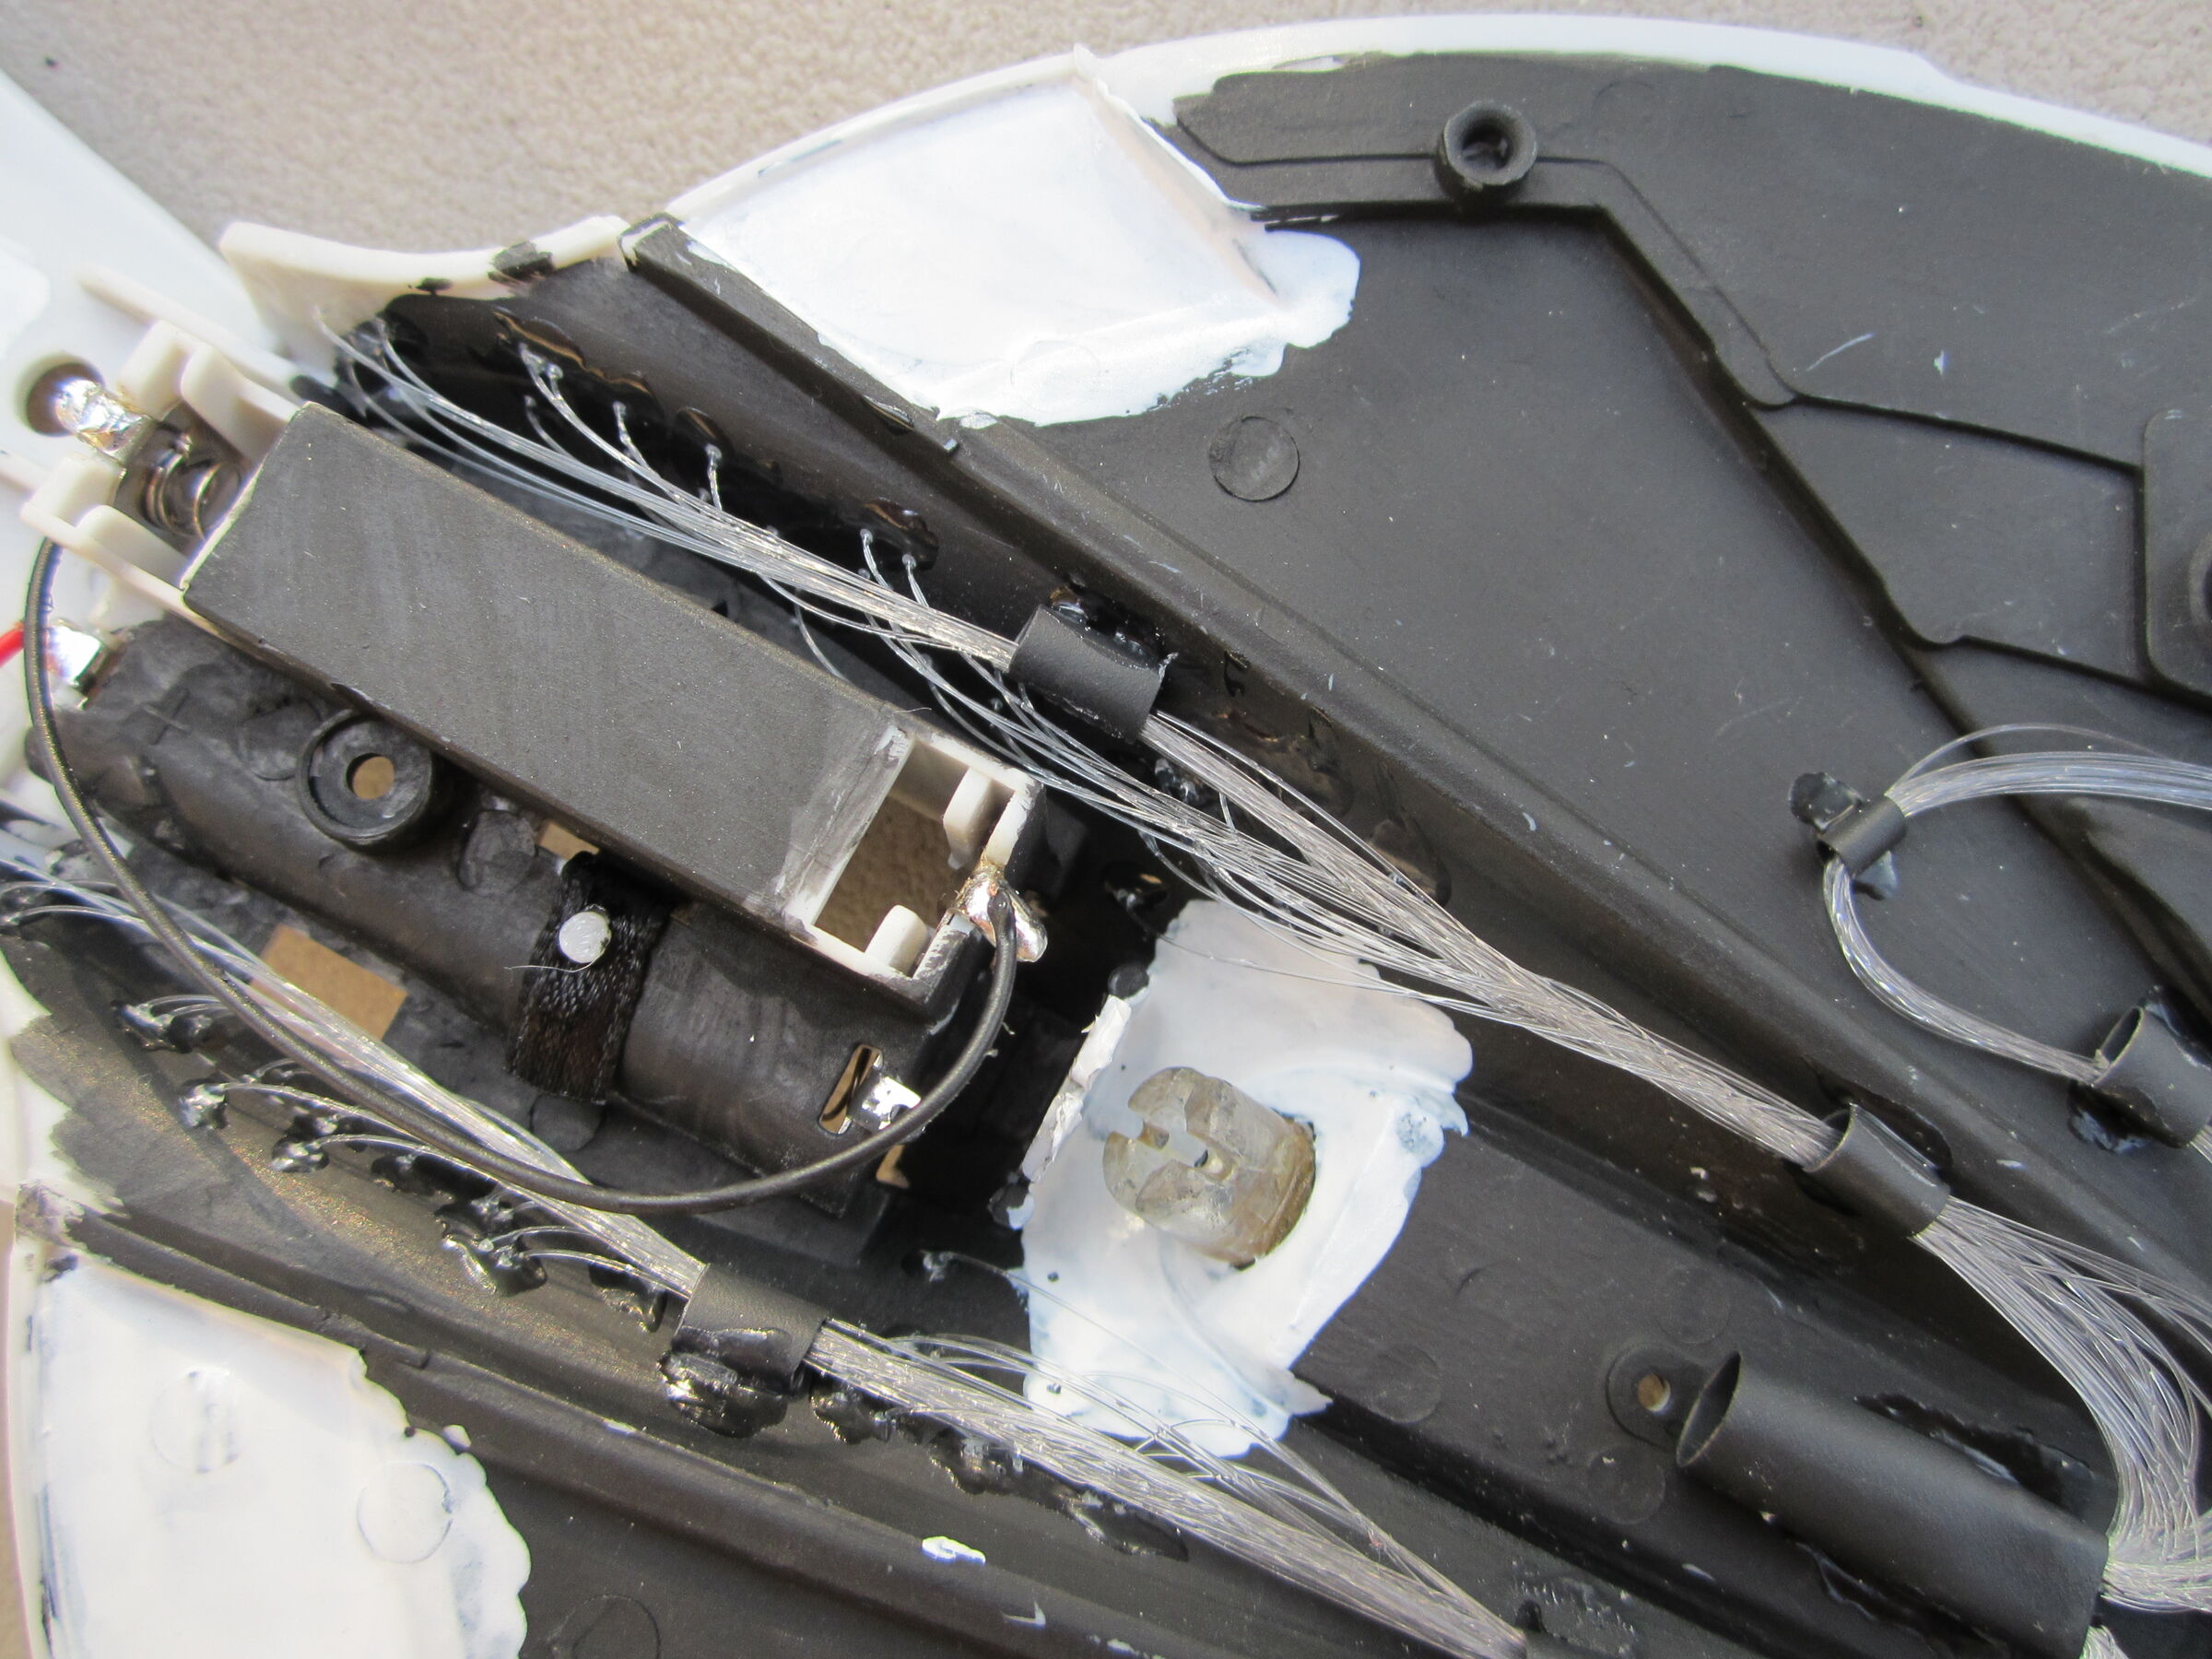
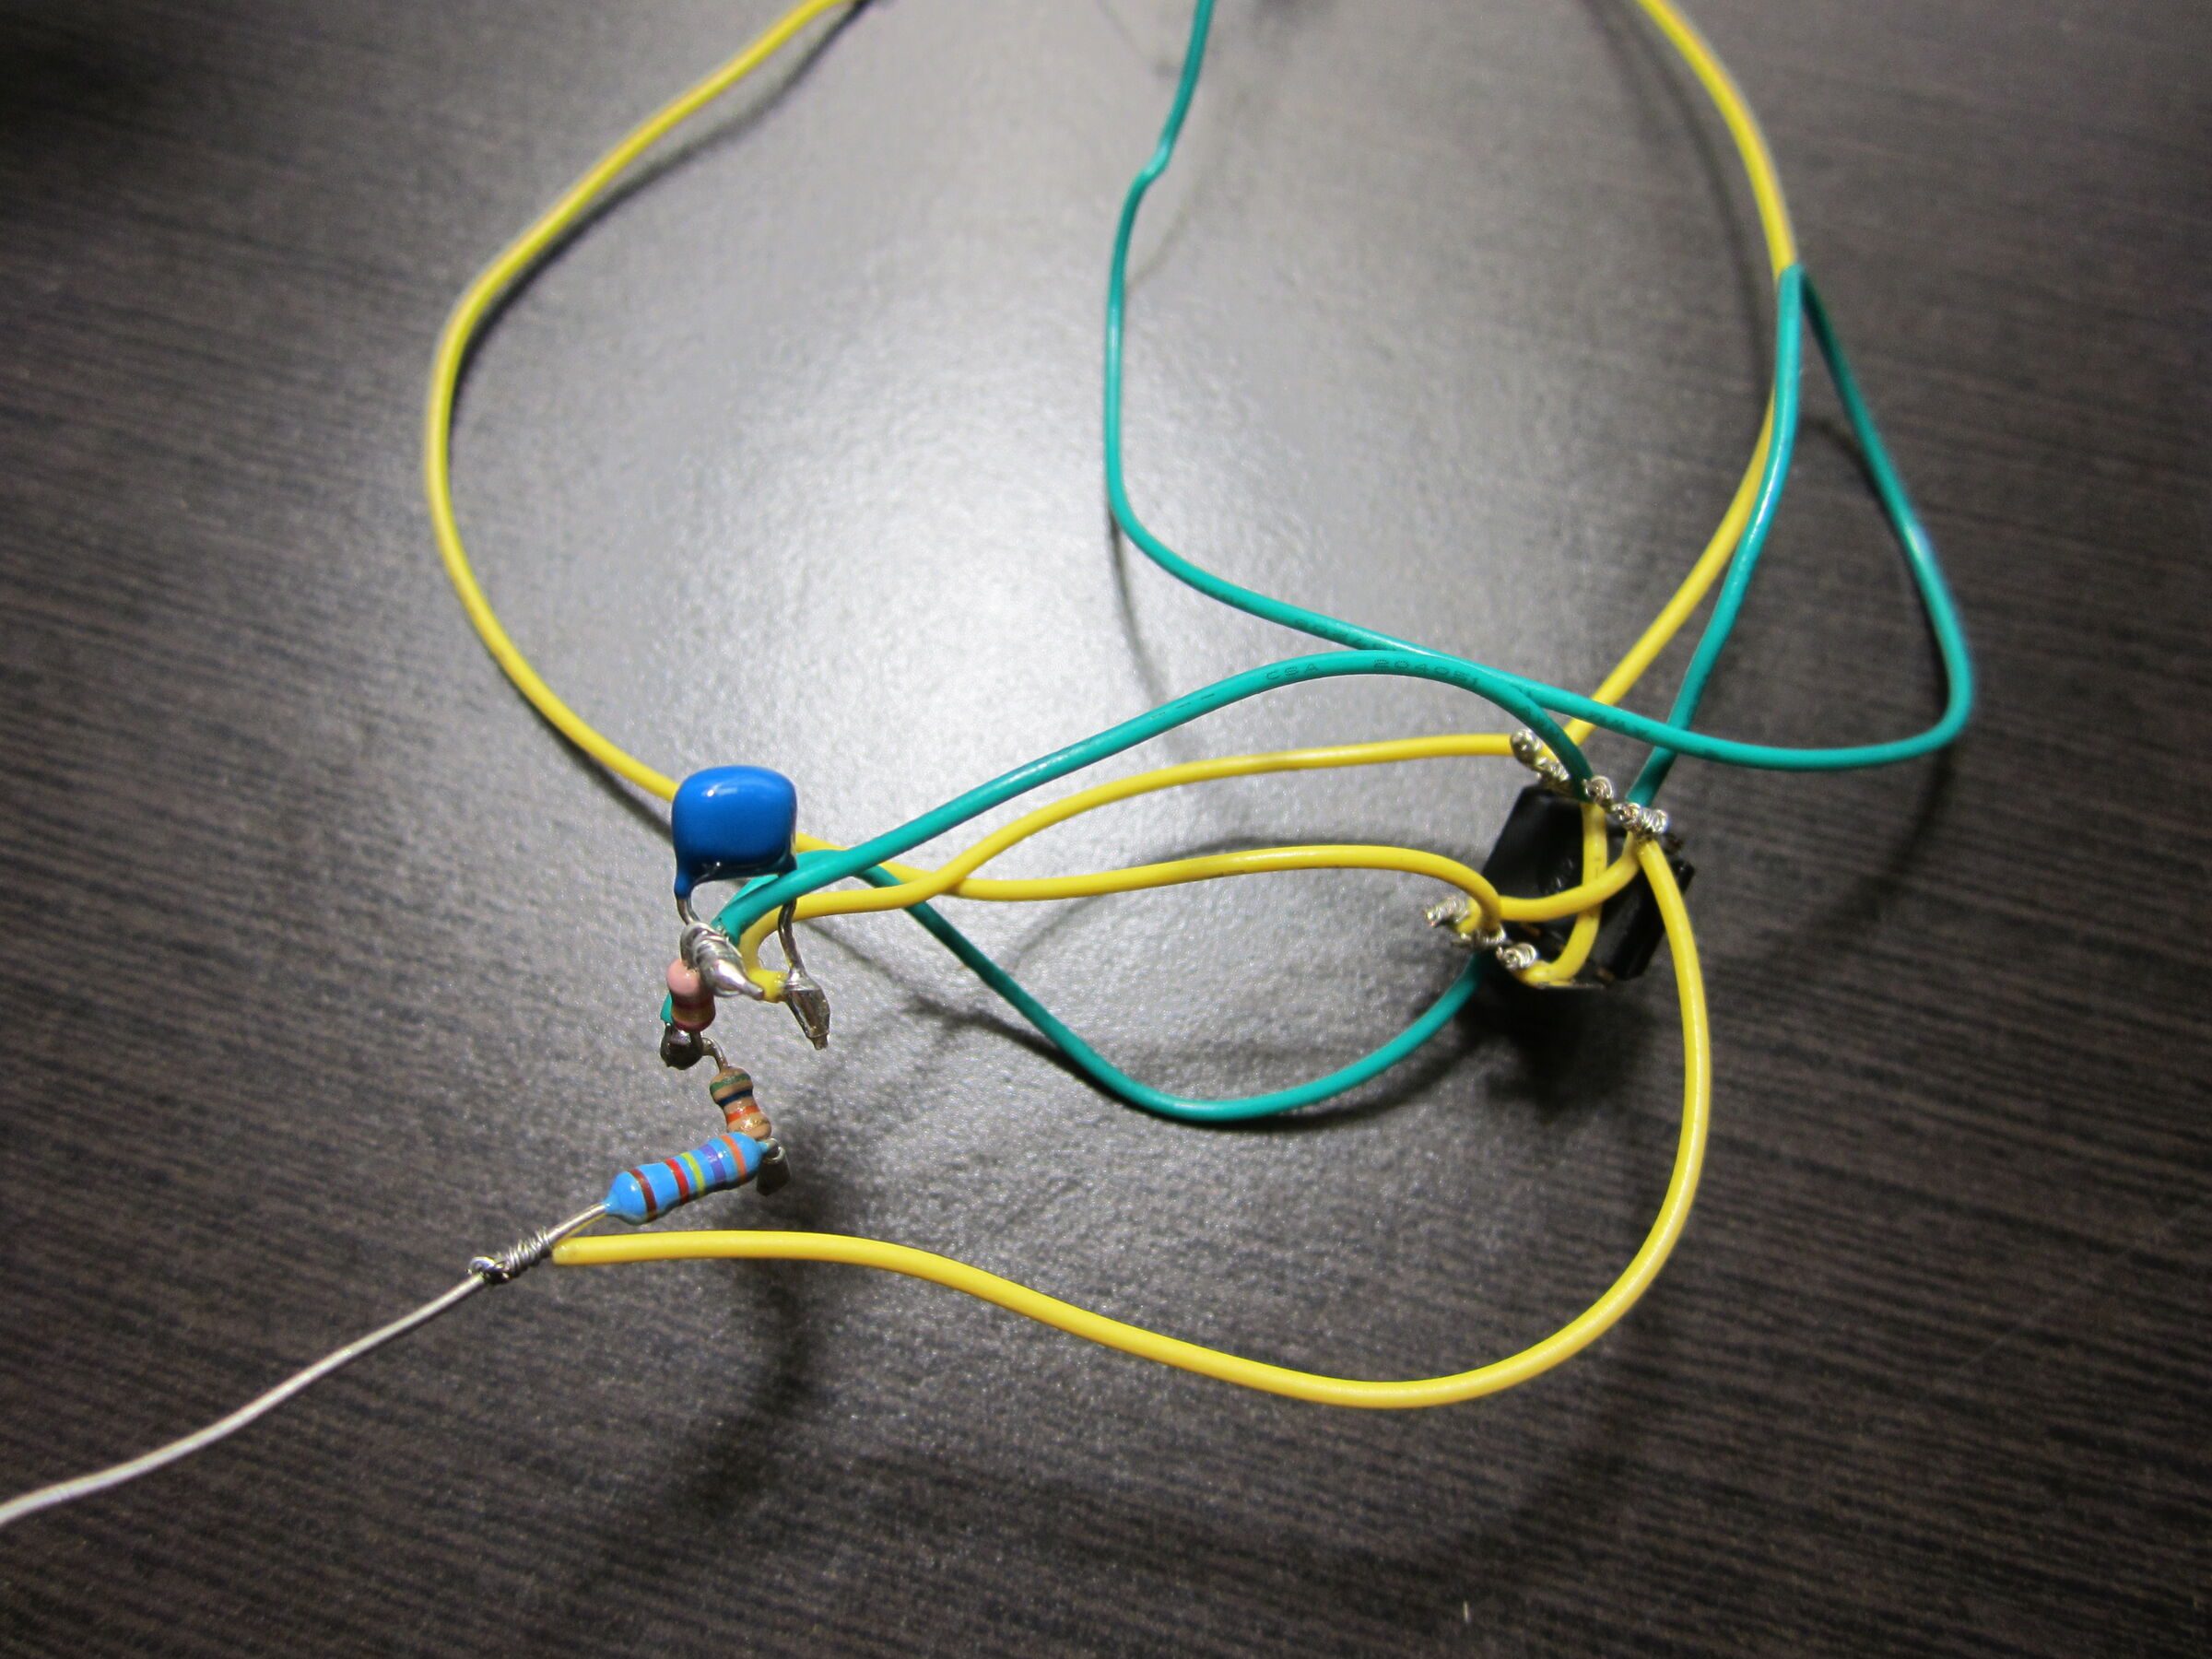
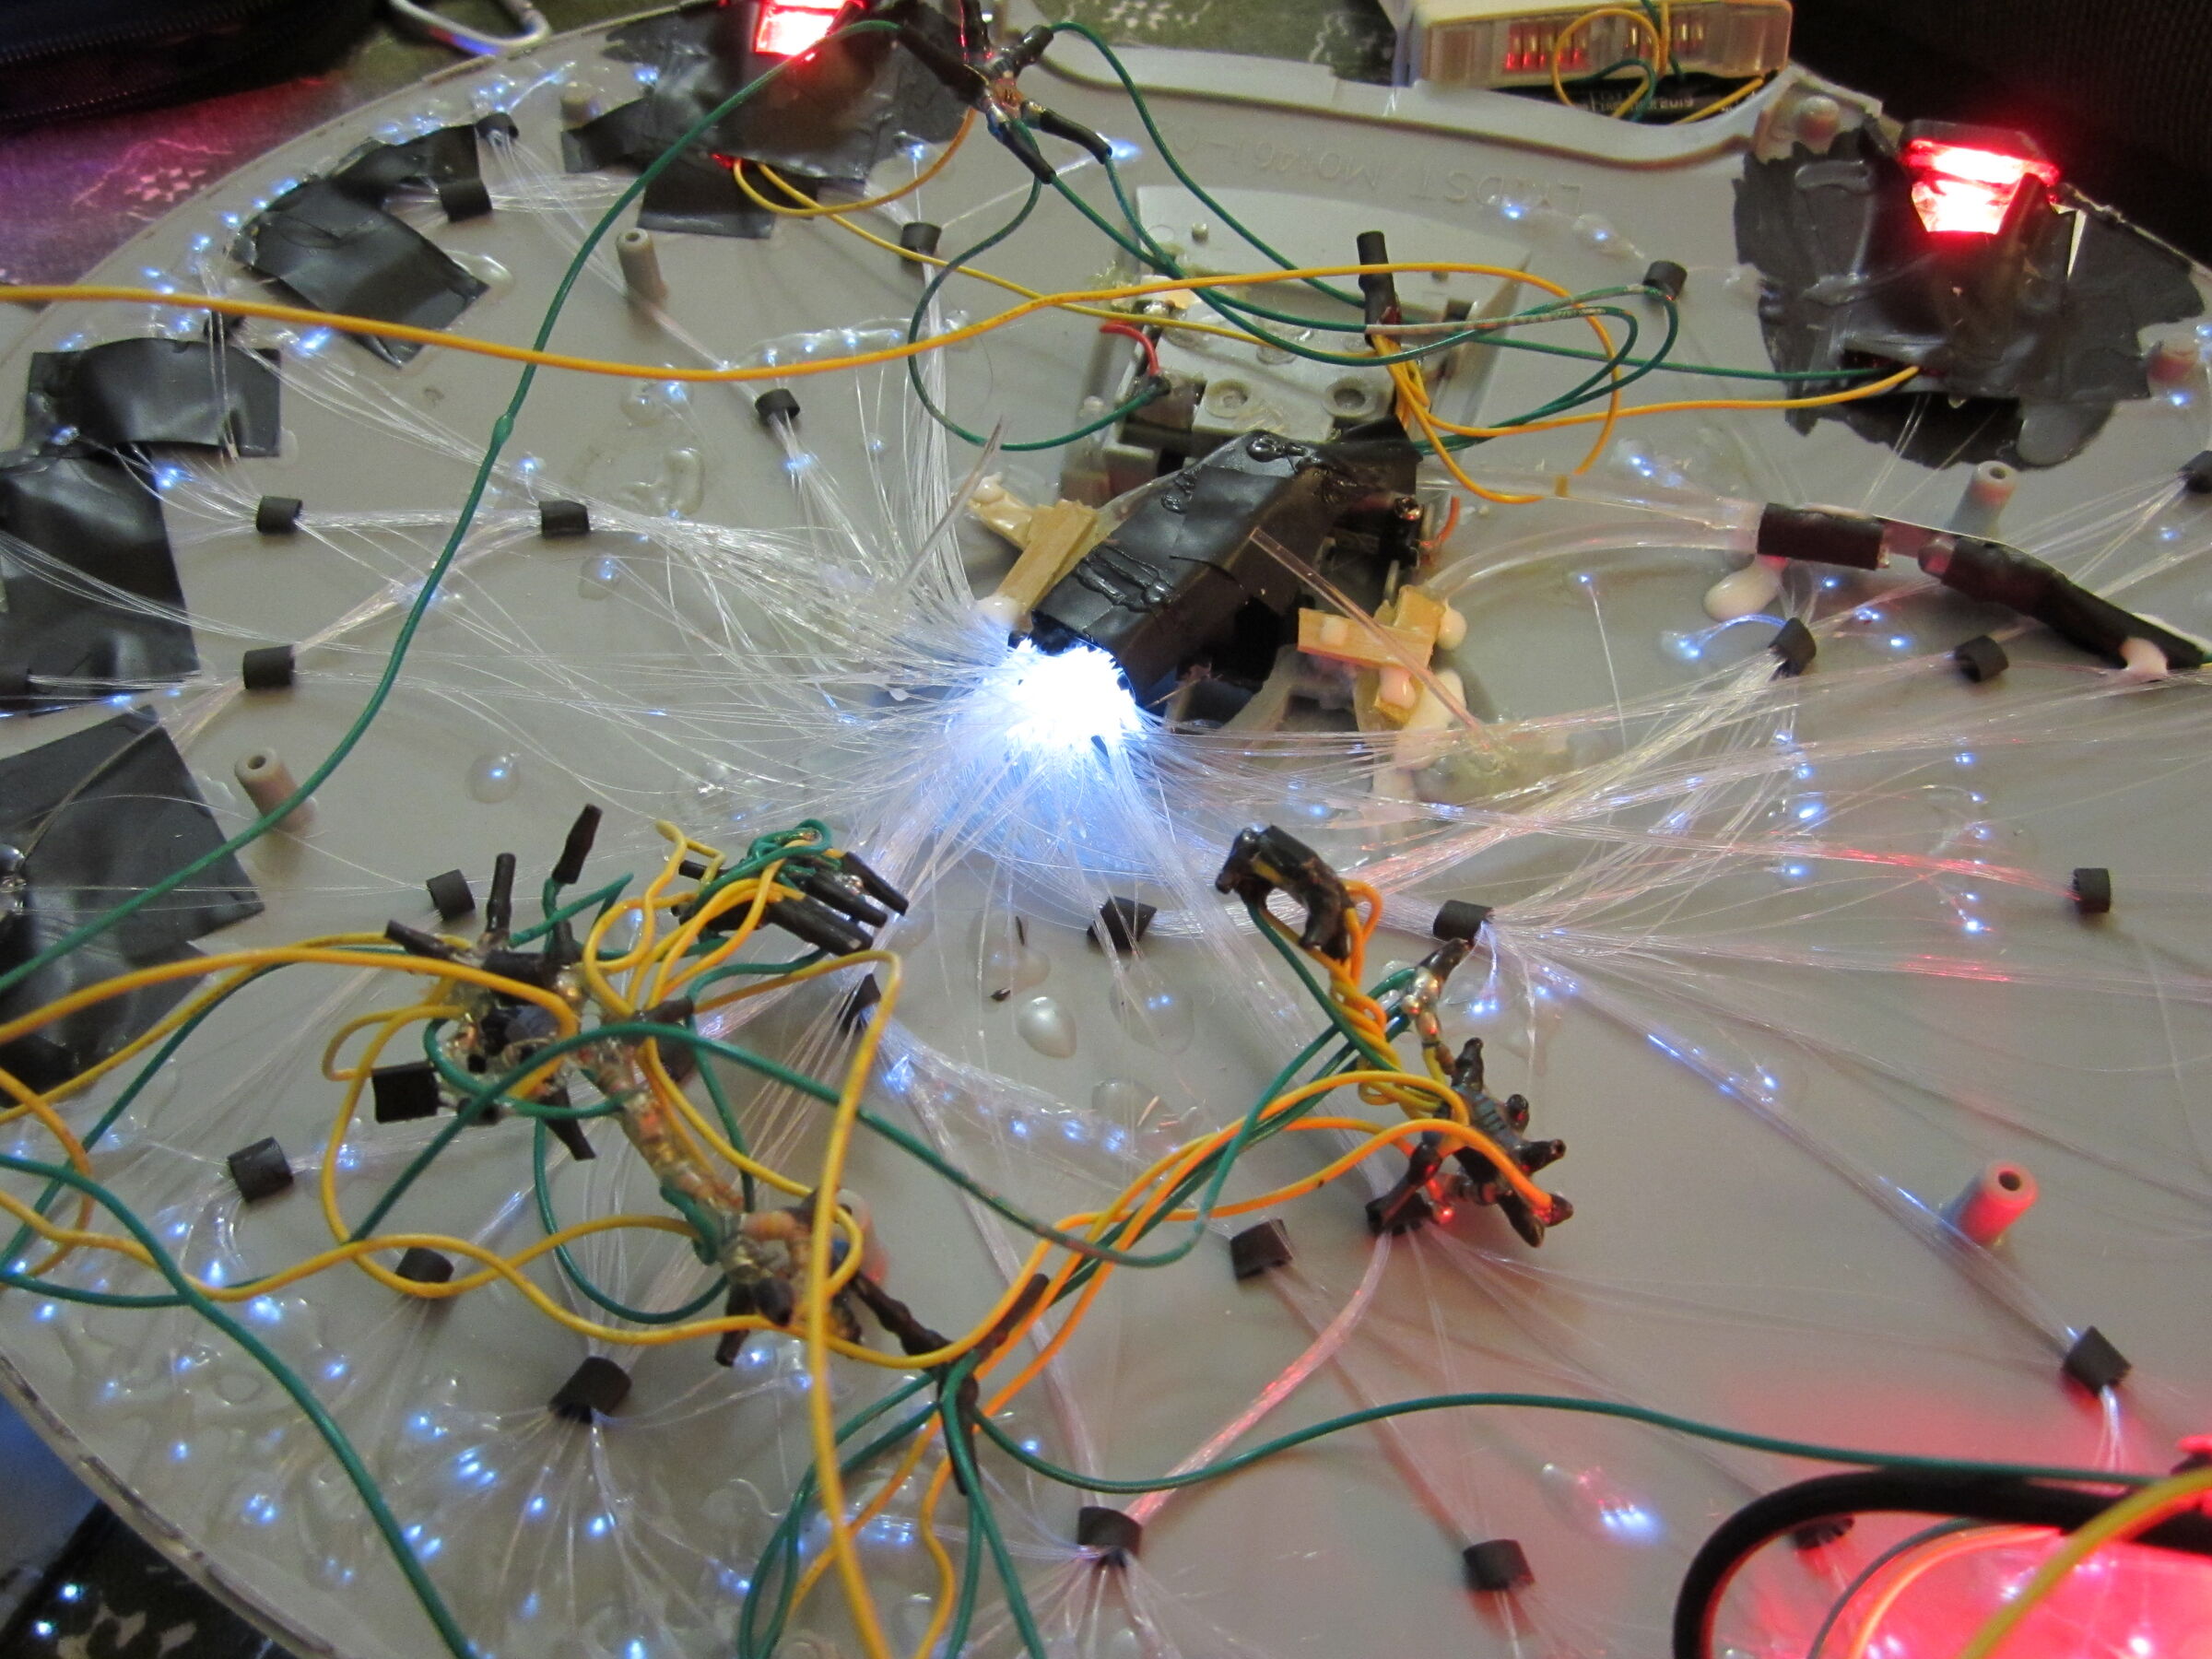
The lighting uses green, red, yellow, and blue LEDs with blinking and fade effects. Since this was my first time soldering, the electronics were basic - simple resistors and 555 timers (today I'd use Arduino). Powered by three AA batteries or USB.
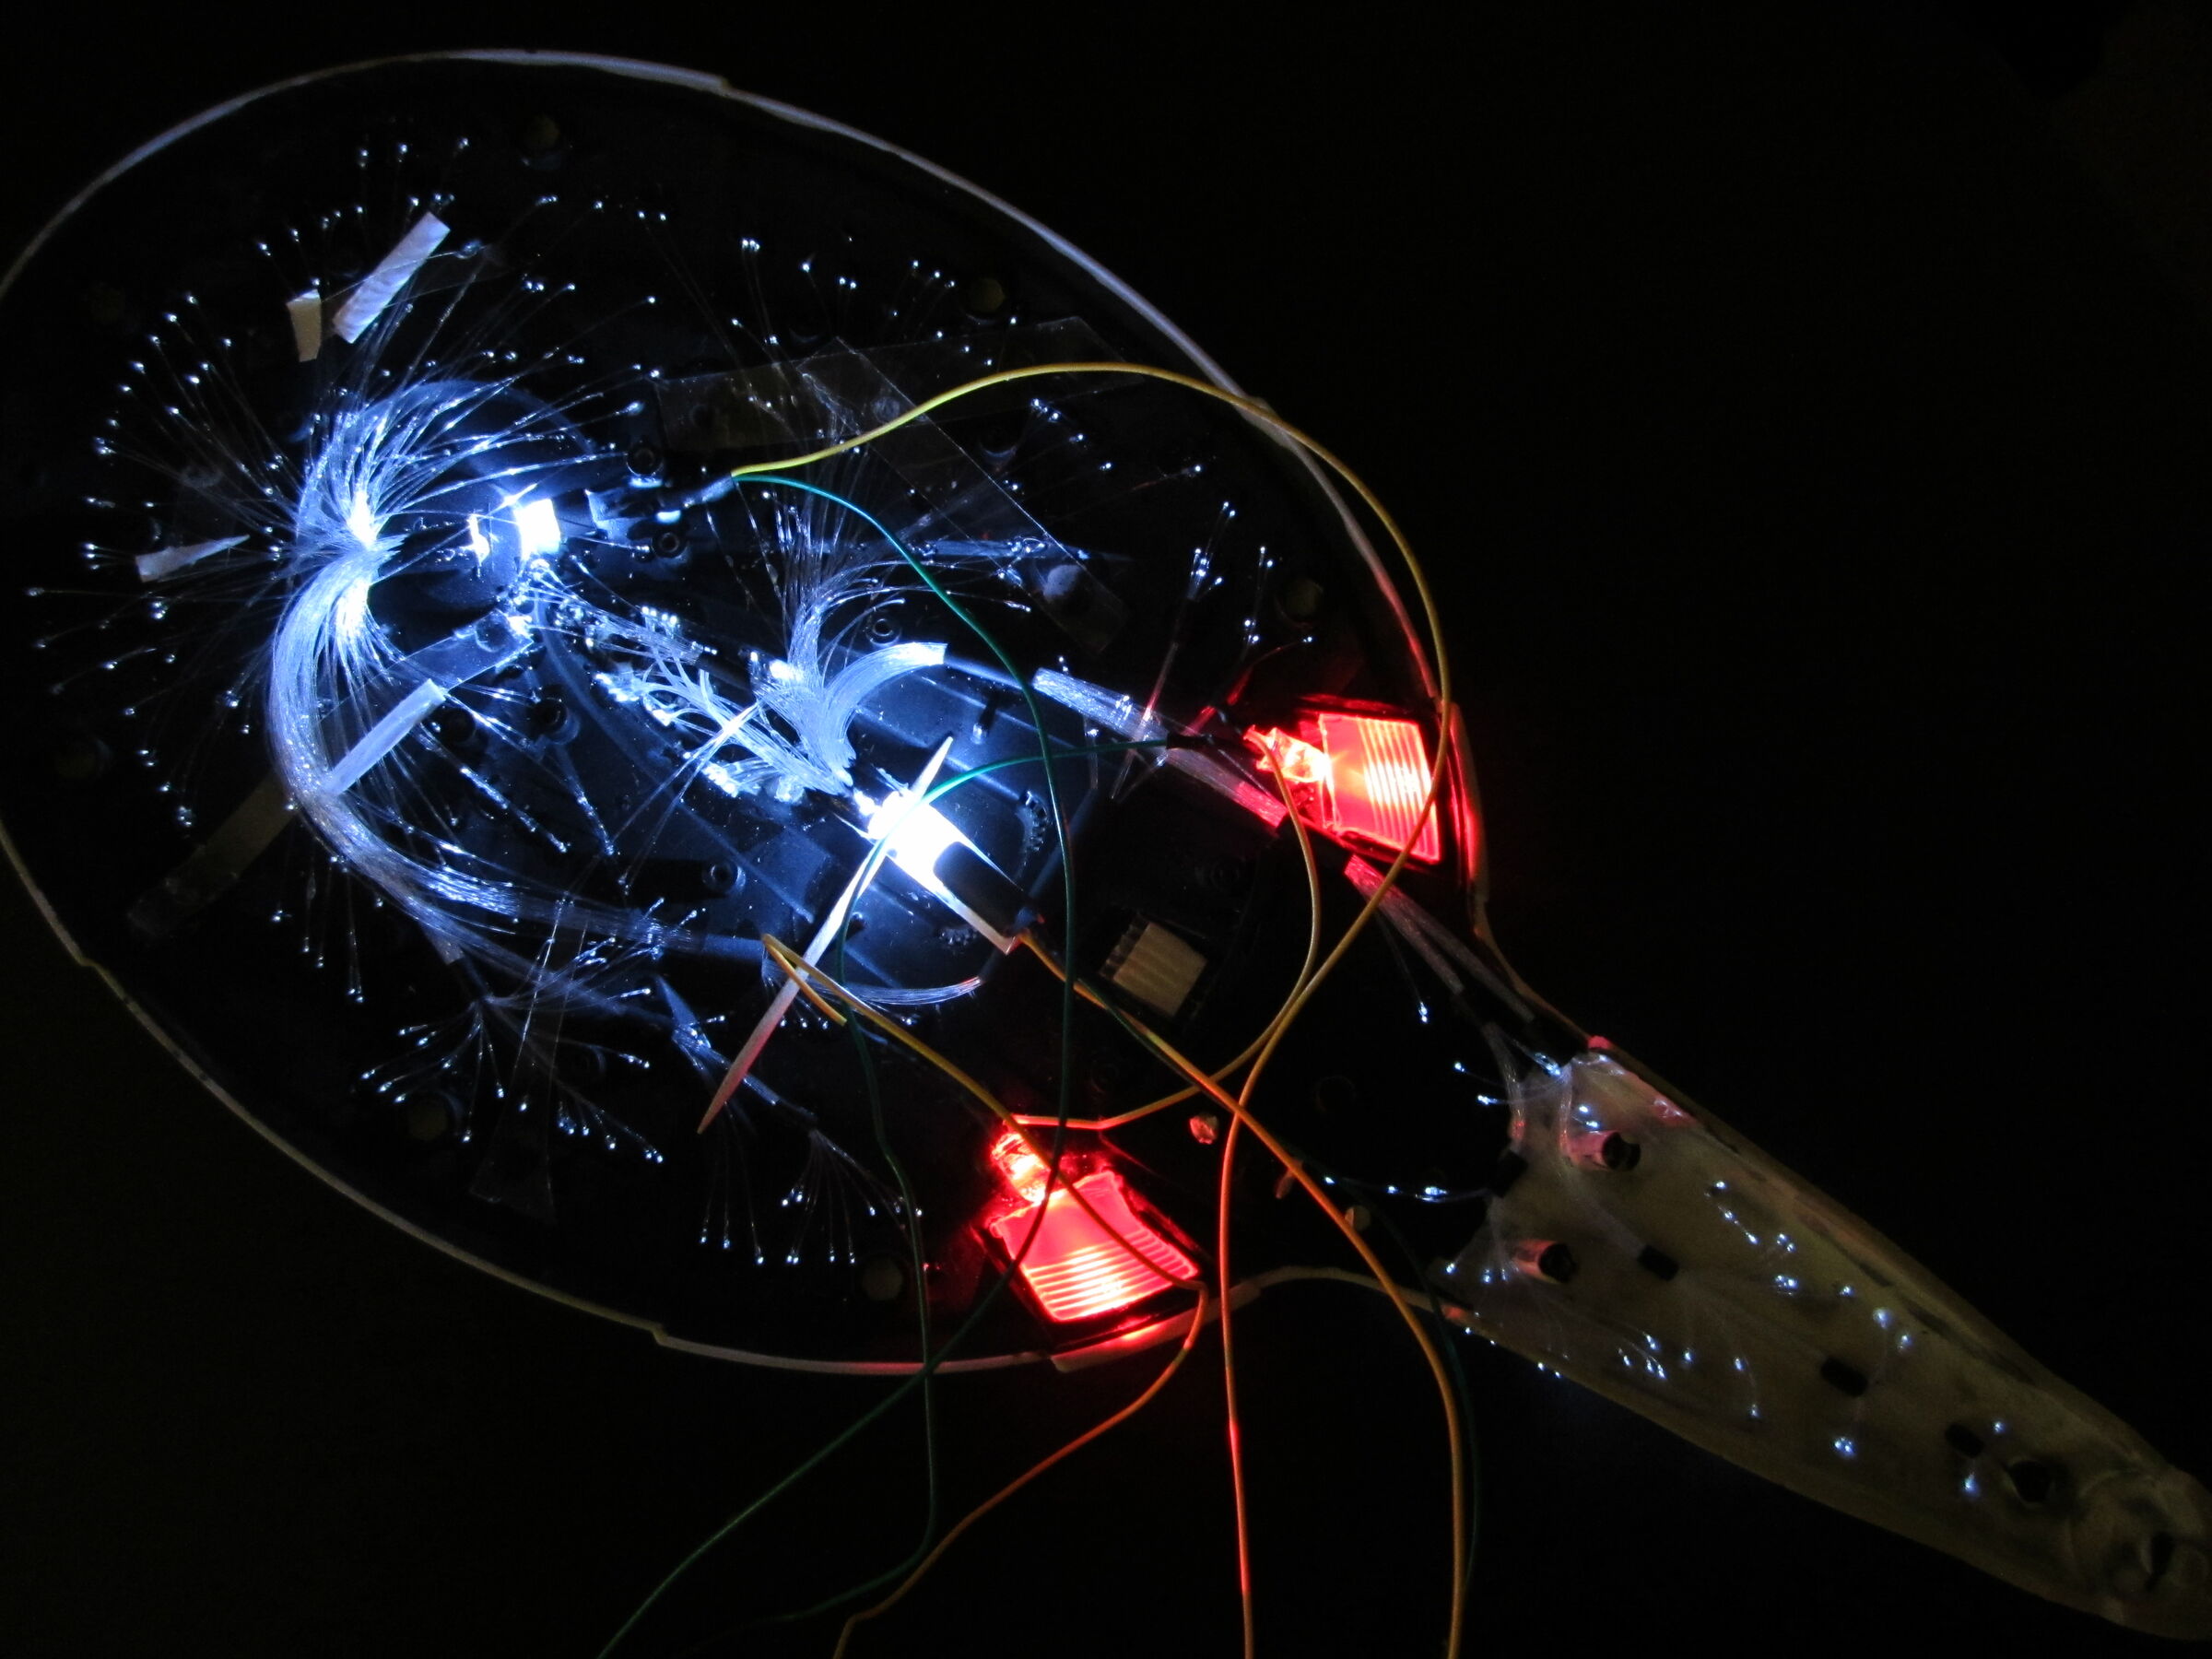
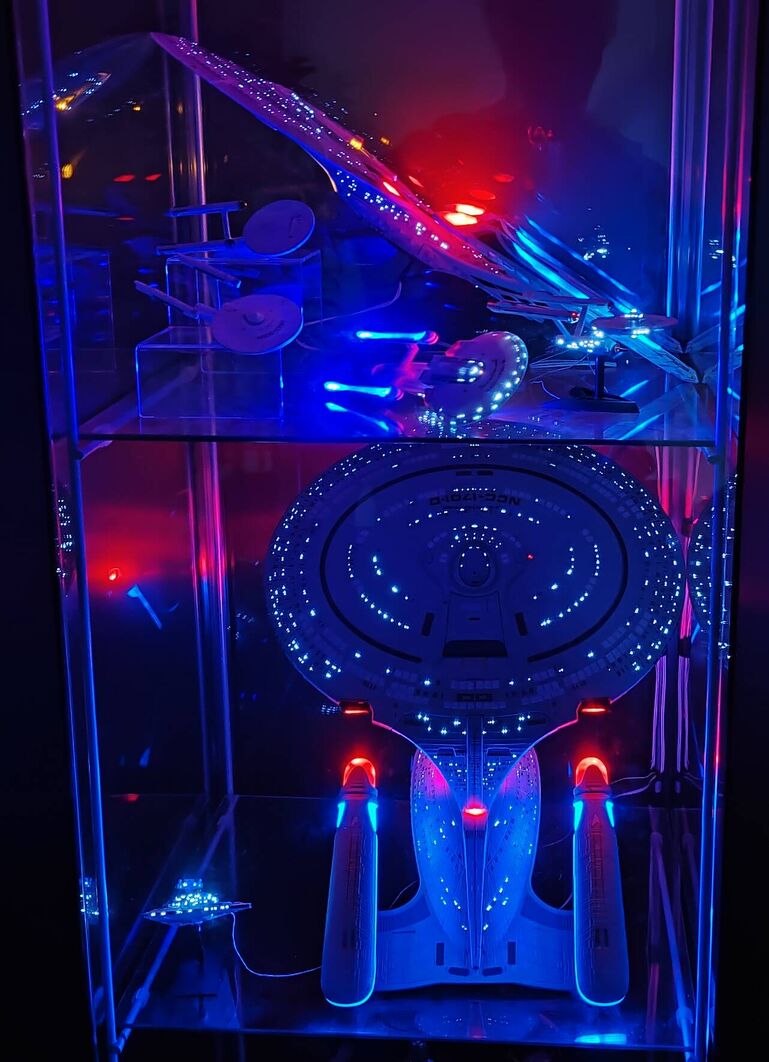
Finished
This project combined my love for Star Trek with a new hobby.

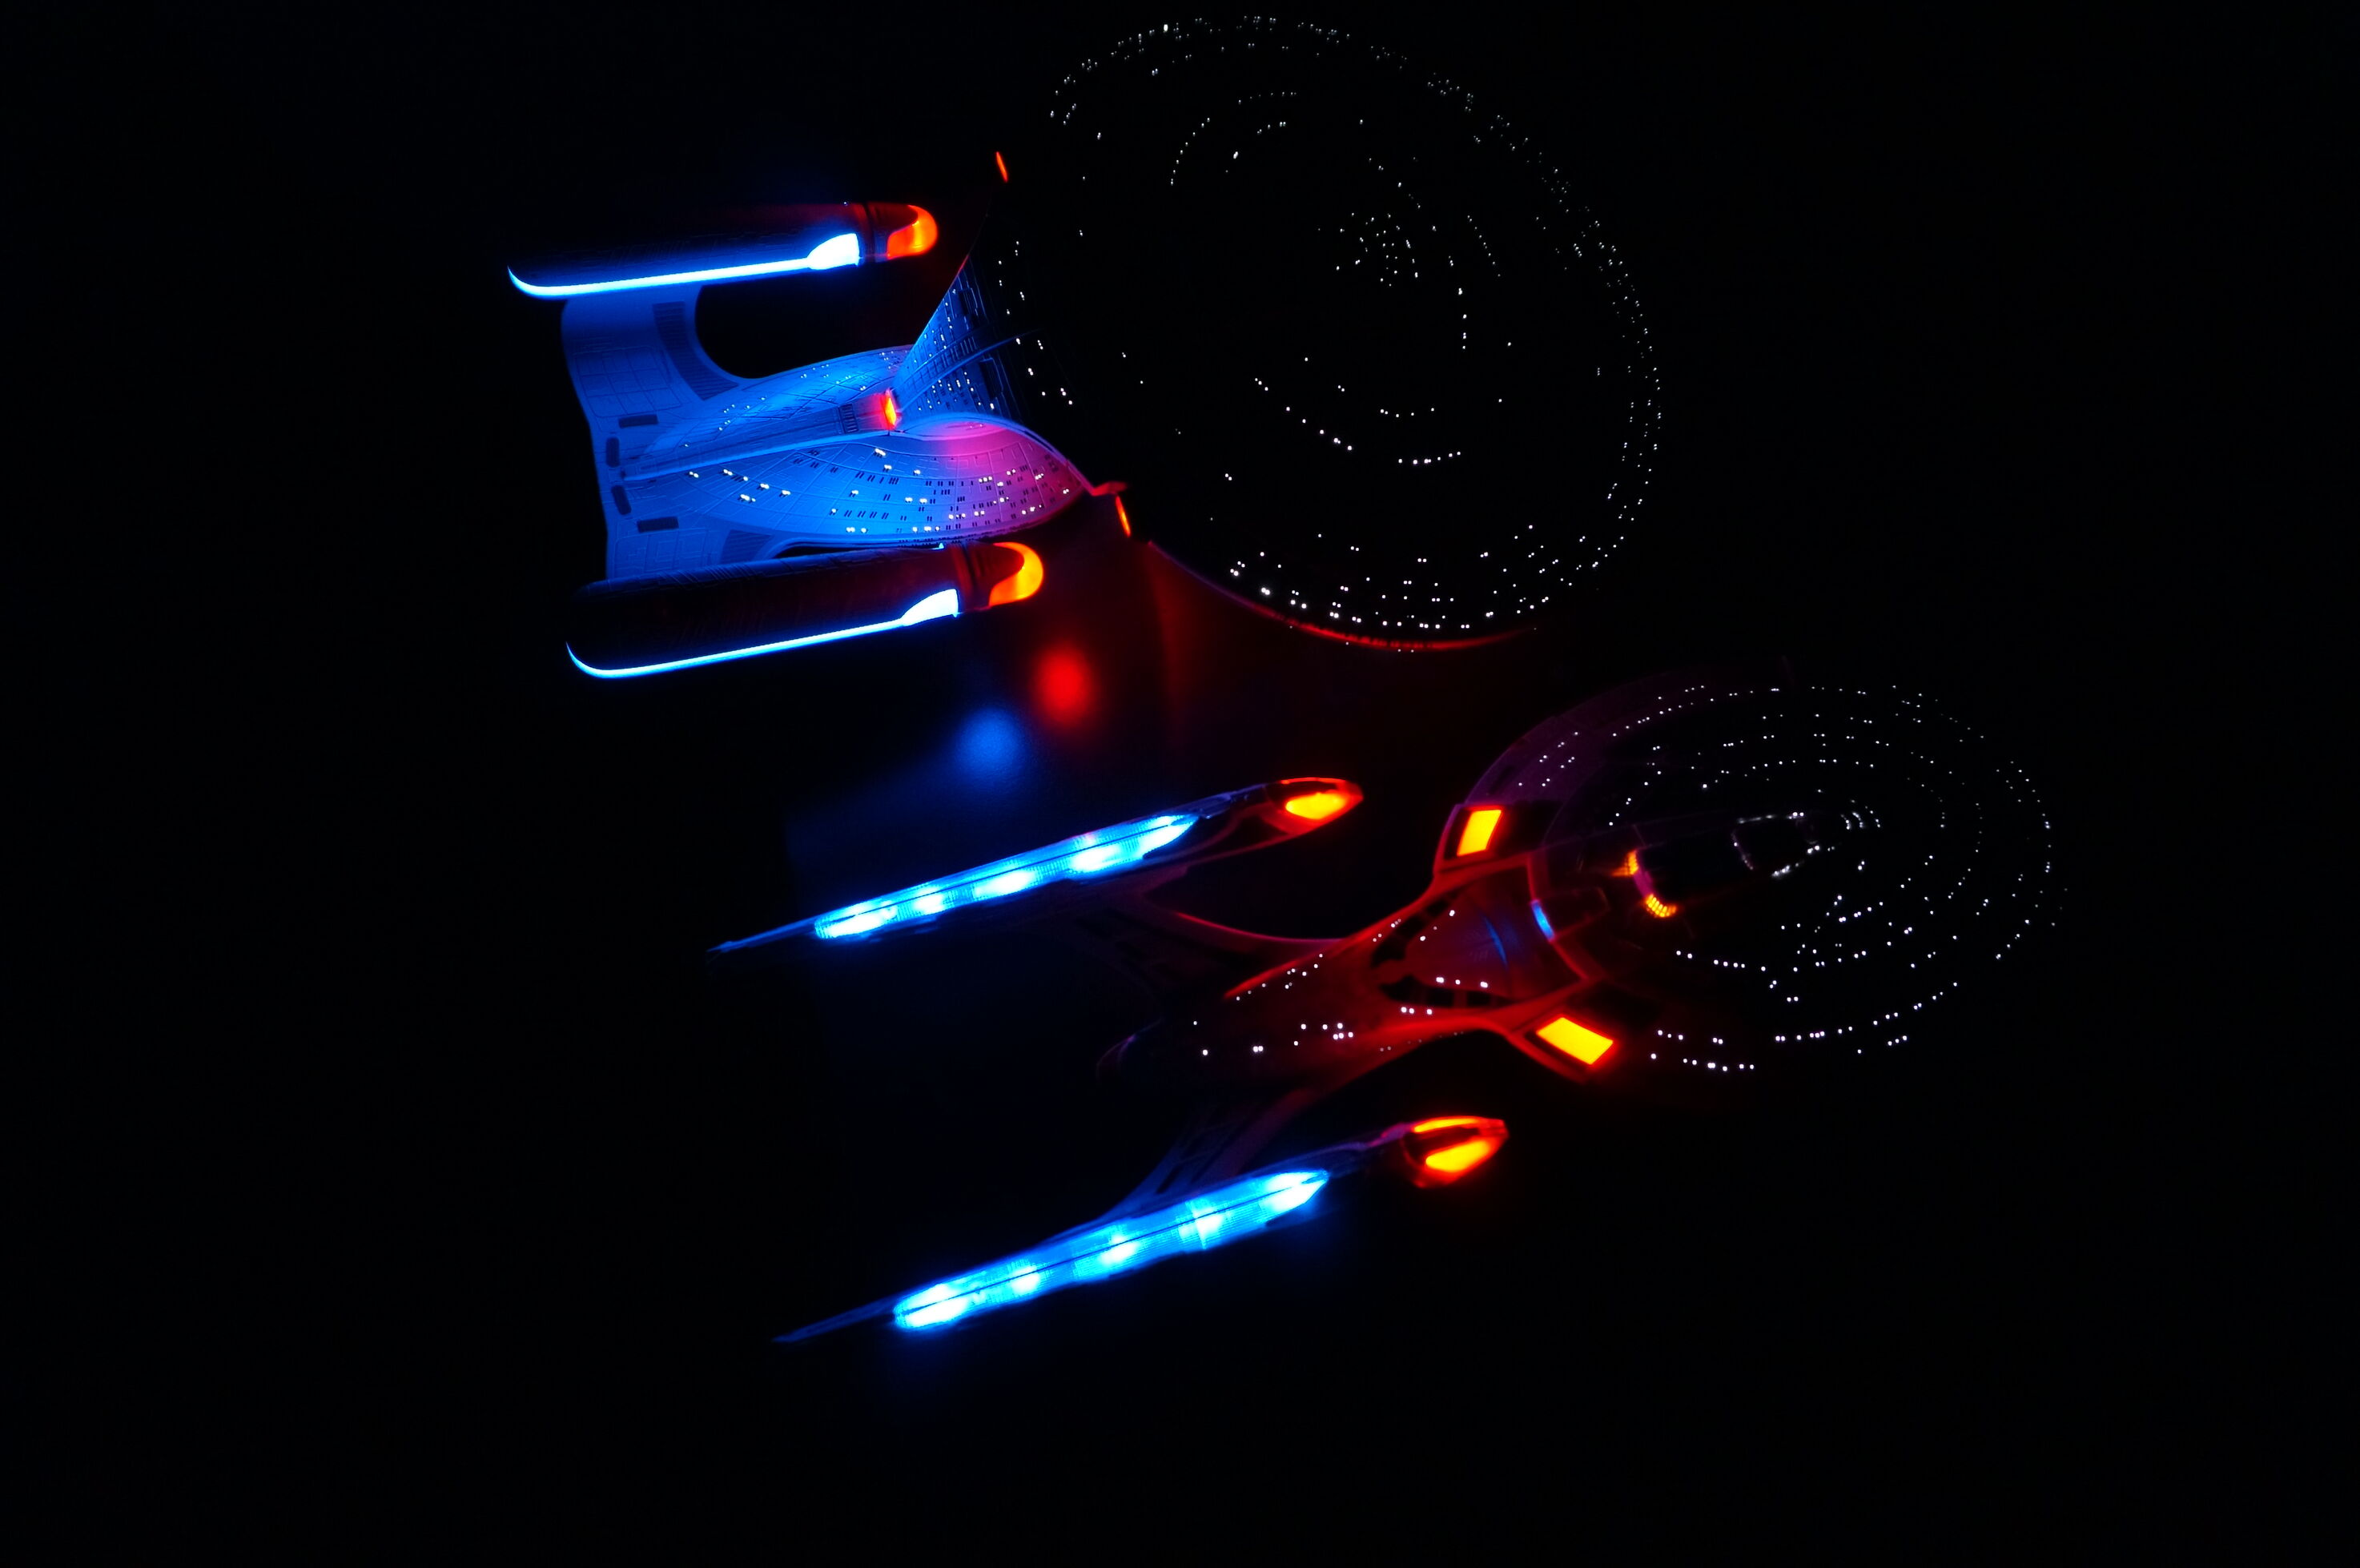
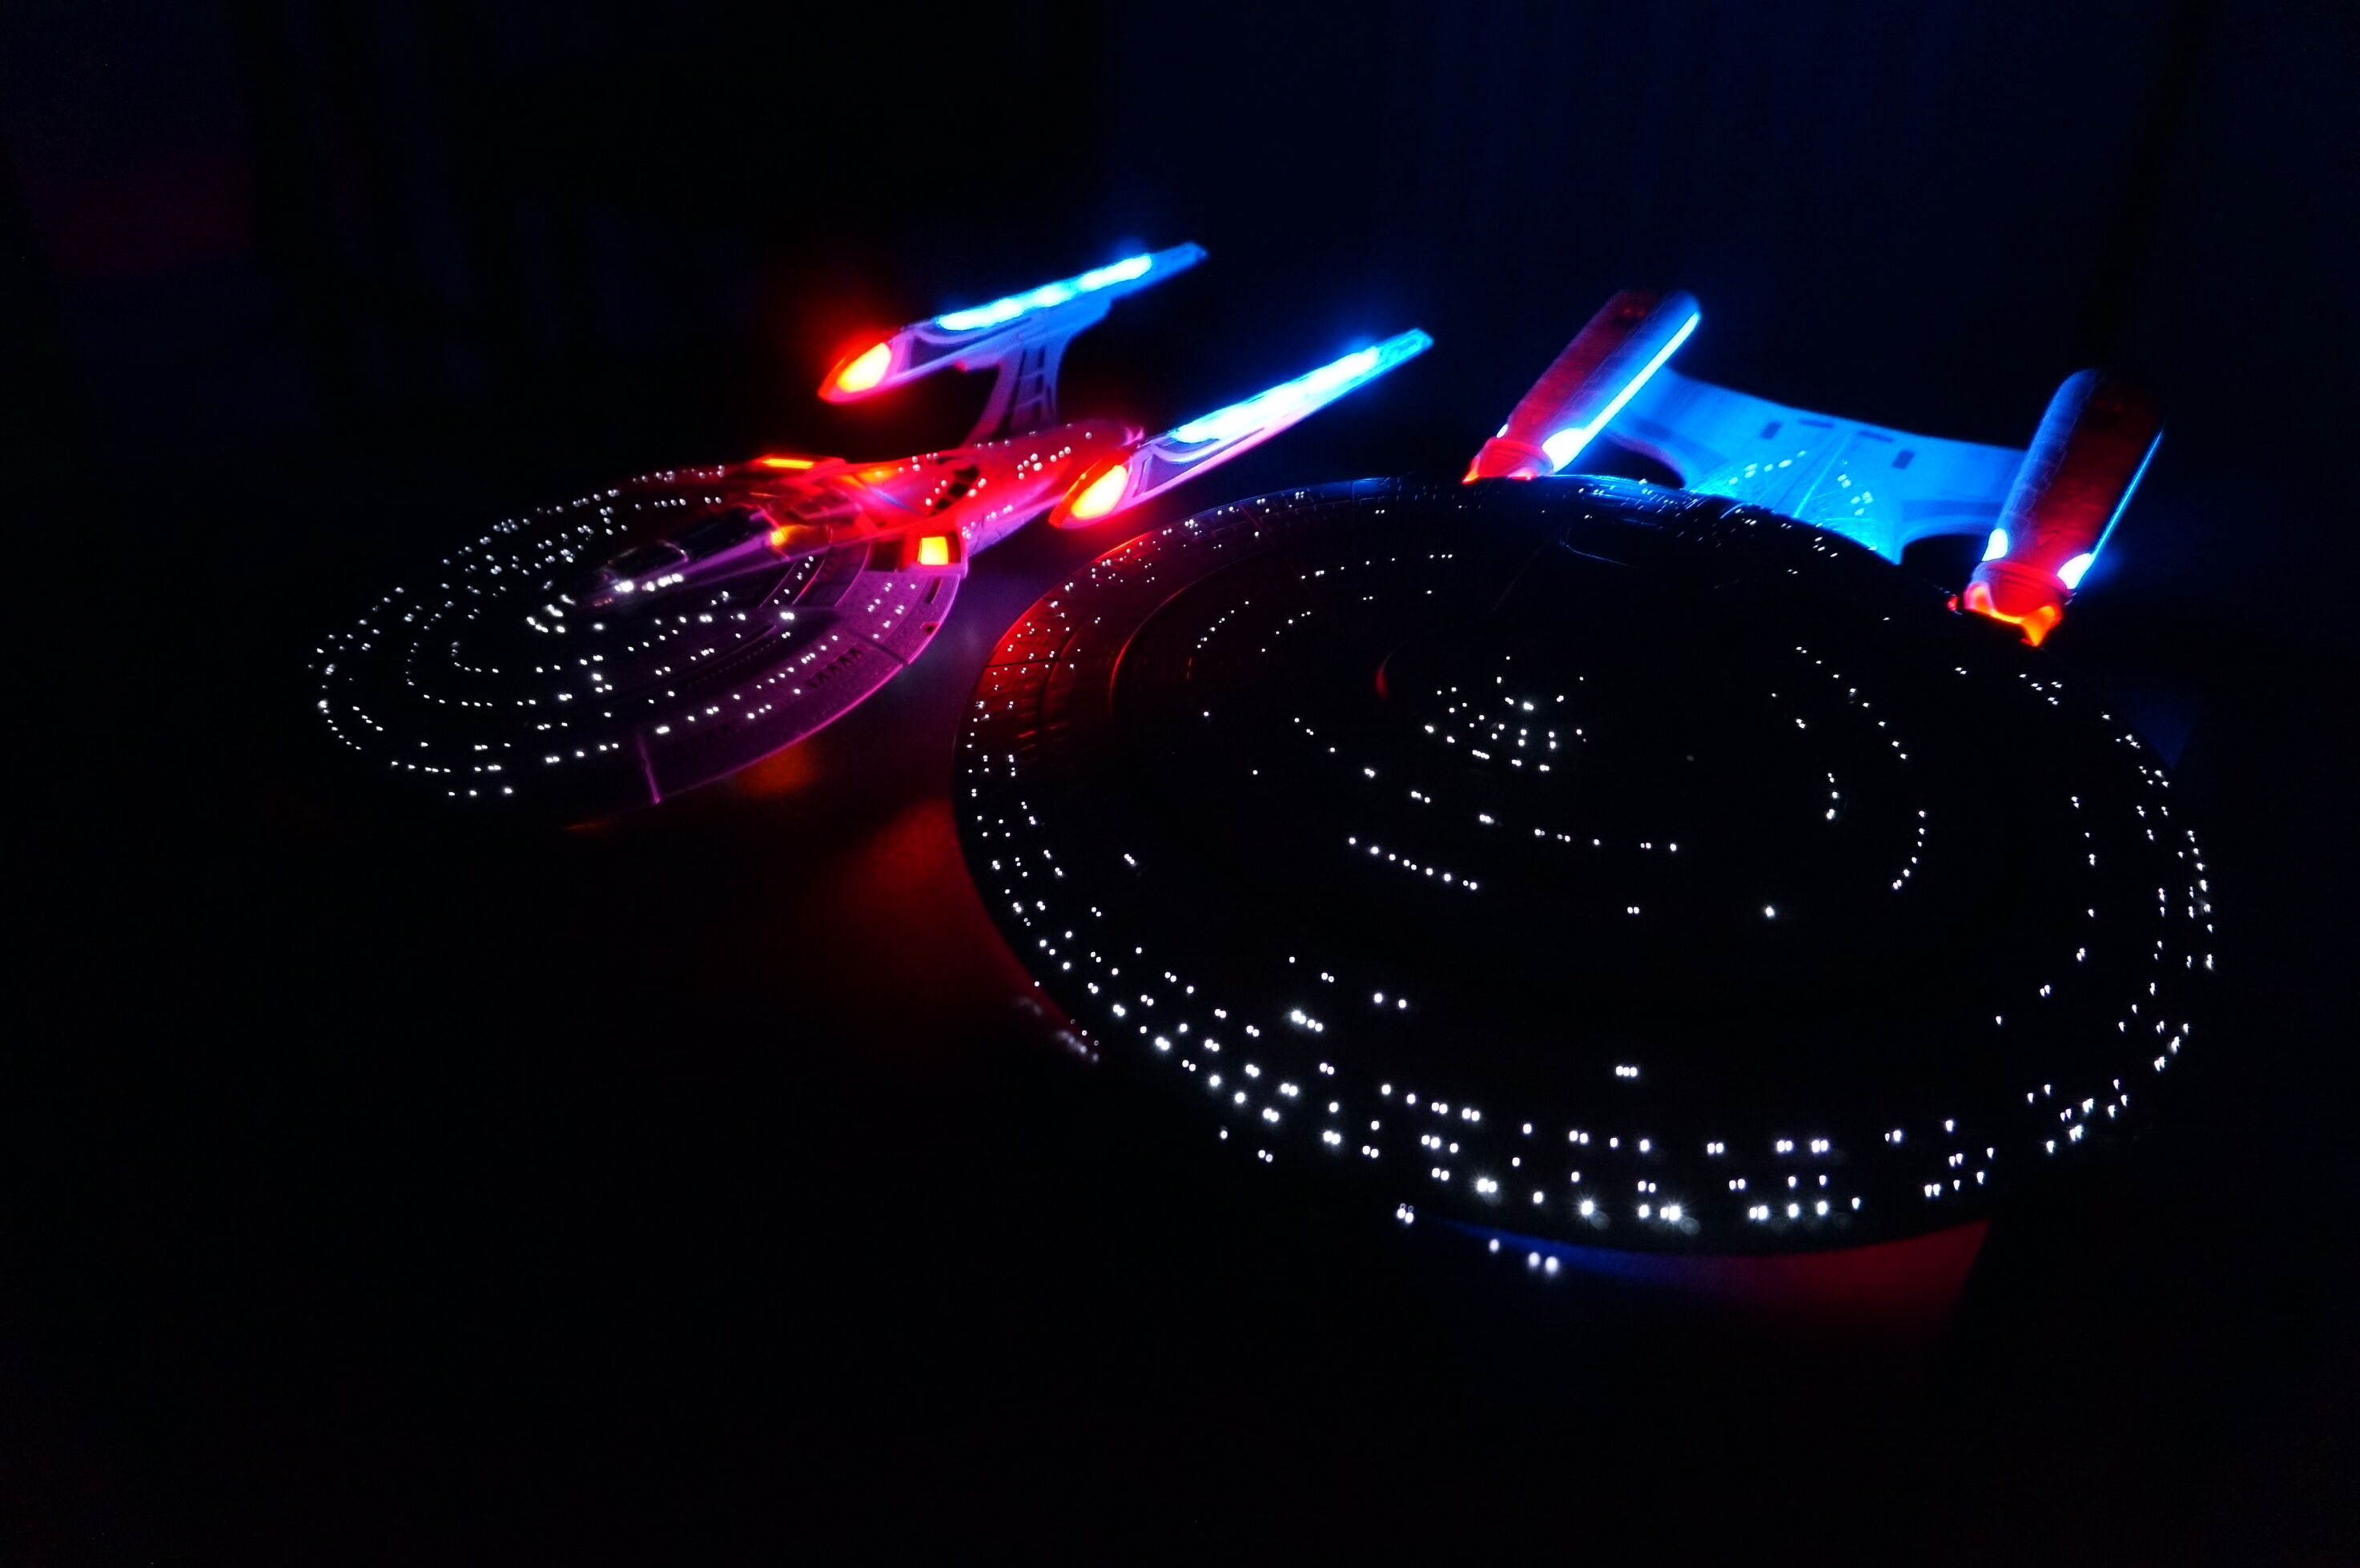
Enterprise D
With some experience under my belt, I built a larger model the same year by disassembling this model. This one has 2x more LEDs and fibers.
Building
The electronics work is still pretty crude and amateur.
Finished